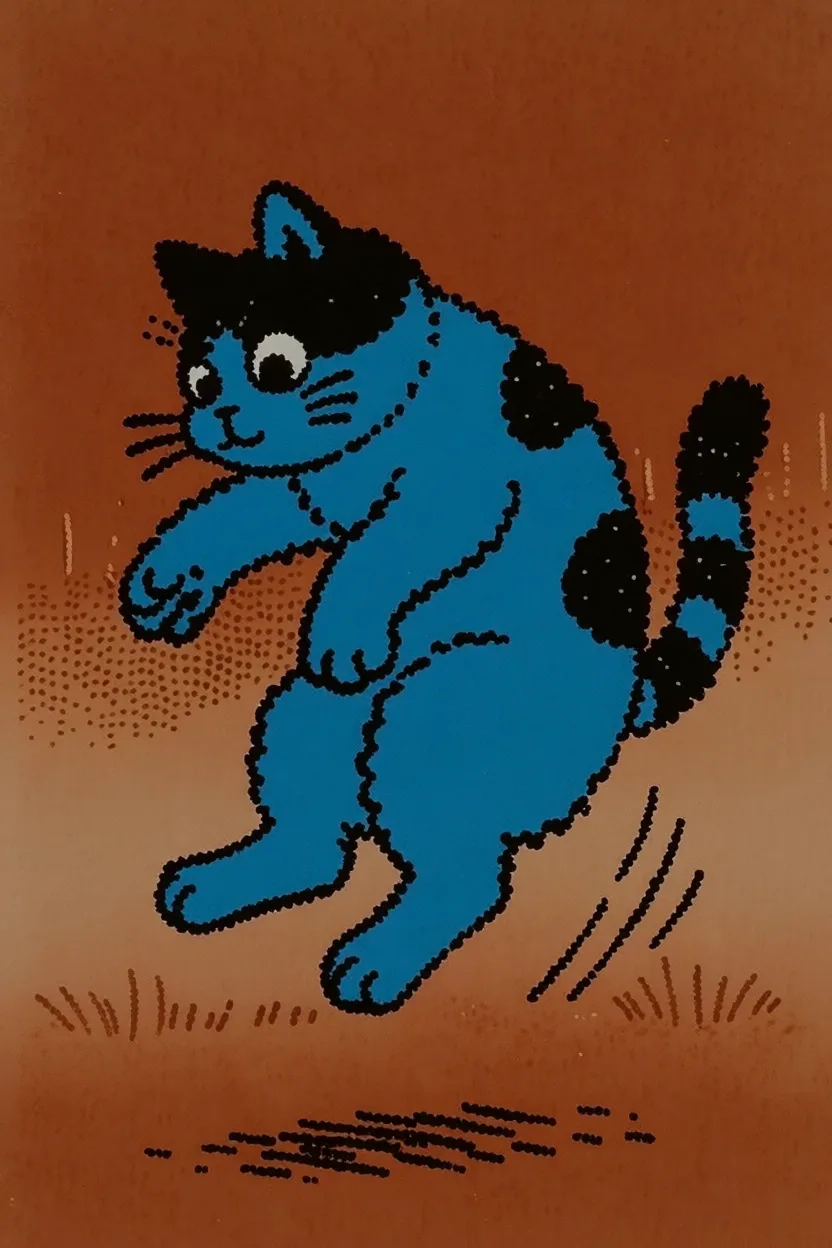
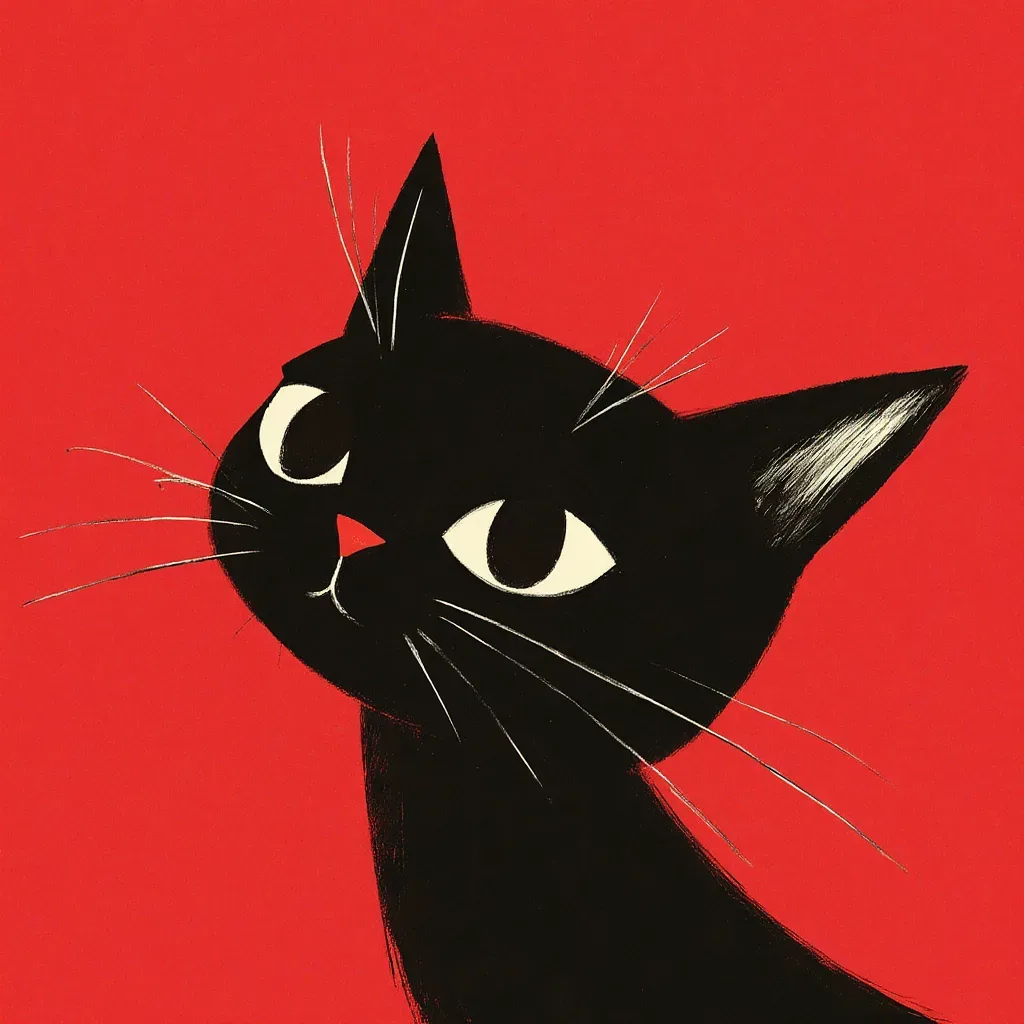
프롬프트: 옆으로 뛰는 고양이
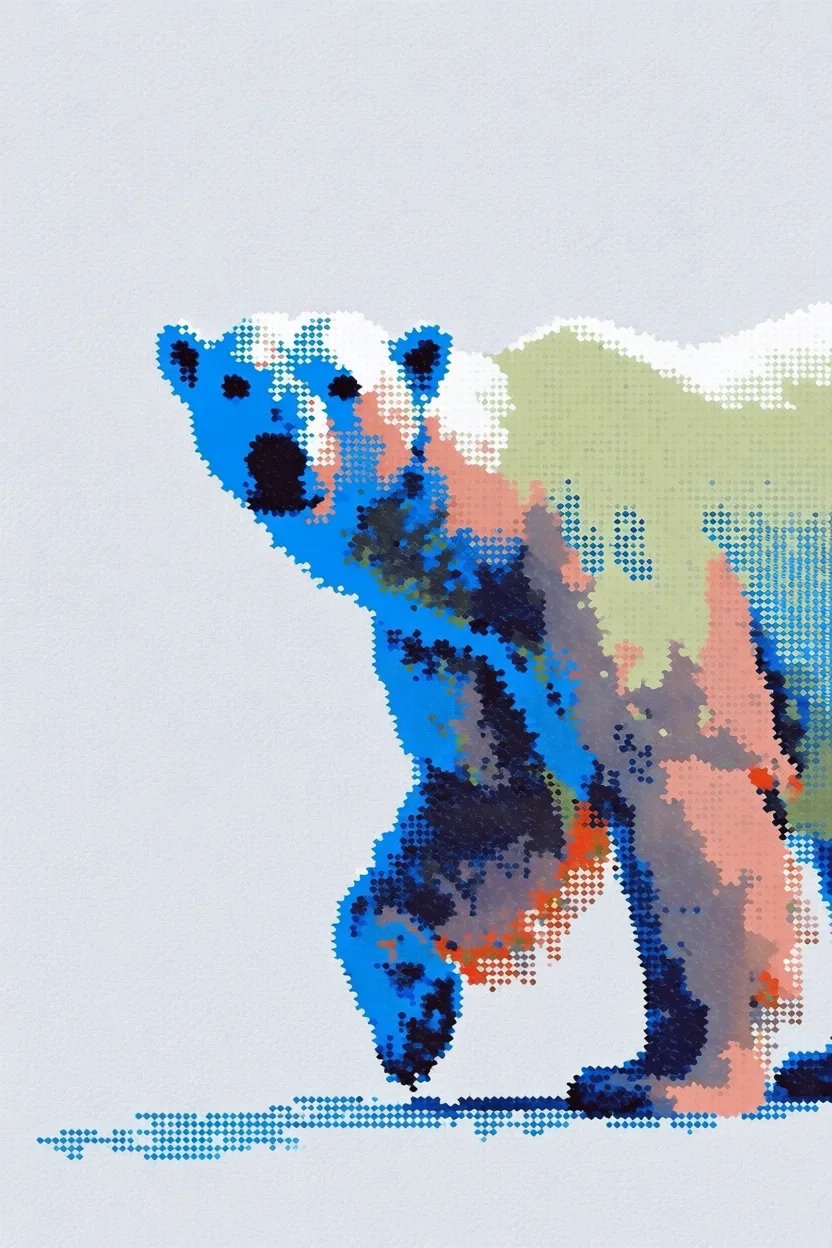
프롬프트: 북극곰
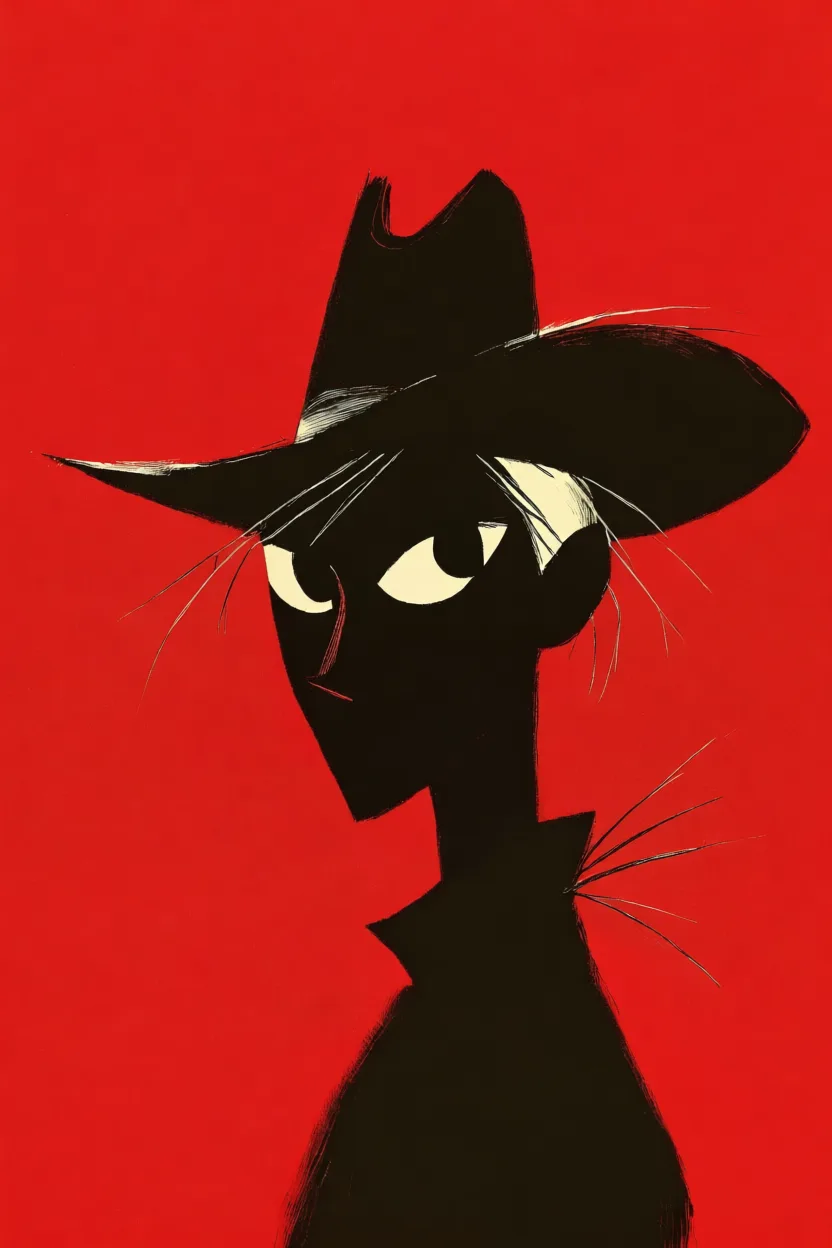
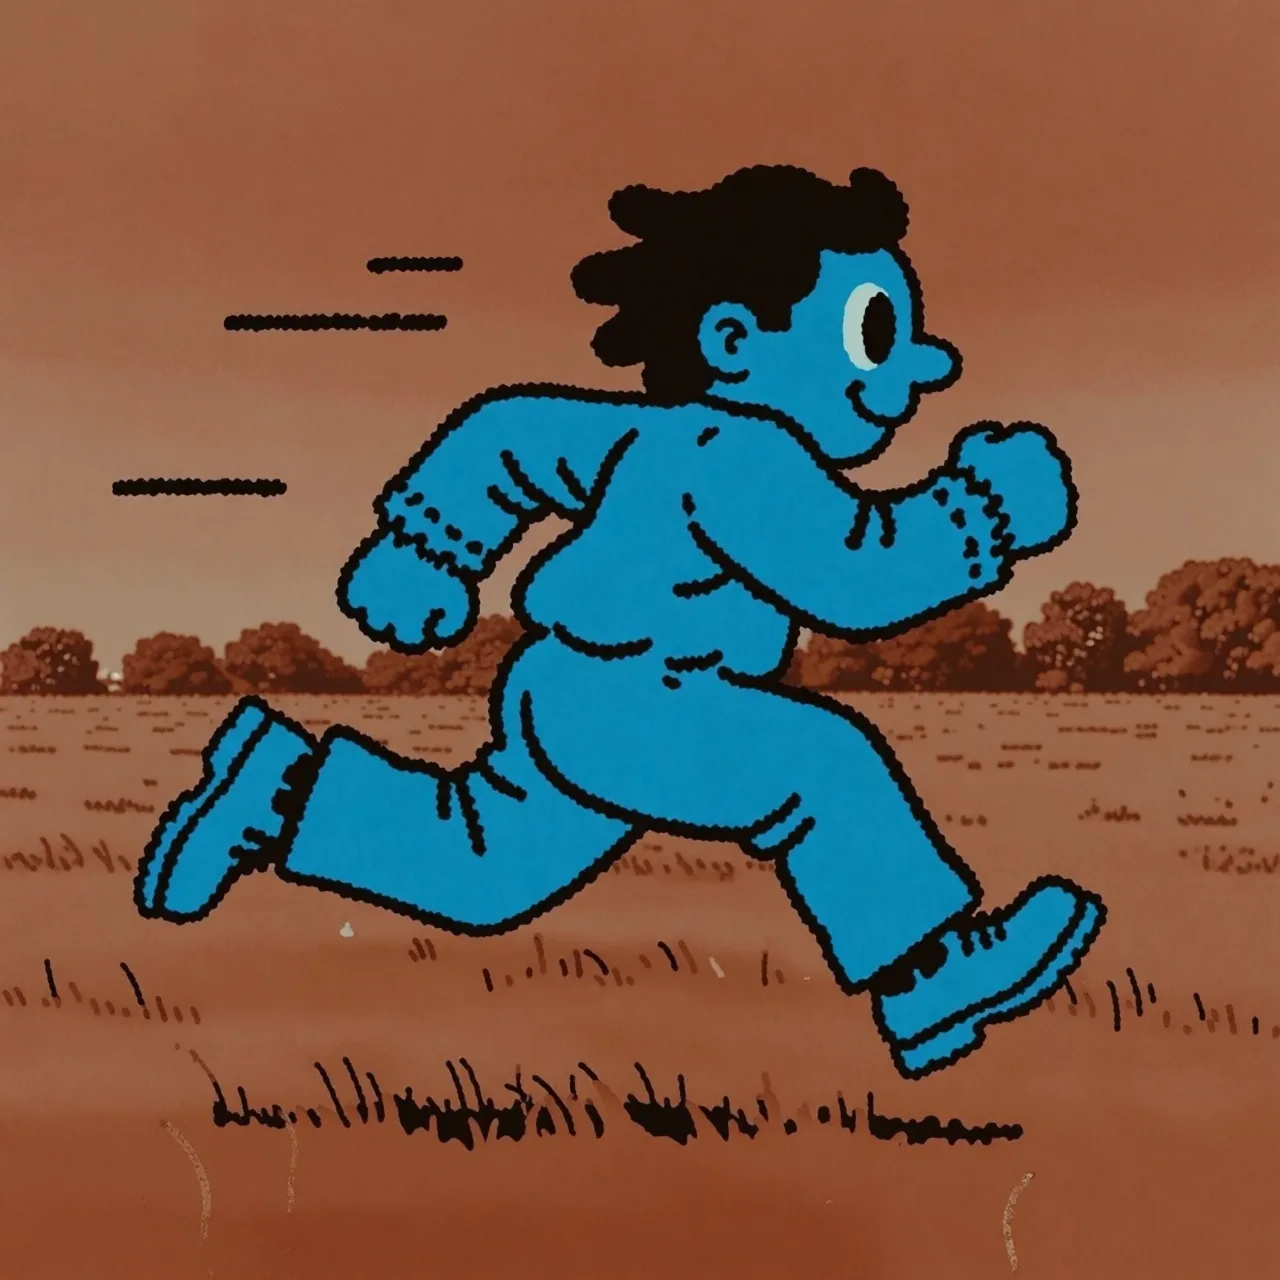
프롬프트: 카우보이
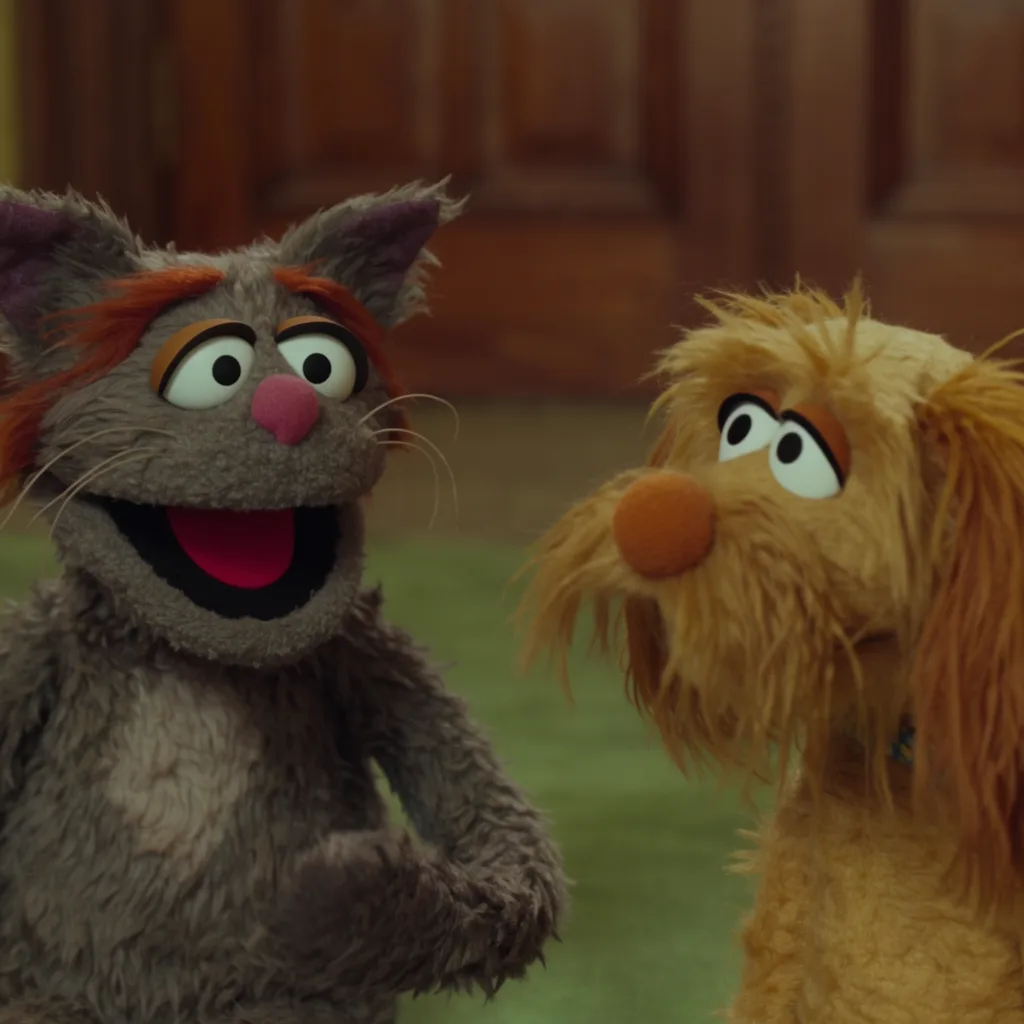
프롬프트: 실사판 머펫 영화의 한 장면, 회색 고양이 머펫과 강아지 친구가 등장
프롬프트: 옆으로 뛰는 고양이
프롬프트: 북극곰
프롬프트: 카우보이
프롬프트: 실사판 머펫 영화의 한 장면, 회색 고양이 머펫과 강아지 친구가 등장