Try 3D in Krea
Generate 3D objects from images.
Image to 3D
Image to 3D is the recommended starting point if you already have a sketch, render, or product photo. Example workflow:- Click Add image in the input card and upload a clear image of the object you want to convert.
- Select your preferred 3D model in the top-left dropdown. (see: available models)
- Optionally enable PBR if you require more realistic materials and lighting behavior.
- Click Generate and review the 3D preview in the output card.
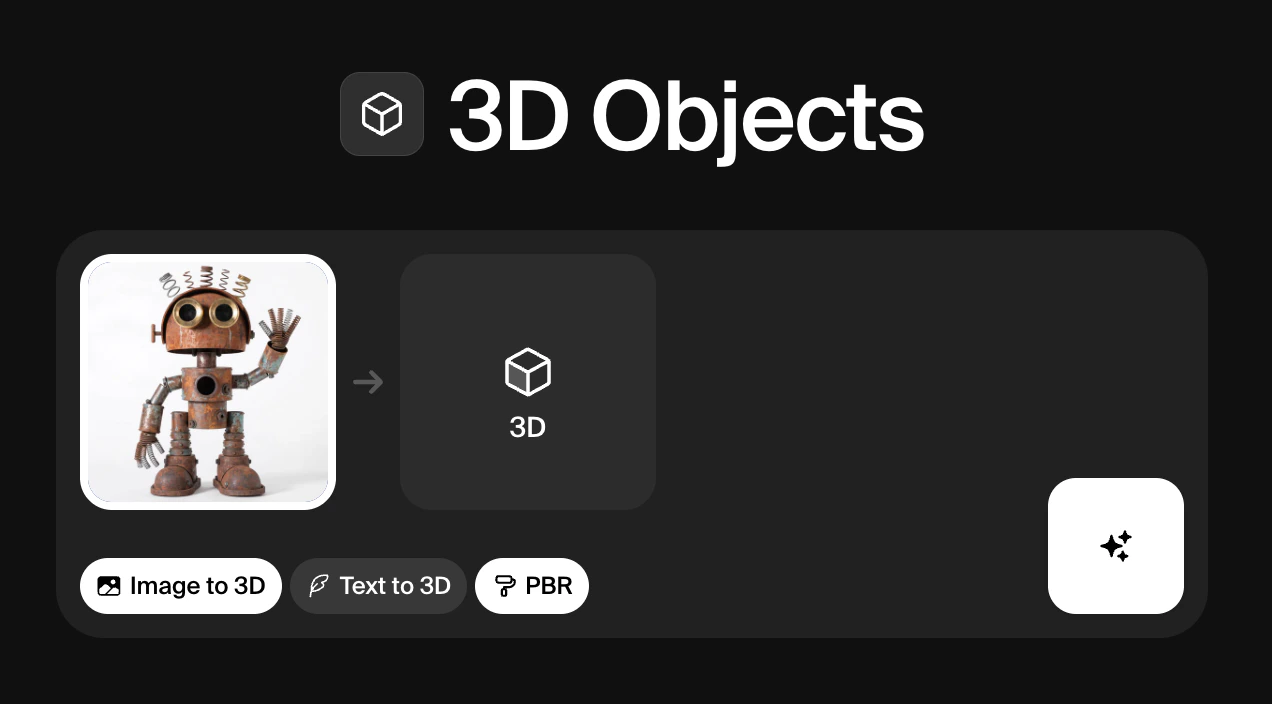
After generating a 3D object, you have four options below the result: Retry, Reuse parameters, Send to Realtime, and Download.

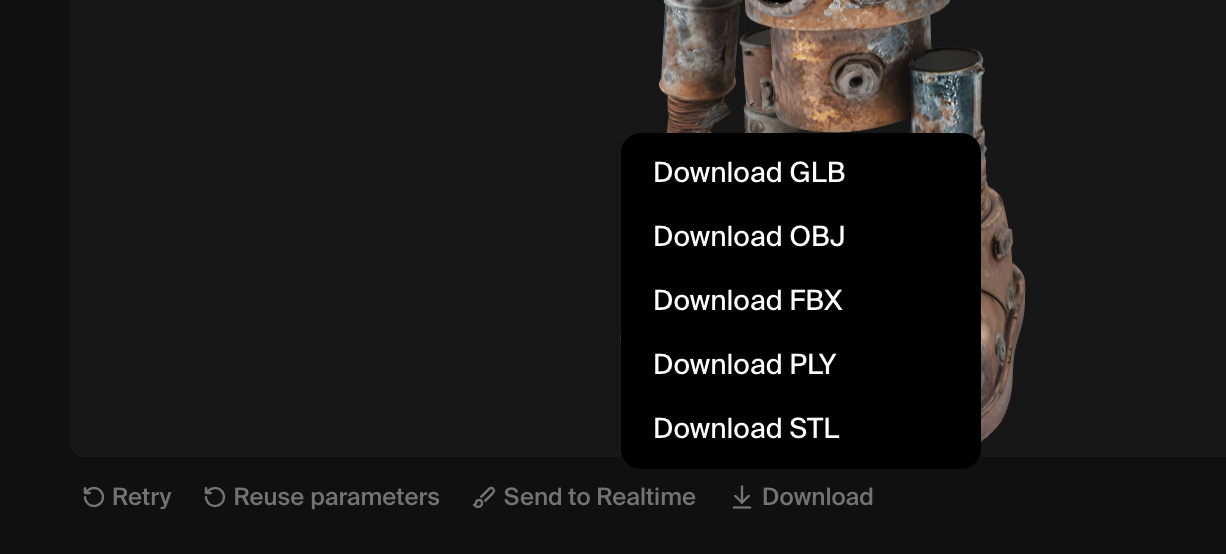
Downloading 3D files
Once you’ve generated a 3D object and downloaded it, you can use it in a variety of downstream tools and workflows:- Bring the model into content creation tools (Blender, Maya, Cinema 4D) as OBJ, FBX, or GLB for further modeling, retopology, texturing, or rigging.
- Use GLB directly in web viewers, game engines, or AR frameworks that support glTF/GLB for real‑time rendering with PBR materials.
- Export STL for 3D printing, prototyping, or fabrication via slicer software like PrusaSlicer or Cura.
- Export PLY when you care about dense geometry and vertex colors, for scan cleanup, measurement, or scientific visualization.