How to Enhance Images with Magnific Precise in Krea
by The Krea Team
Magnific Precise is the enhancer to use when an image already has the right composition and needs a cleaner, more controlled upscale. It focuses on sharpening, smart grain, and ultra detail, which makes it useful for polishing texture without pushing the image into a completely different direction.
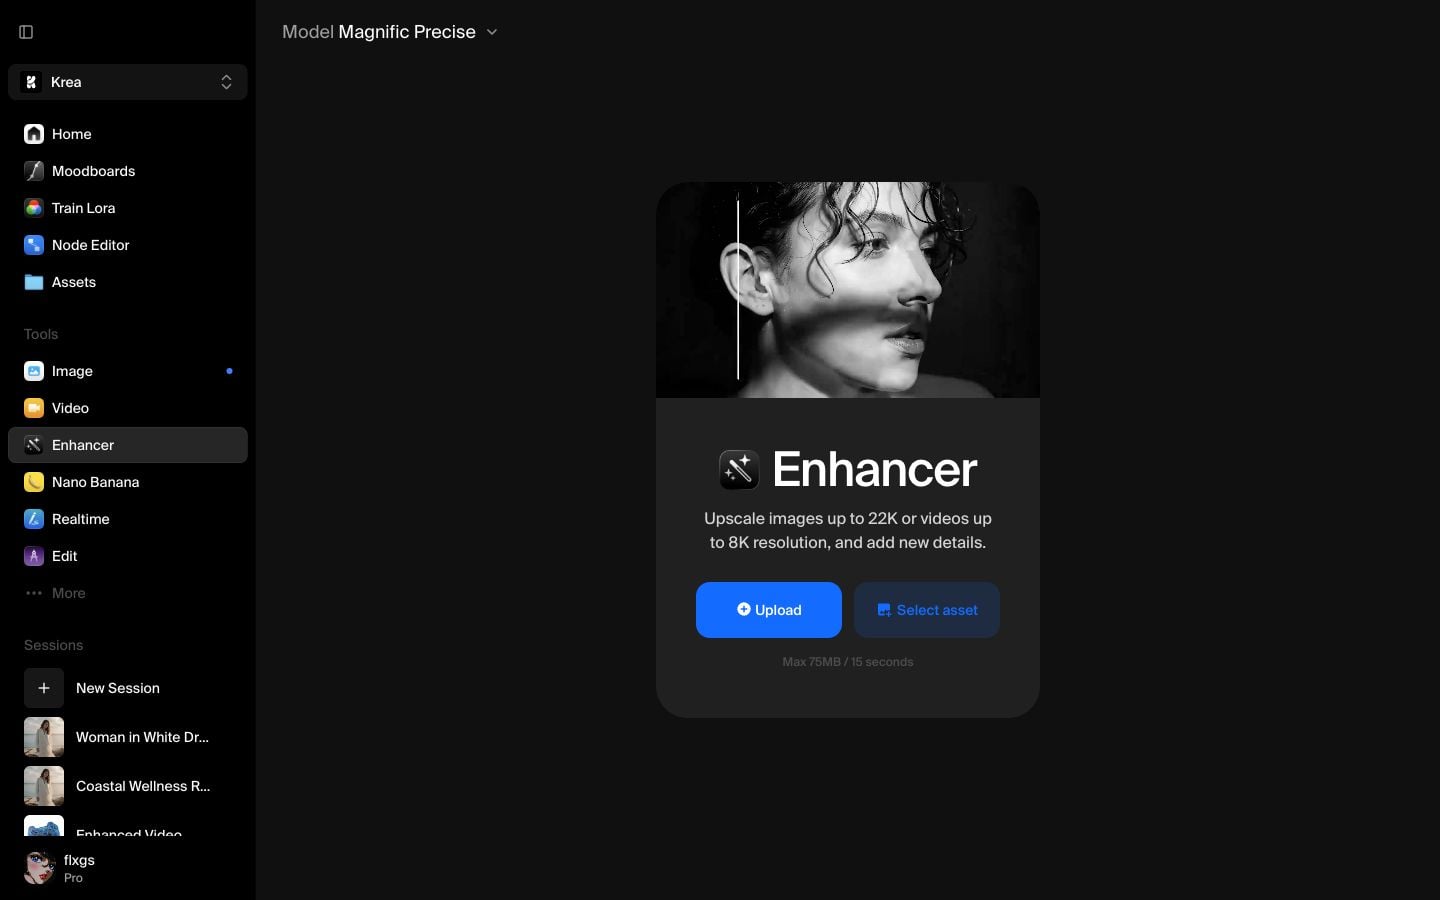
Start in Enhancer
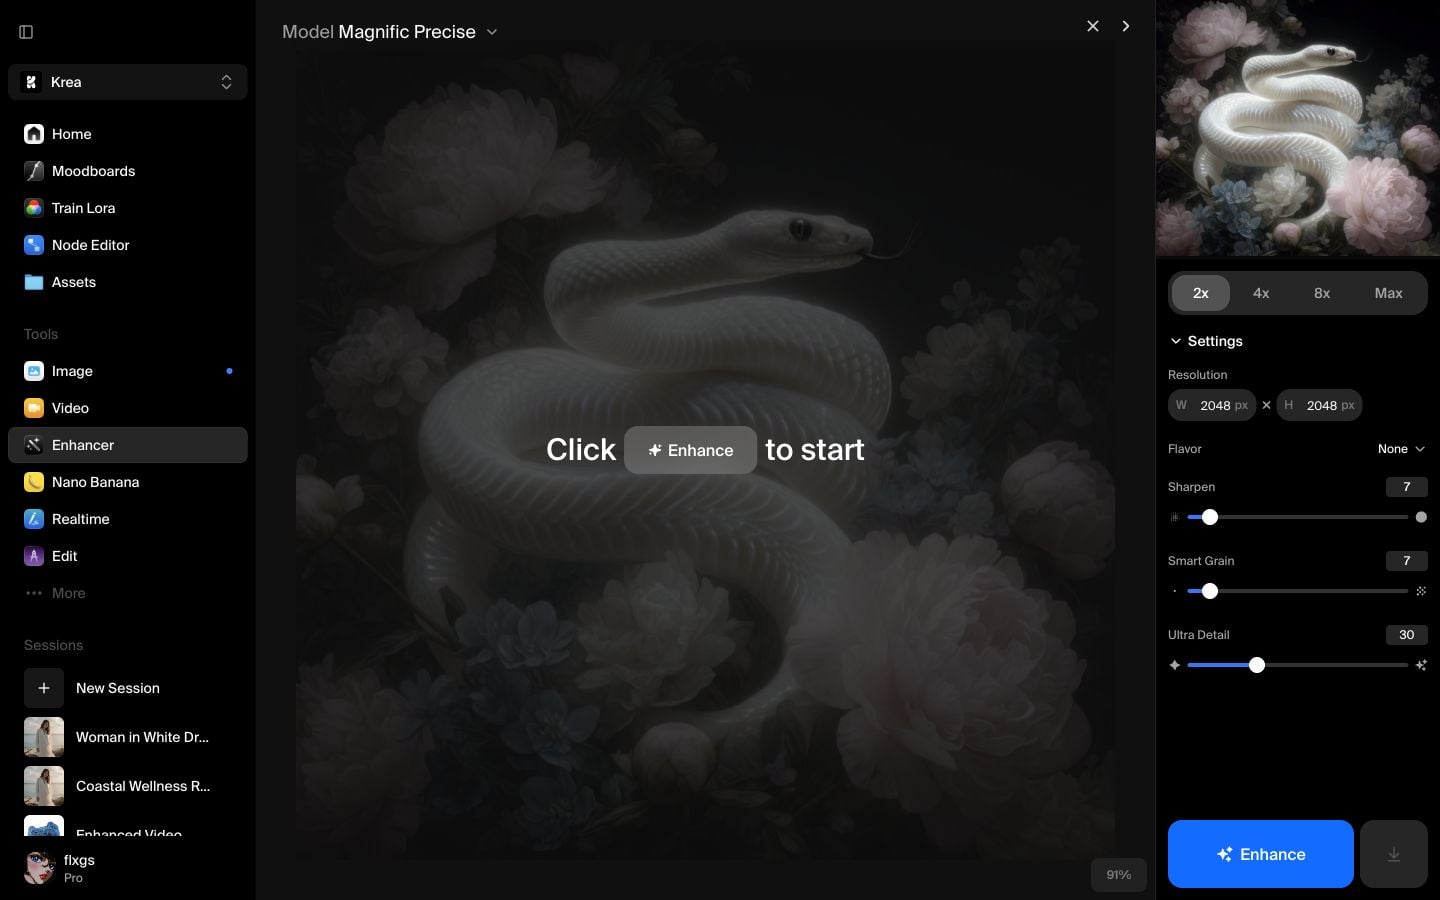
Open Krea and choose Enhancer from the tools sidebar. Start with an image that already has the subject, lighting, and overall style you want. Magnific Precise can refine the details, but it works best when the source image is already strong.
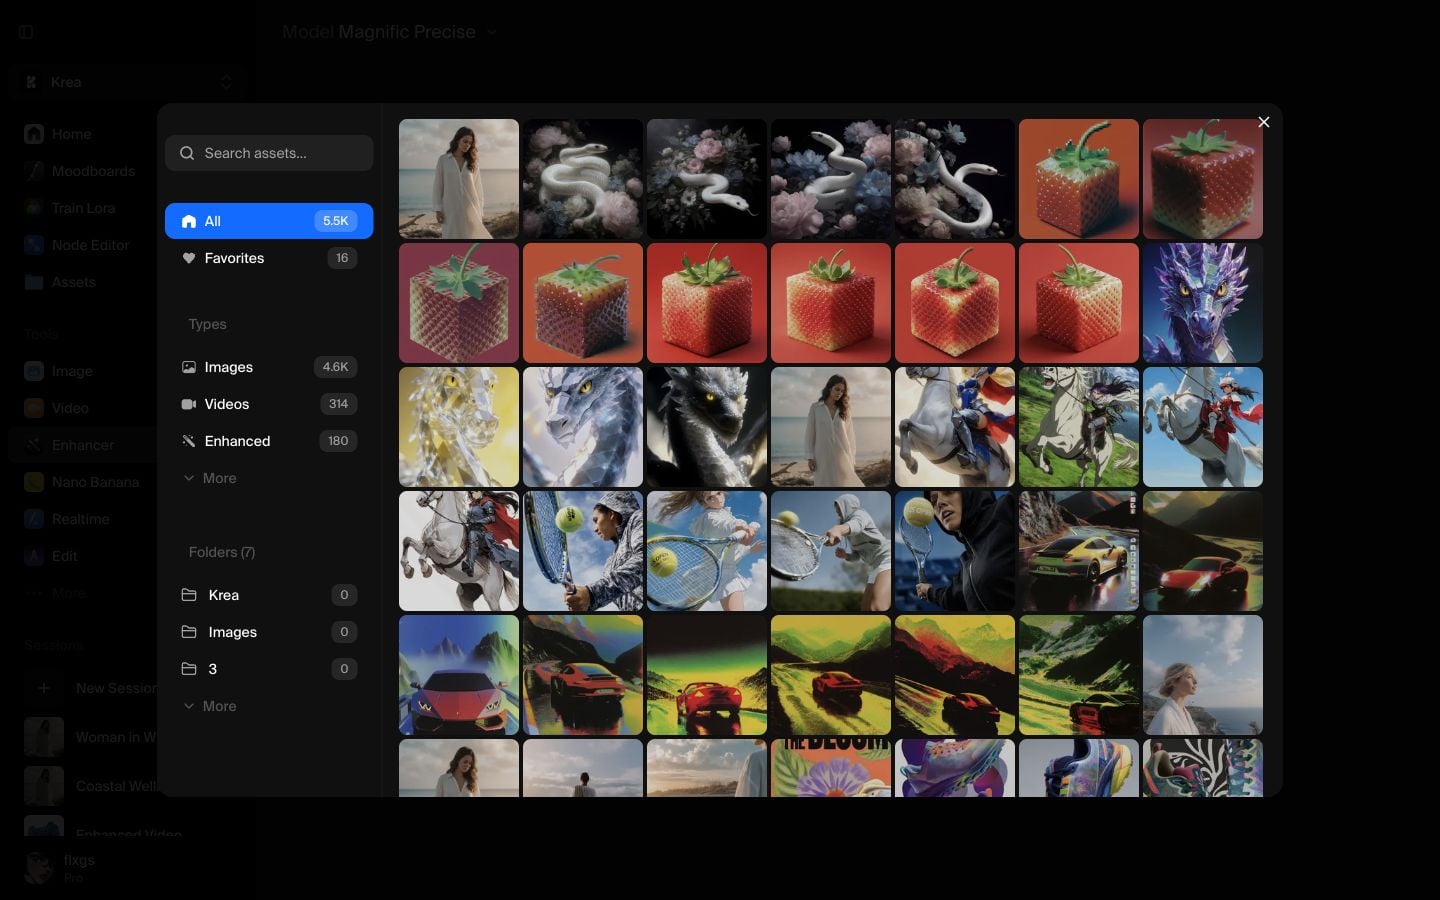
Pick a recent image from Assets
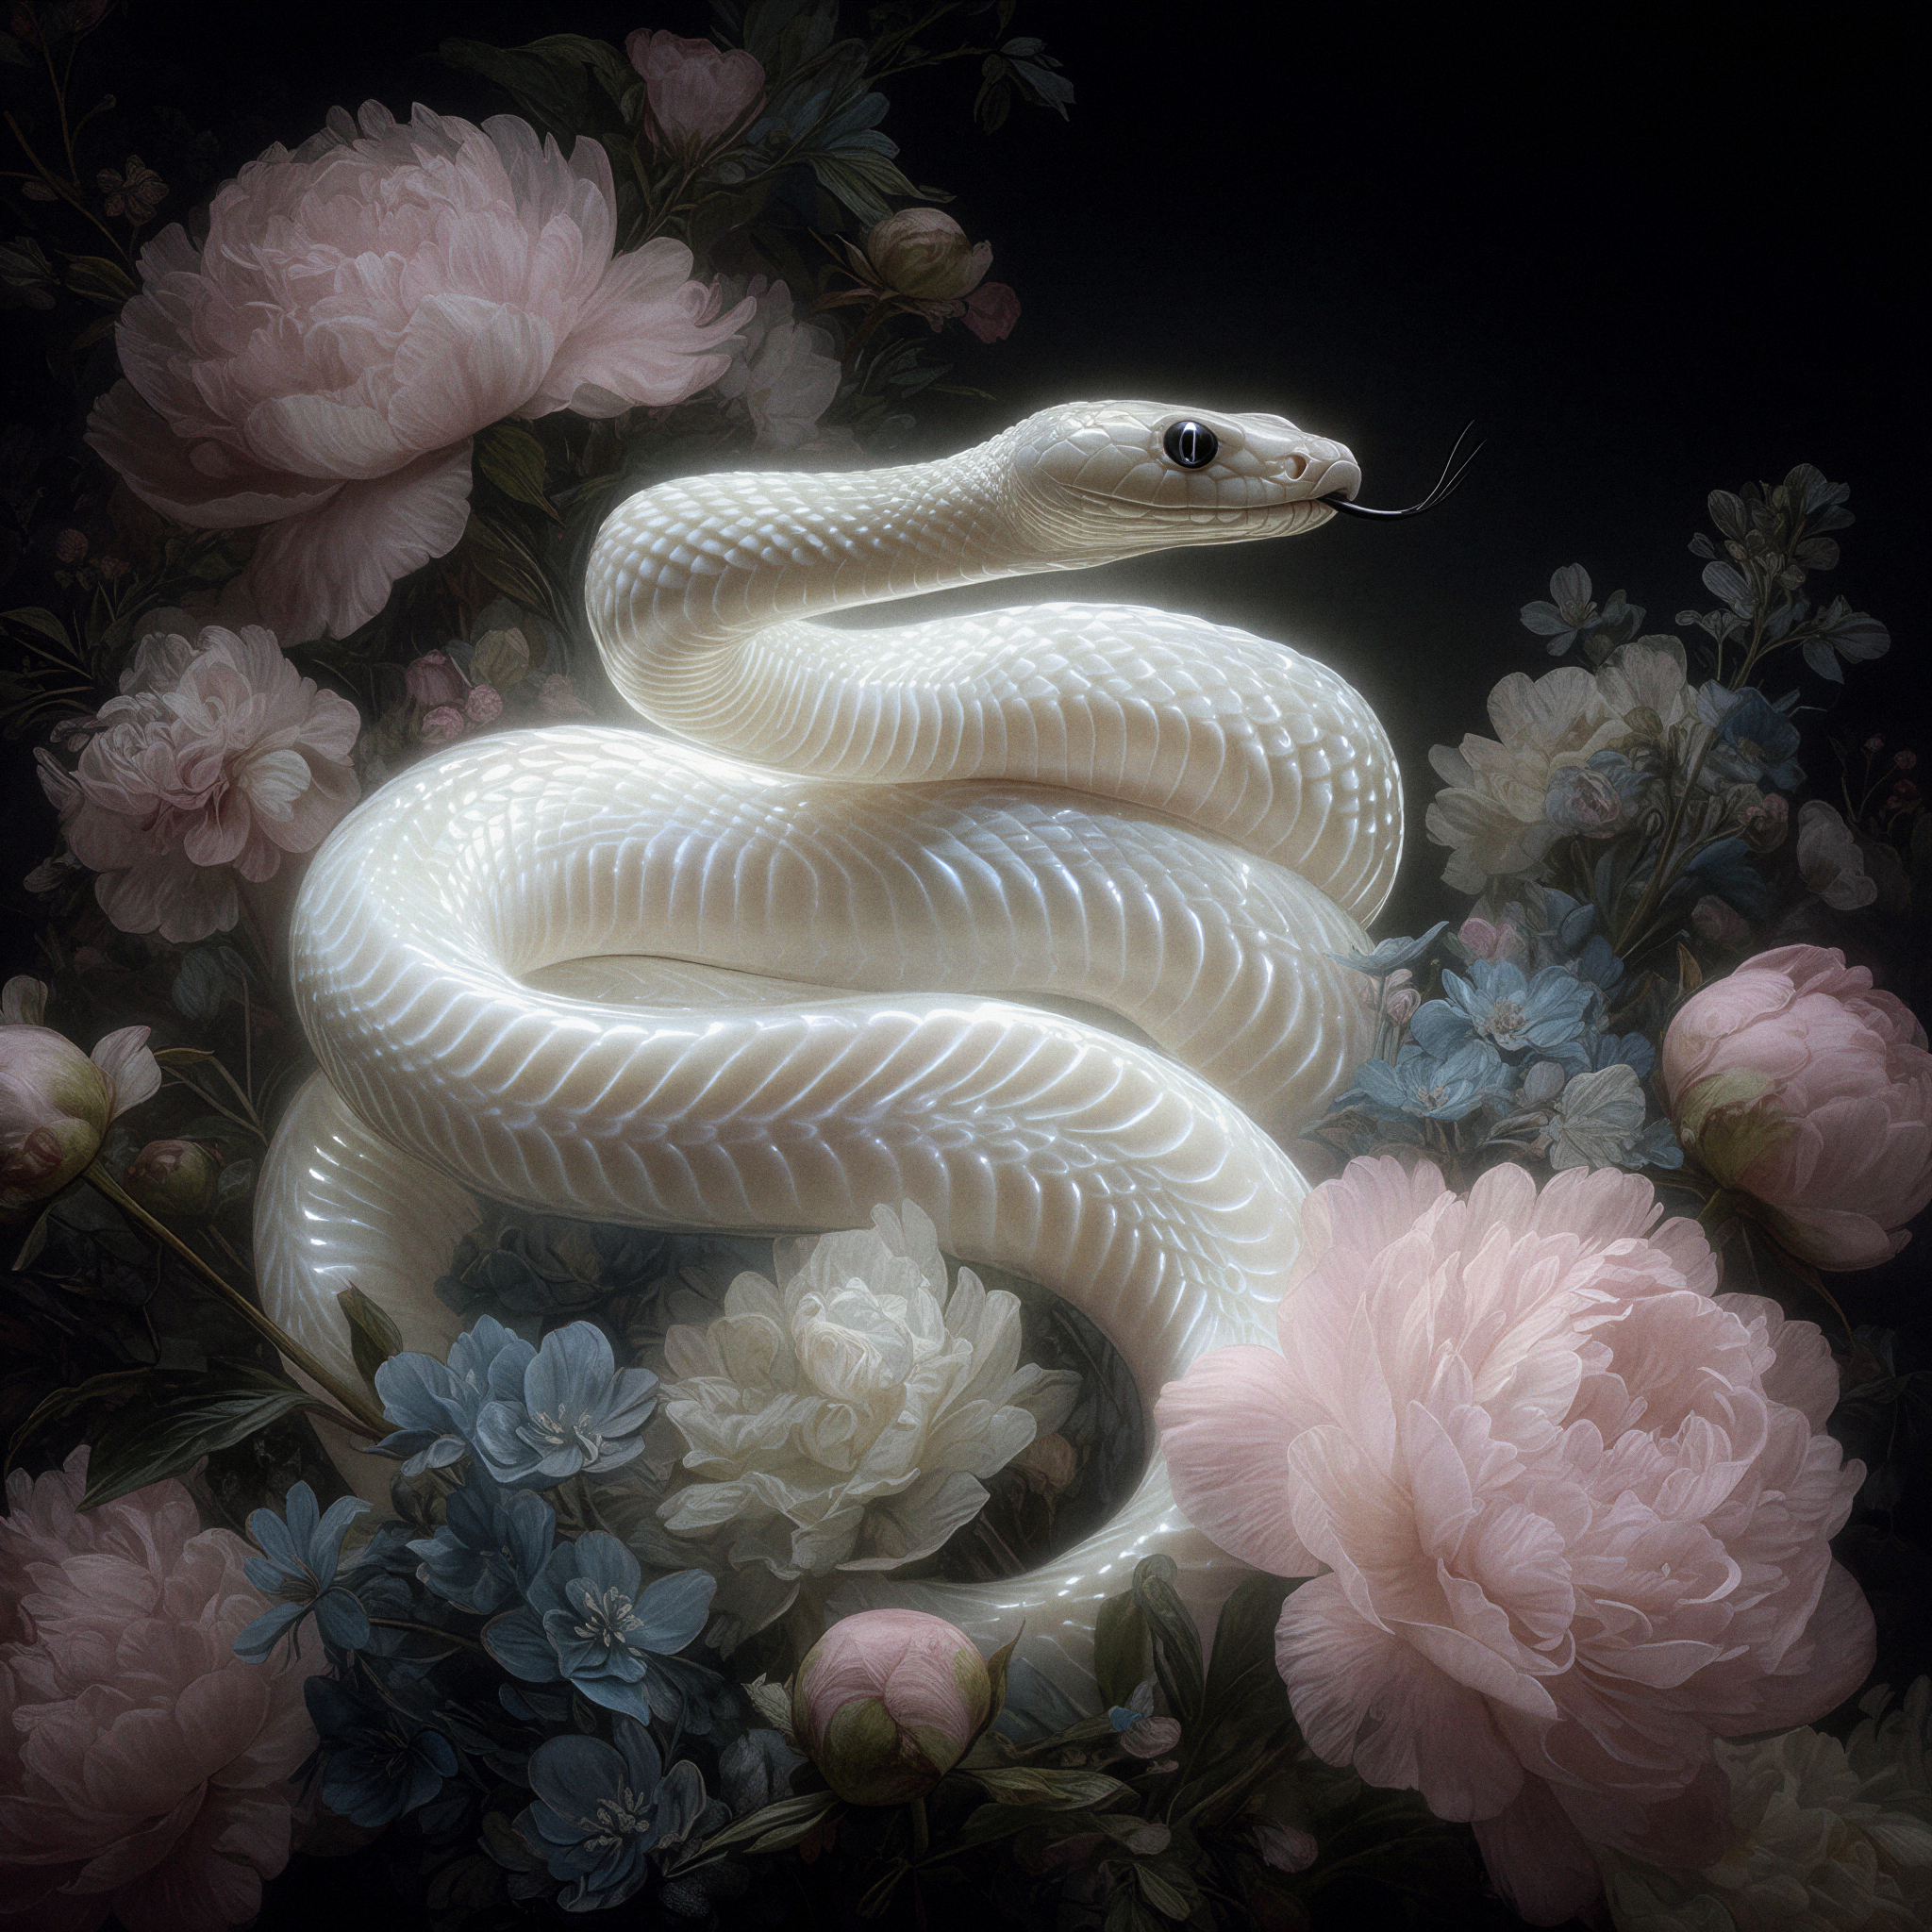
Click Select asset and choose one of your recent images from Assets. This walkthrough uses a white snake among flowers from the latest asset grid, which gives Magnific Precise clear texture to improve: scales, petals, shadows, and small edge detail.
Keep the first pass at 2x
After the image loads, keep the first pass at 2x. In this example, the source image is 1024 x 1024 and the 2x output becomes 2048 x 2048.
Starting at 2x is a good default because it is easier to review the result before committing to a larger upscale. If the output looks clean, you can decide whether the image actually needs more size.
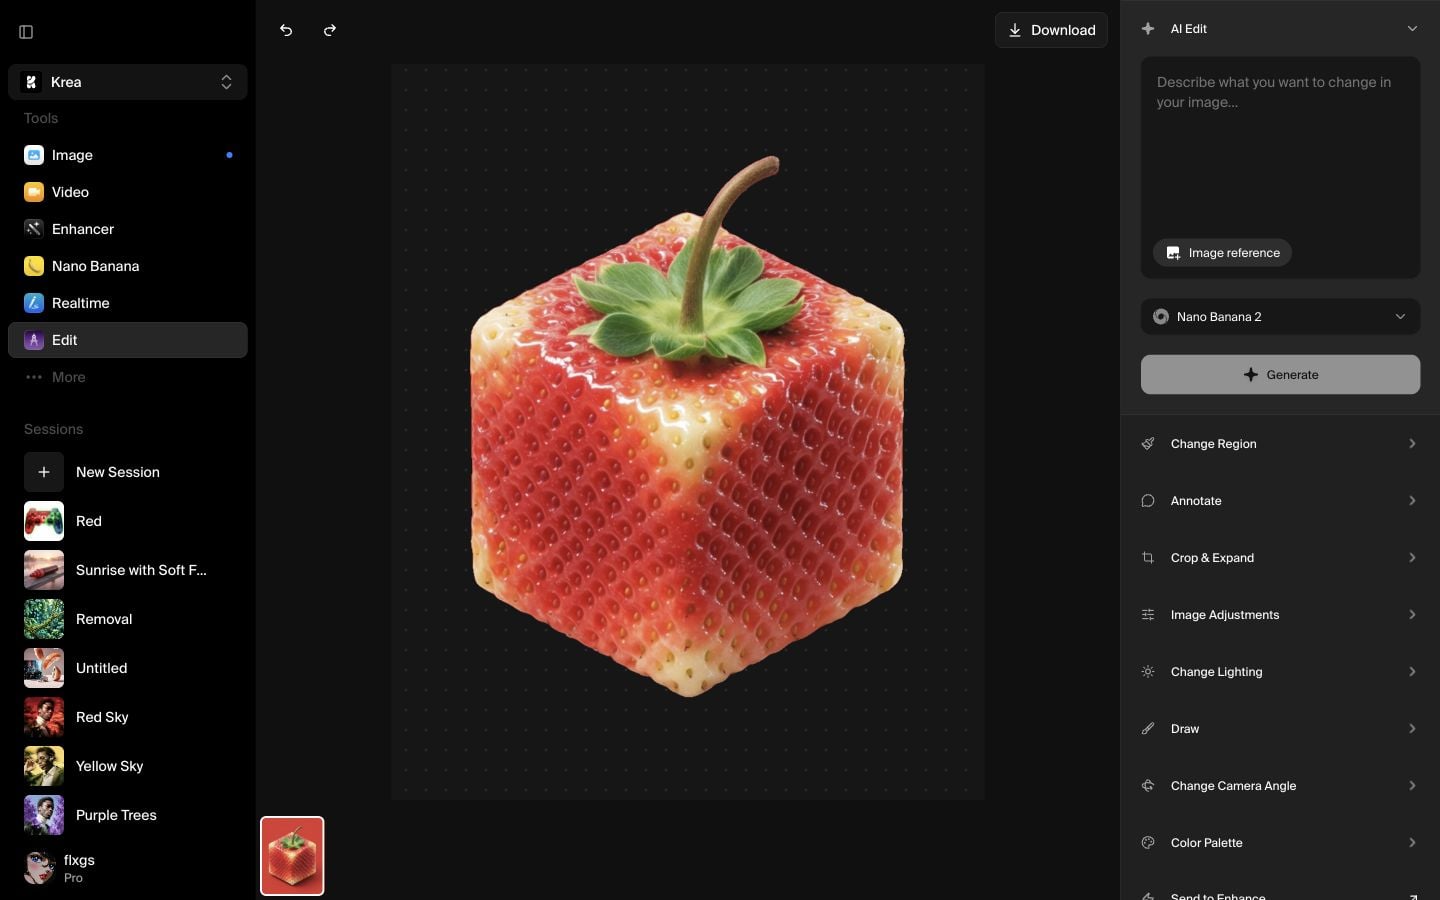
Use the default Magnific Precise settings
With Magnific Precise selected, Krea shows a focused set of controls:
- Flavor: optional preset for the kind of image you are enhancing
- Sharpen: edge and detail crispness
- Smart Grain: subtle texture that can make the result feel less plastic
- Ultra Detail: how strongly Krea adds fine detail
For a first run, keep the defaults. In this walkthrough, Flavor is None, Sharpen is 7, Smart Grain is 7, and Ultra Detail is 30.

Run and compare the result
Click Enhance and wait for the job to finish. When the enhanced image appears, use split view to compare it against the original. Look closely at the snake scales, petal edges, and soft background details. If the image becomes too sharp, lower Sharpen or Ultra Detail on the next pass.
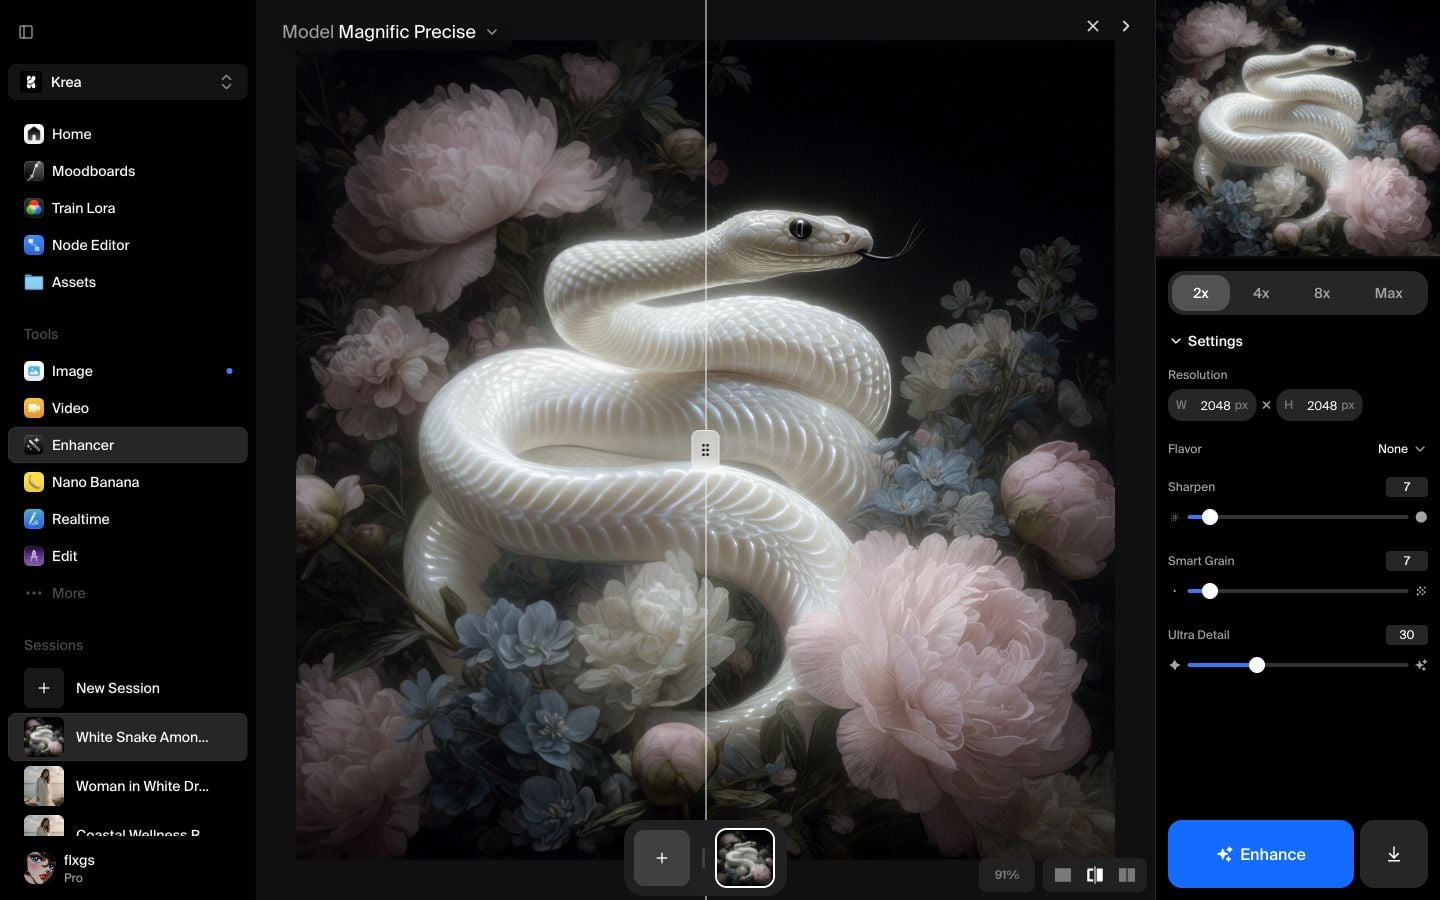
Here is the enhanced output from the walkthrough:
Quick checklist
- Use Magnific Precise when the image already looks good and needs a cleaner upscale.
- Start at 2x before trying larger sizes.
- Keep Flavor on None unless the image clearly matches a preset.
- Increase Sharpen carefully if edges look soft.
- Lower Ultra Detail if the result starts inventing texture you do not want.
Try Magnific Precise in Krea
Open Enhancer, select Magnific Precise, and create a controlled high-resolution version of your image.
Open EnhancerFrequently asked questions
Magnific Precise is best for controlled image enhancement: sharper details, cleaner texture, and high-resolution output without changing the image too aggressively.
Magnific uses broader creative controls like prompt, creativity, HDR, resemblance, and fractality. Magnific Precise focuses on Flavor, Sharpen, Smart Grain, and Ultra Detail.
For a first pass, keep the defaults. Adjust Sharpen, Smart Grain, or Ultra Detail only after comparing the result in split view.
Start with 2x. Larger sizes can be useful, but they cost more, take longer, and can amplify unwanted details.