How to Remove an Image Background in Krea
by The Krea Team
Krea Edit can remove the background from an image in a few clicks. Use this when you already have an asset and want a clean subject cutout for a product mockup, collage, poster, or social layout.
Start in Edit
Open Krea and choose Edit from the left sidebar. This gives you a canvas where you can bring in an existing image, make direct edits, and download the result.
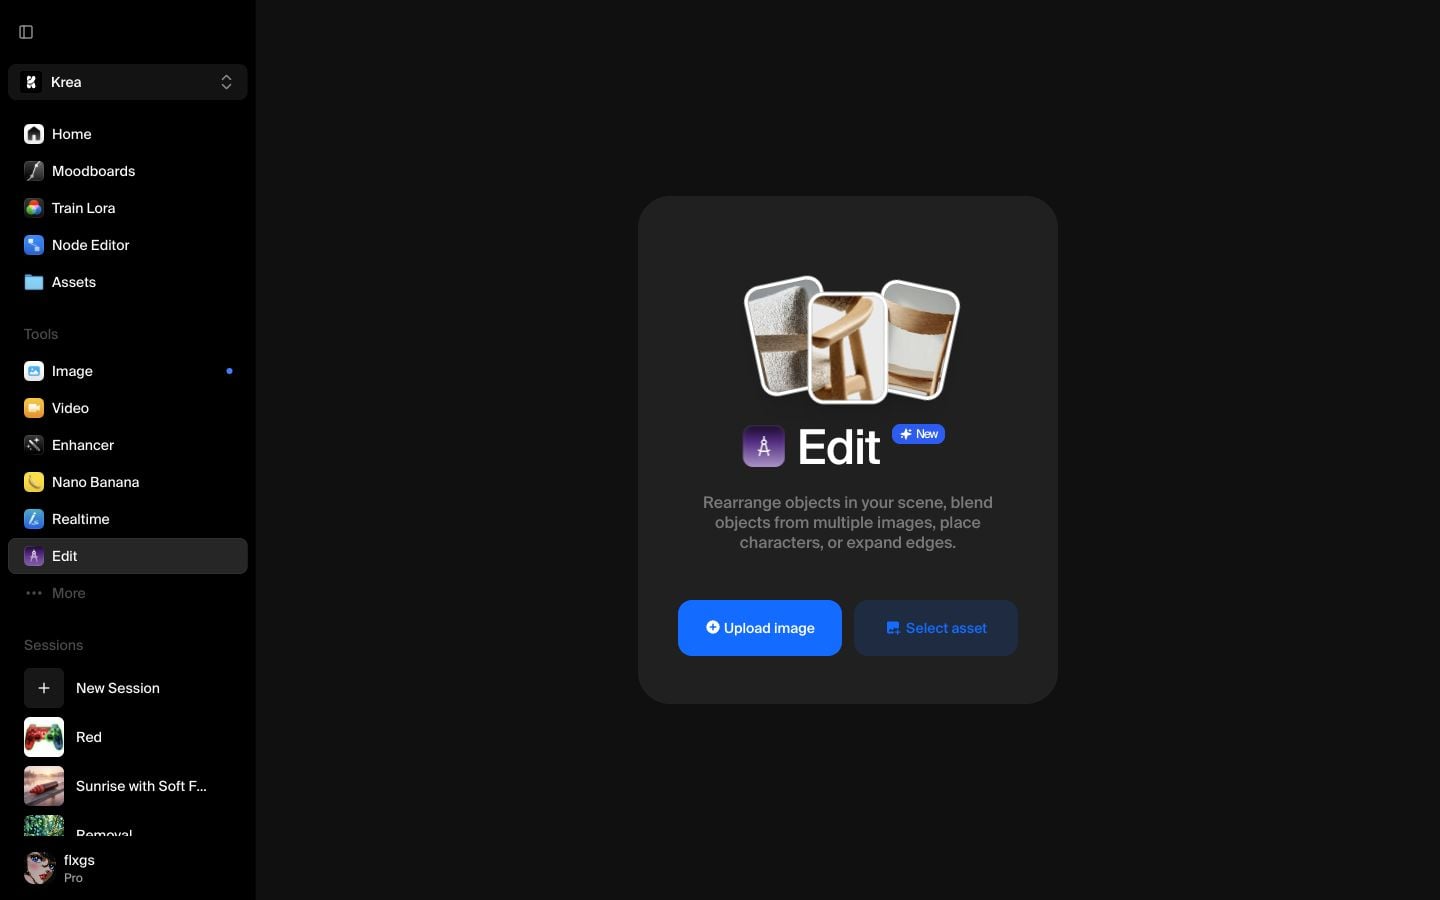
Select an asset
Click Select asset in the center of the canvas. Pick the image you want to cut out from your assets. For the cleanest result, choose an image with a clear subject and a background that is visually separate from the edges of the subject.

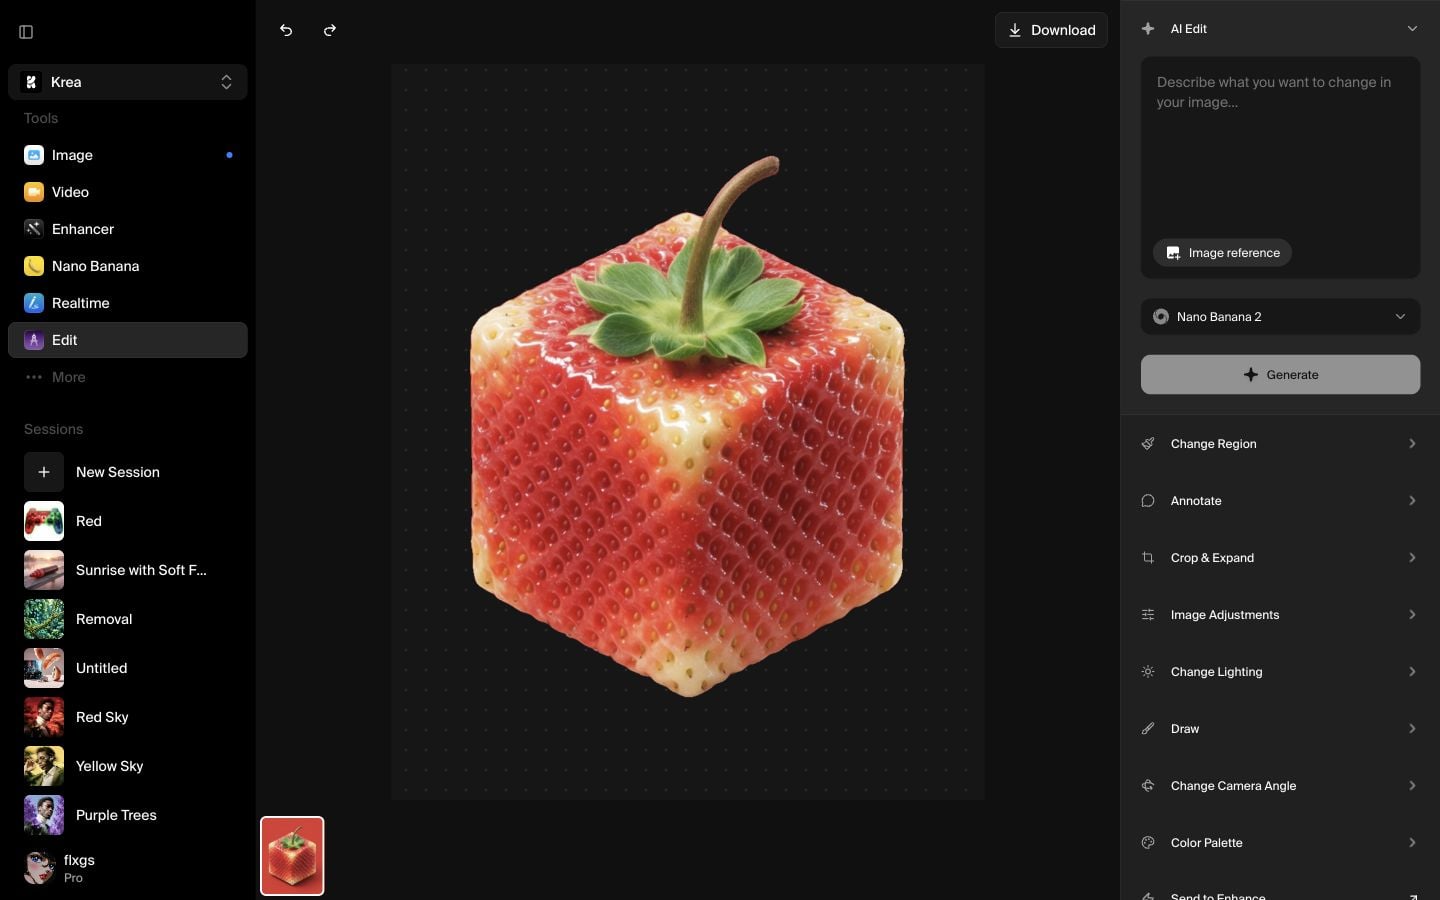
Place the image on the canvas
After selecting the asset, Krea loads it into Edit. Make sure the image itself is selected before opening the context menu. If you right-click the empty canvas instead, you will not see the image action you need.
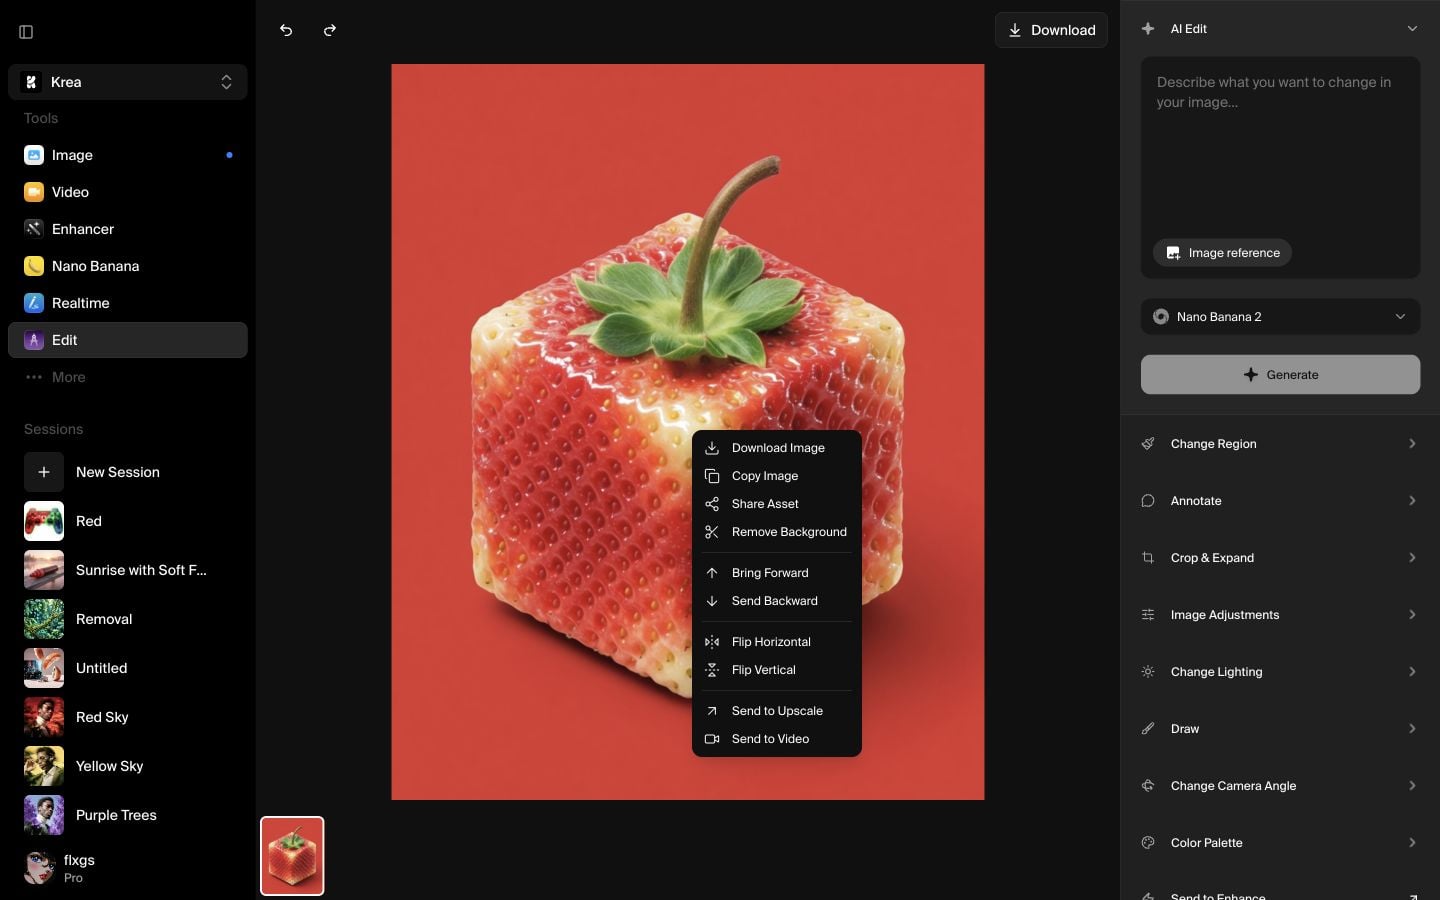
Right-click and choose Remove Background
Right-click directly on the image, then choose Remove Background from the menu. This is the fastest path when you only need a transparent cutout and do not want to write an edit prompt.
Wait for the cutout
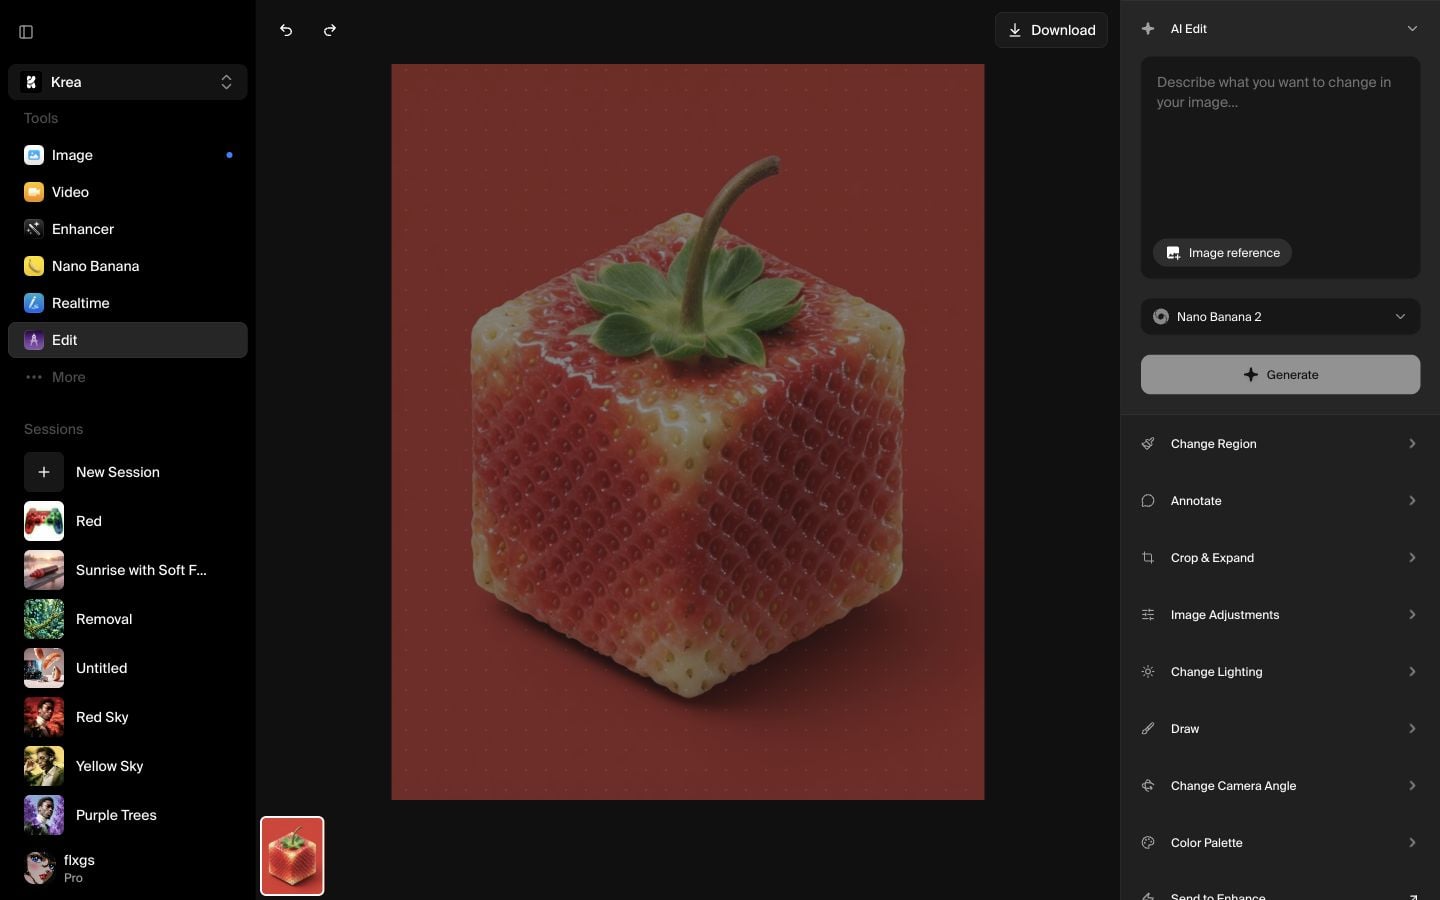
Krea processes the image and replaces the original background with a transparent canvas preview. The dotted grid behind the subject shows that the background has been removed.
Download the result
When the cutout is ready, use Download in the top toolbar to save it. You can bring the transparent image into a new design, use it as a reference, or continue editing it in Krea.
Quick checklist
- Start from Edit, not the image generation page.
- Use Select asset to bring in the image you want to cut out.
- Right-click the image itself and choose Remove Background.
- Wait until the transparent grid appears behind the subject.
- Download the finished cutout from the top toolbar.
Tips for better background removal
Pick images where the subject has a strong silhouette. Hair, glass, motion blur, and similar colors between subject and background can make the edge harder to separate. If the cutout is not clean enough, try a sharper source image or use Edit again to refine the remaining area.
Remove a background in Krea
Open Edit, select an asset, right-click the image, and make a transparent cutout in a few clicks.
Open EditFrequently asked questions
No. For this workflow, use the right-click menu and choose Remove Background. A prompt is only needed if you want to describe a more specific edit.
Open Edit, add an asset to the canvas, then right-click directly on the image. The option appears in the image context menu.
Look for the transparent grid behind the subject. That grid indicates the original background is no longer filling the image area.
Yes. You can continue using Edit tools, send the cutout into another Krea workflow, or download it when it is ready.