
The hardest render in architecture is the one with neighbours. A standalone building on a clean lot is easy. The same building between two existing facades, with real foot traffic and the actual streetscape, is the render a planning committee actually wants to see.
Krea 2 handles site context renders with real photo-grade accuracy. Upload a photo of the site, describe the proposed building, and the model returns a render that respects the surroundings. This article walks through the workflow with four common site types.
How it works
- Take or source a photograph of the actual site — empty lot, existing structure to replace, or surrounding context.
- Upload the photograph as an image reference in Krea 2.
- Write a tight prompt describing the proposed building — form, materials, scale, height, ground-floor activation.
- Generate. The model preserves the surroundings and inserts the proposed building.
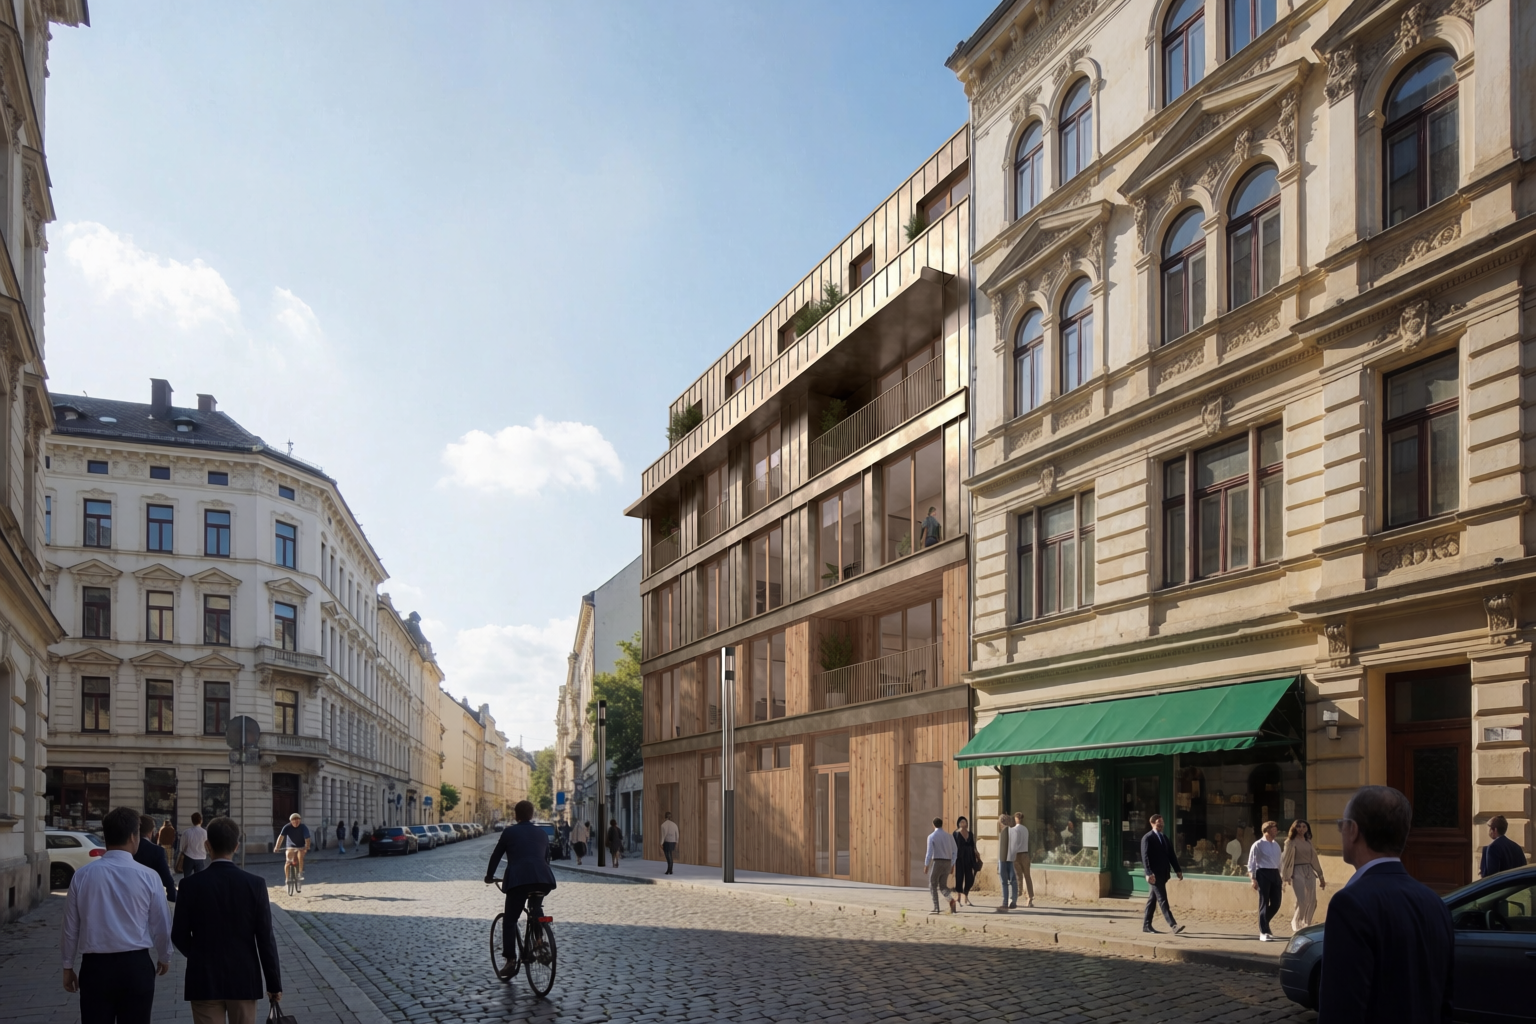
Urban infill between historic neighbours
The classic planning-committee request: show what your proposed building looks like next to the buildings that already exist.
Empty infill lot, before and after
Site photo of the empty lot, and the proposed contemporary infill building inserted between historic neighbours.
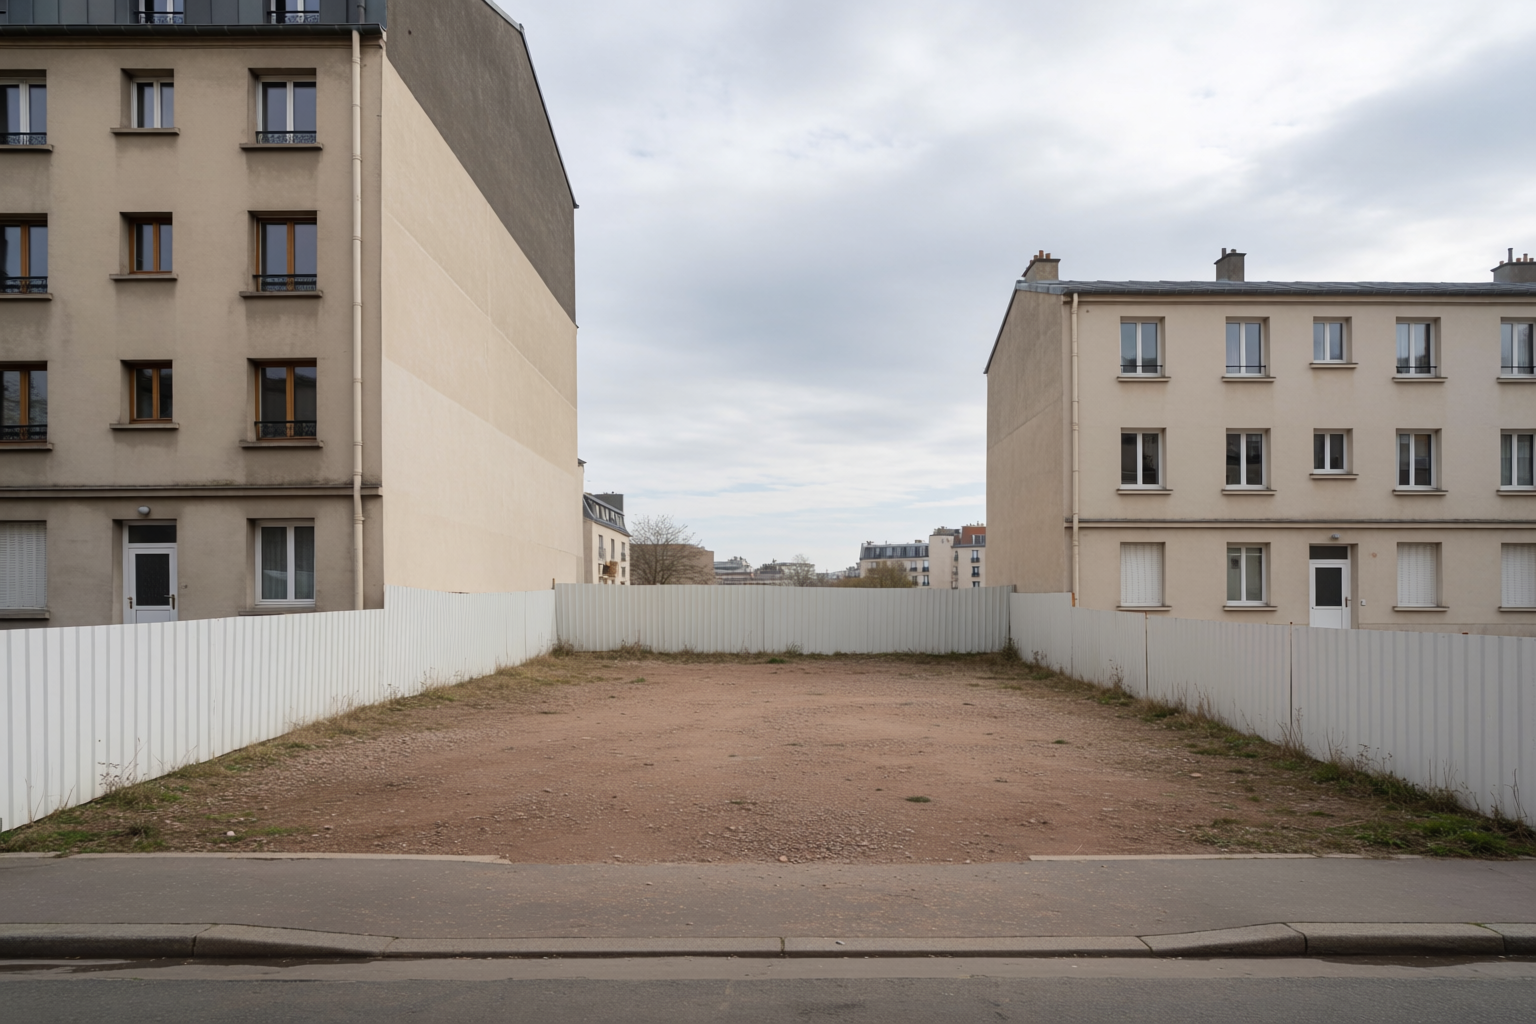
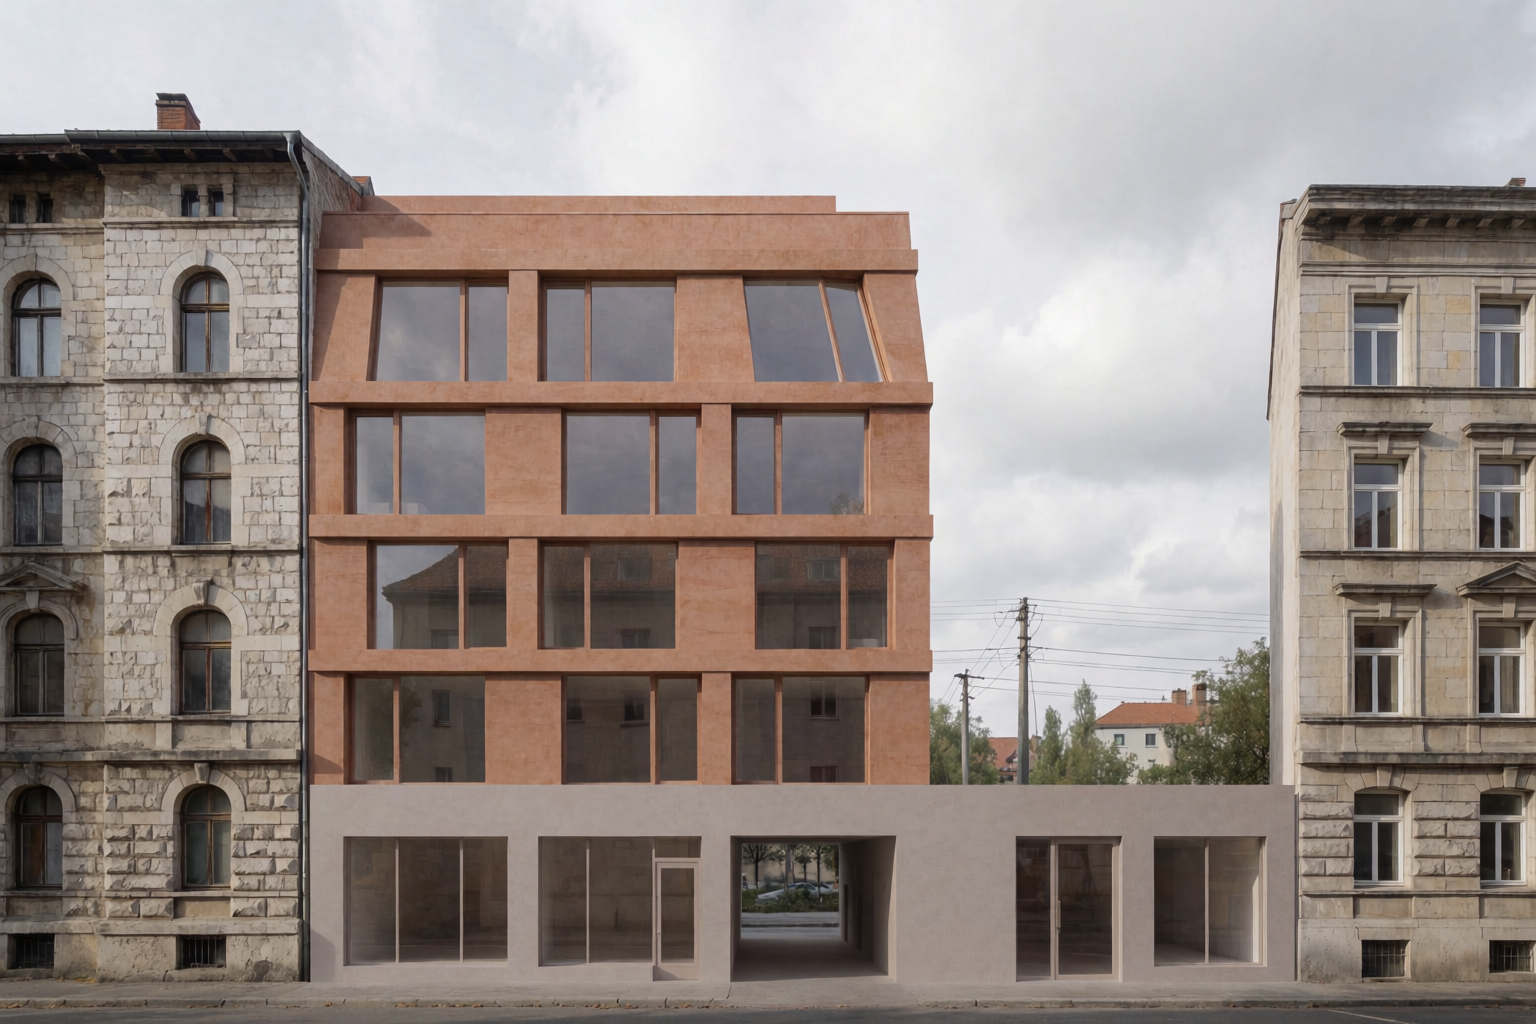
The prompt that did the insertion: “Photoreal architectural rendering of a contemporary five-story residential infill building inserted between two existing historic European apartment buildings, warm masonry facade with modern proportions, midday overcast lighting, professional architectural visualization.”
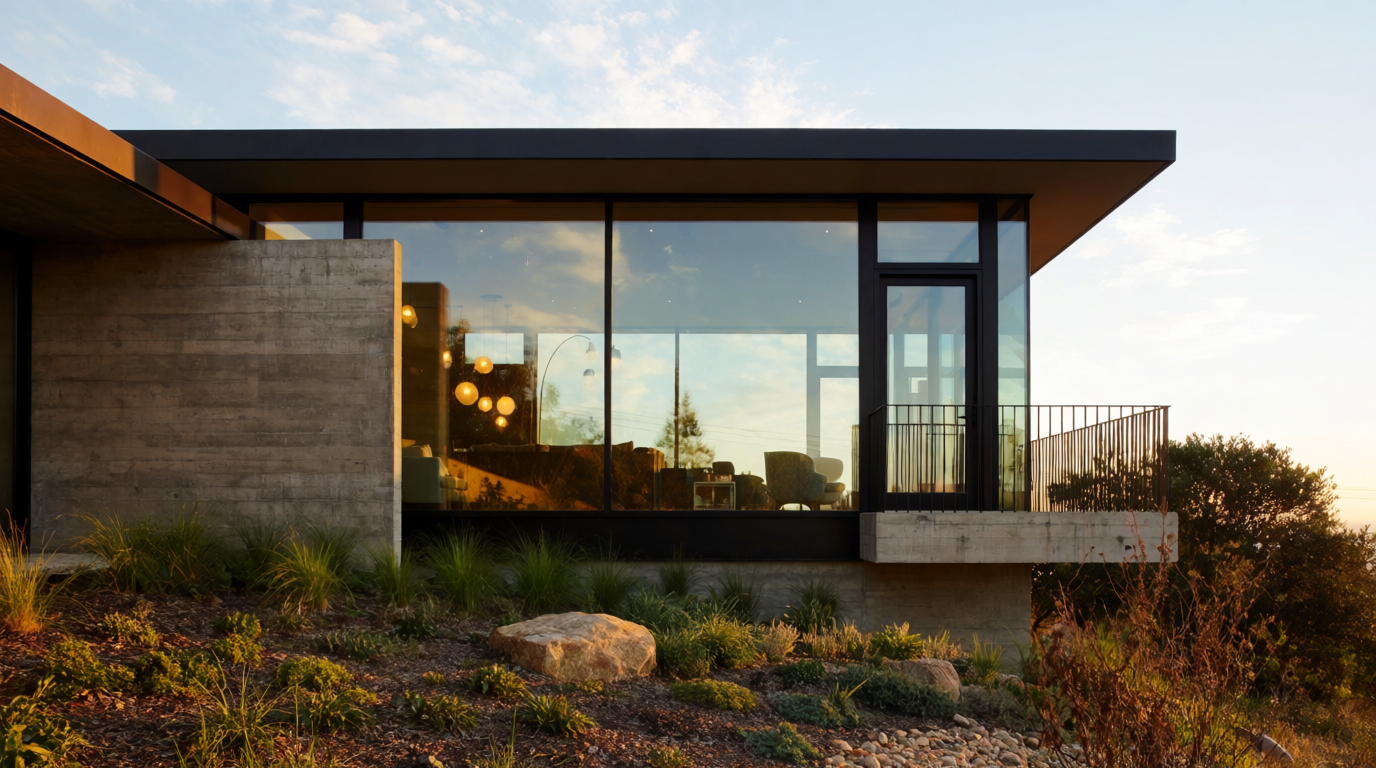
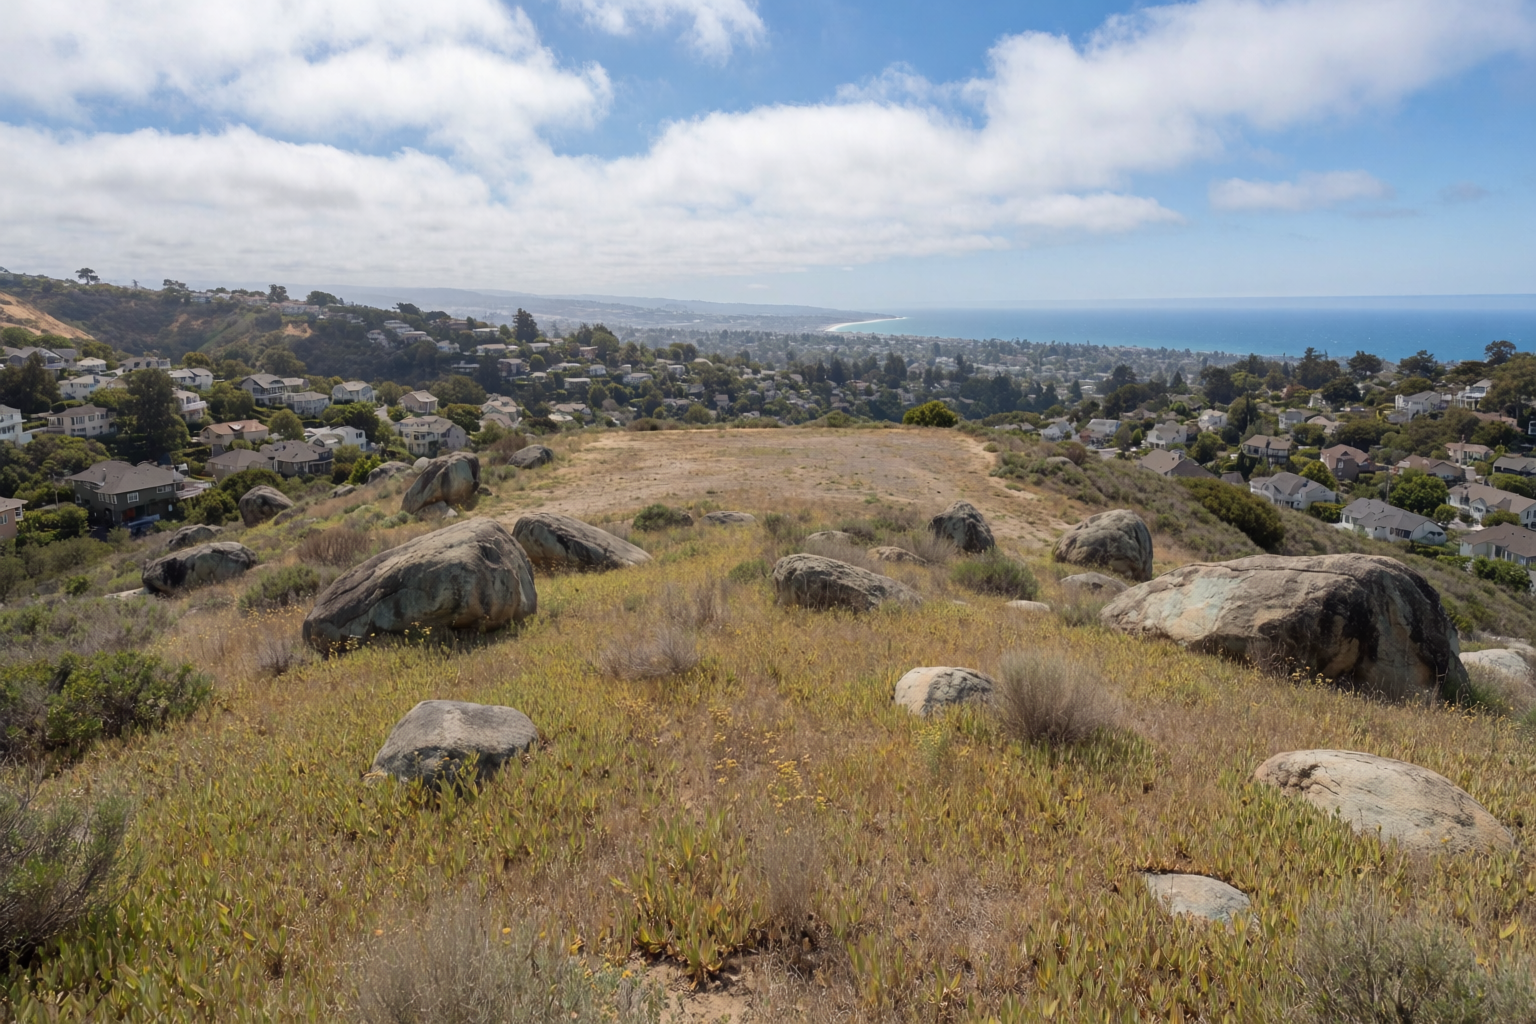
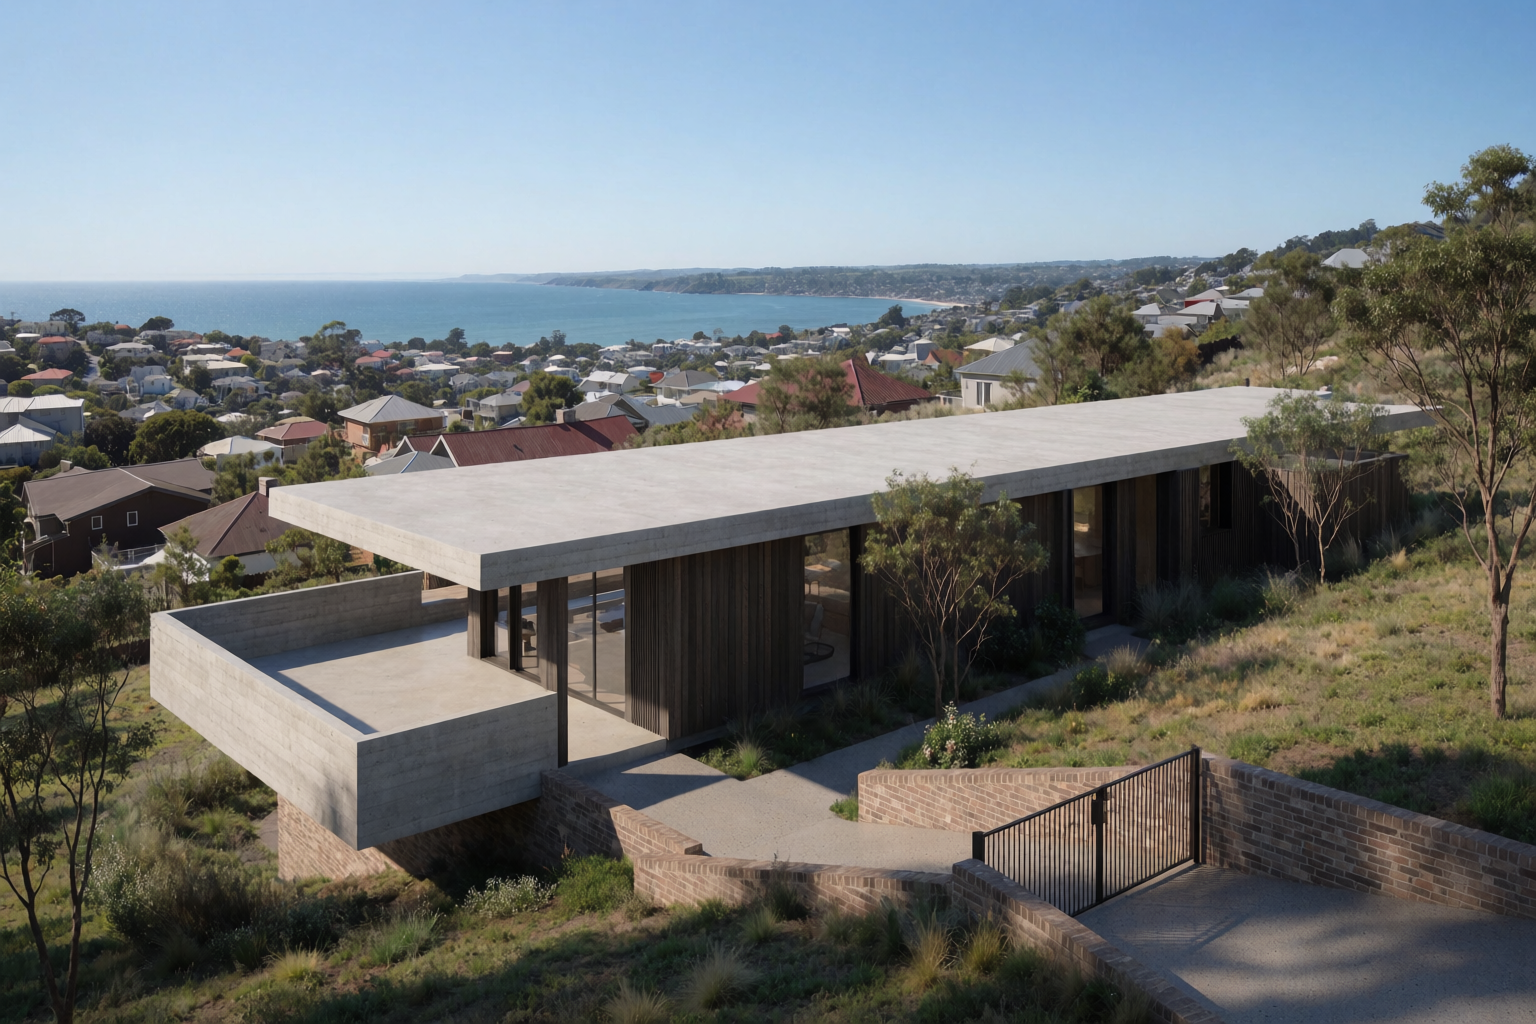
Hillside residential with view
For private residential clients on a hillside lot, the questions are: how does the building sit on the slope, and how does it relate to the view? A site photo answers the first; the prompt answers the second.
Hillside lot, before and after
Empty hillside site, and the proposed contemporary villa inserted onto the slope.
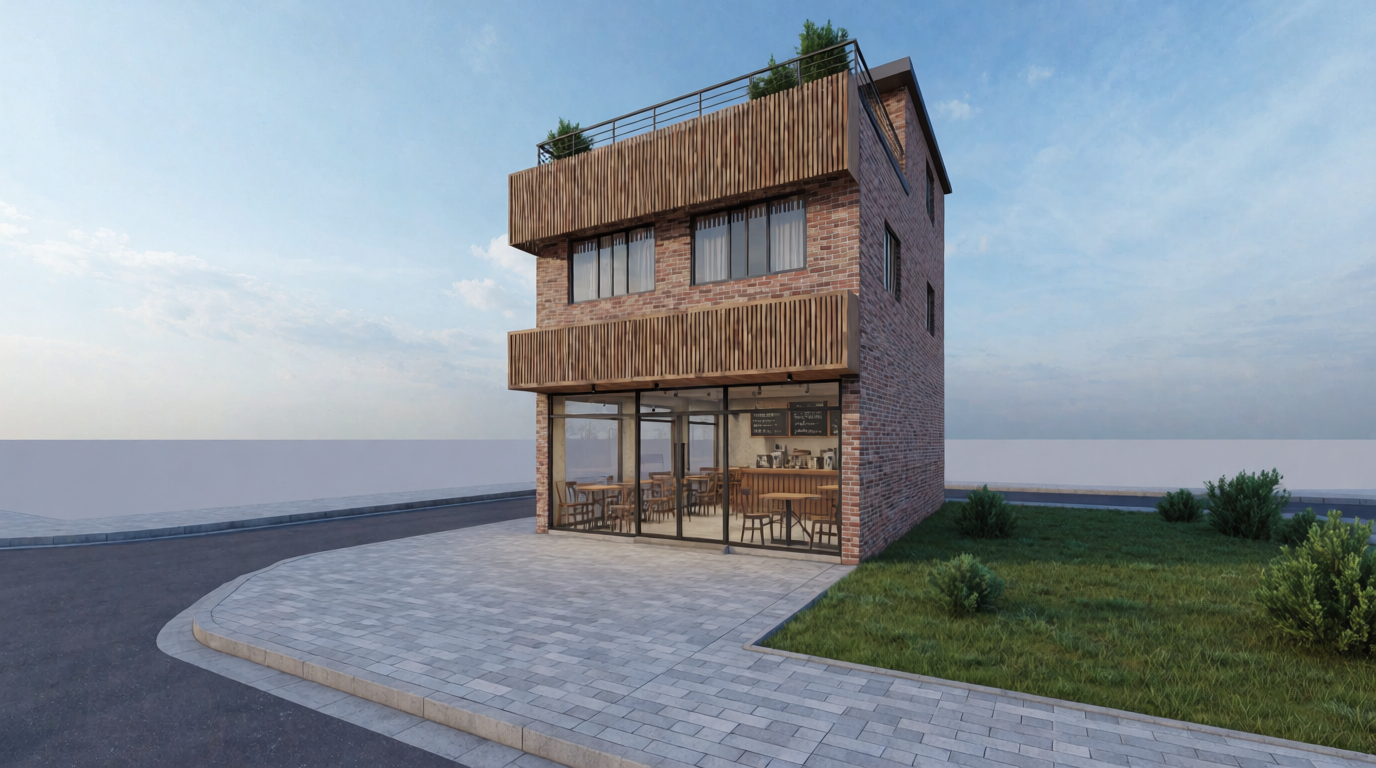
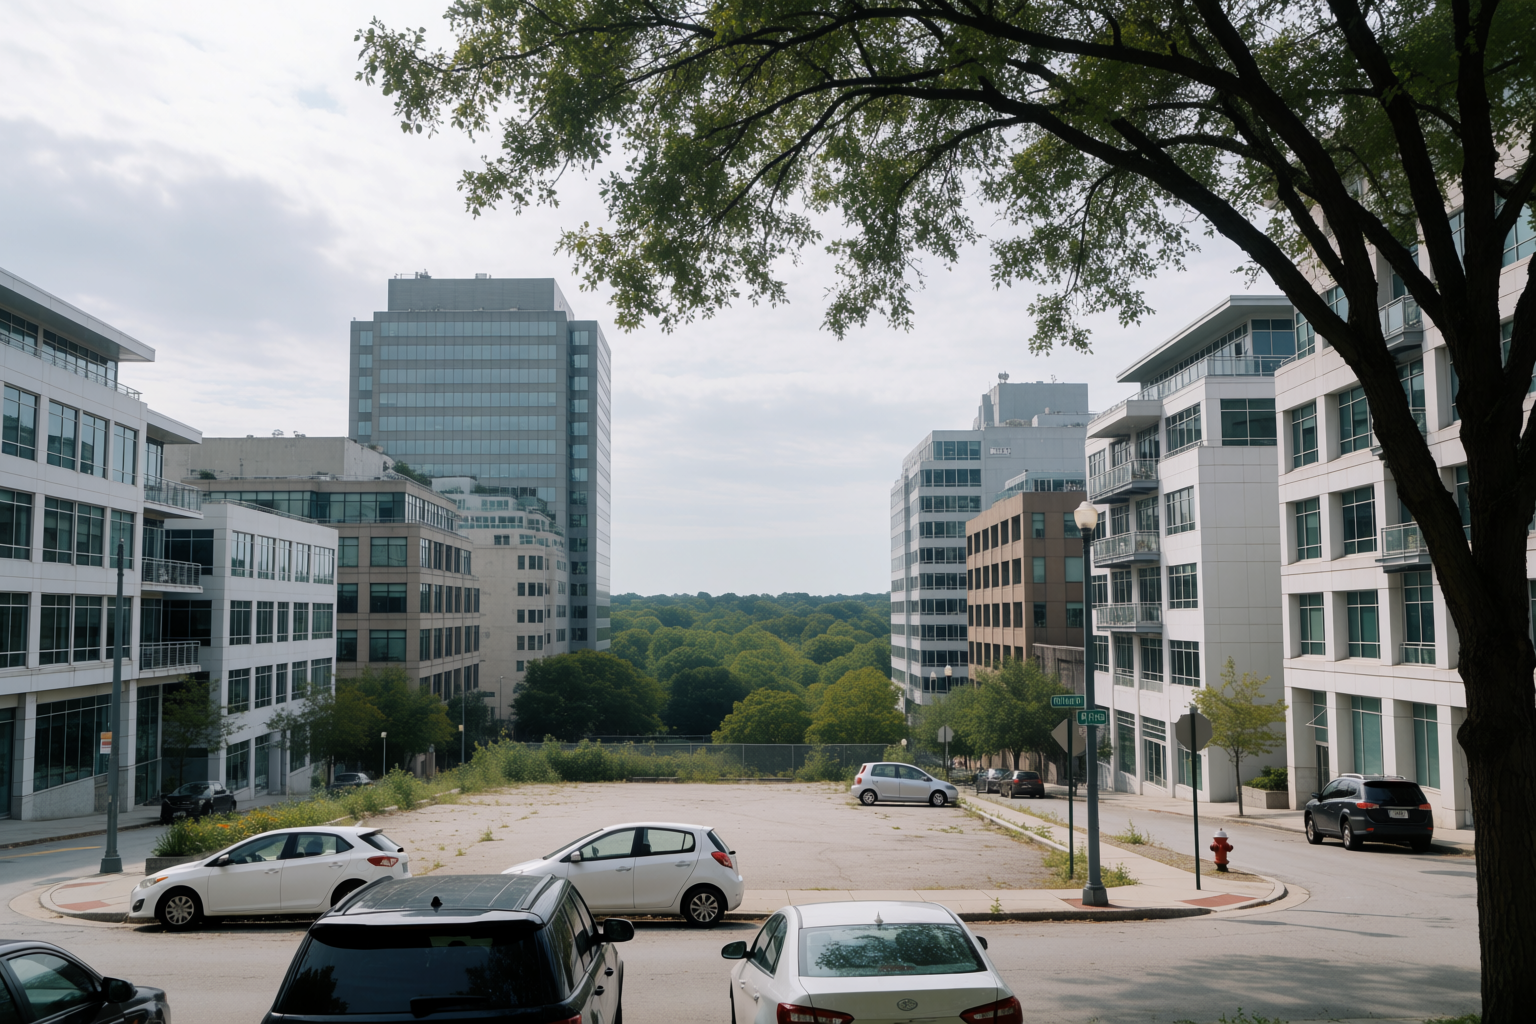
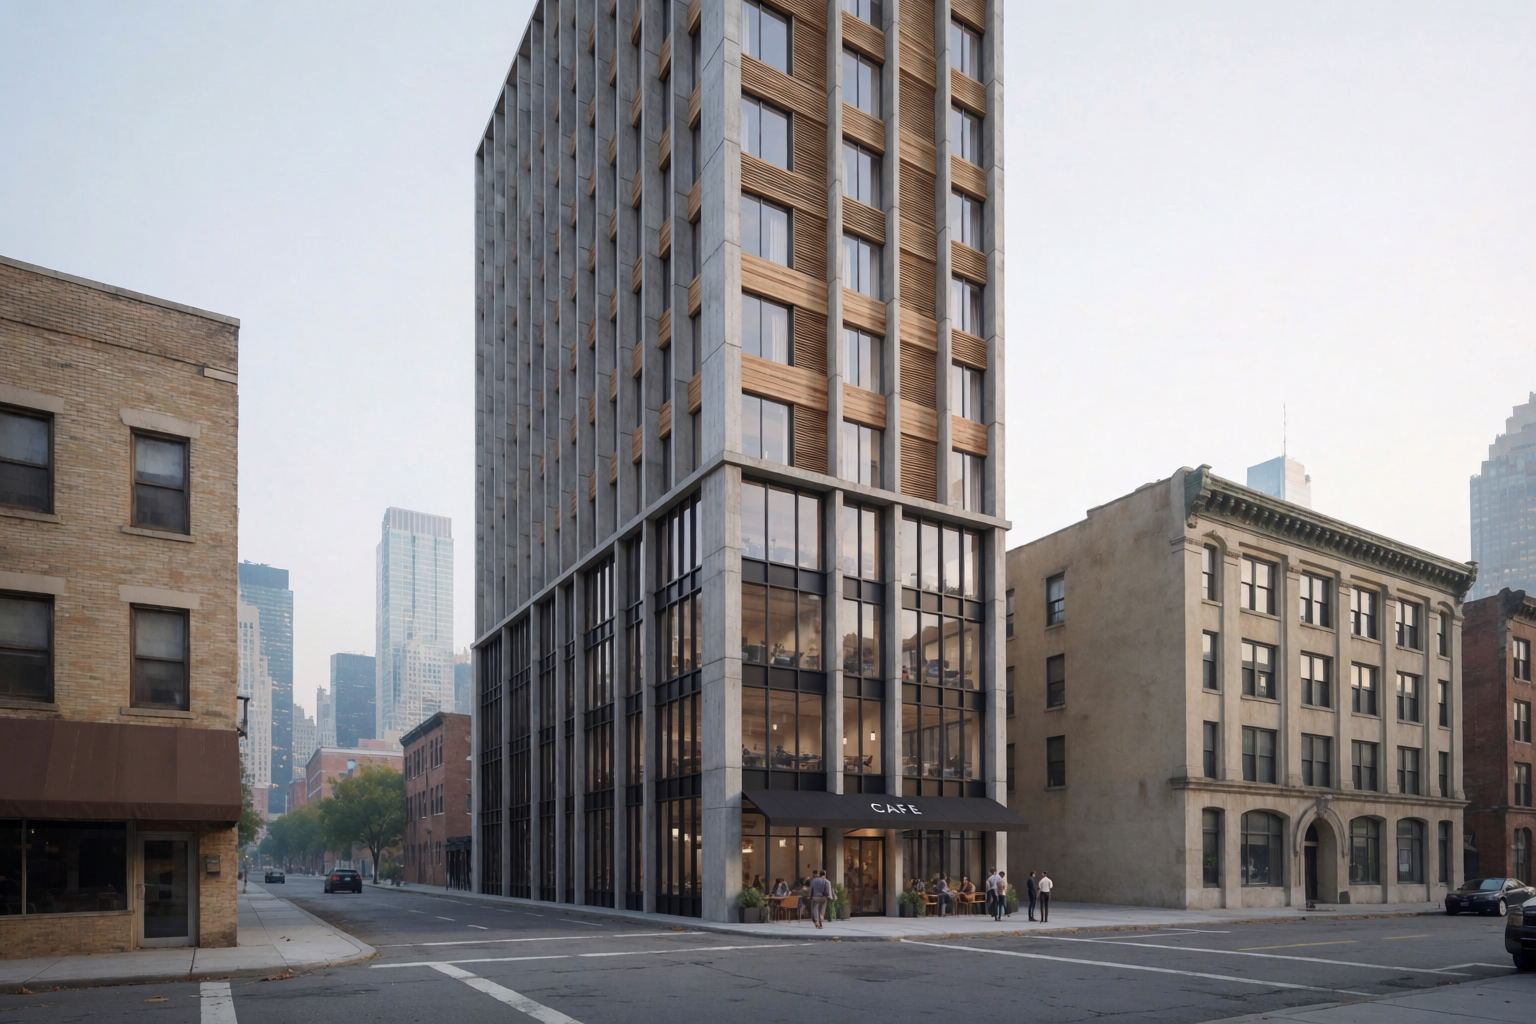
Tight urban corner
A corner lot in a dense block — the kind of site where the surrounding buildings dictate height, setbacks, and ground-floor program.
Urban corner, before and after
Empty corner lot in a mid-rise urban block, and the proposed twelve-story tower inserted into the same context.
Aerial context
For master-planning and community engagement, the aerial render does work no street-level shot can do — it shows scale, density, and relationship to the surrounding neighbourhood.
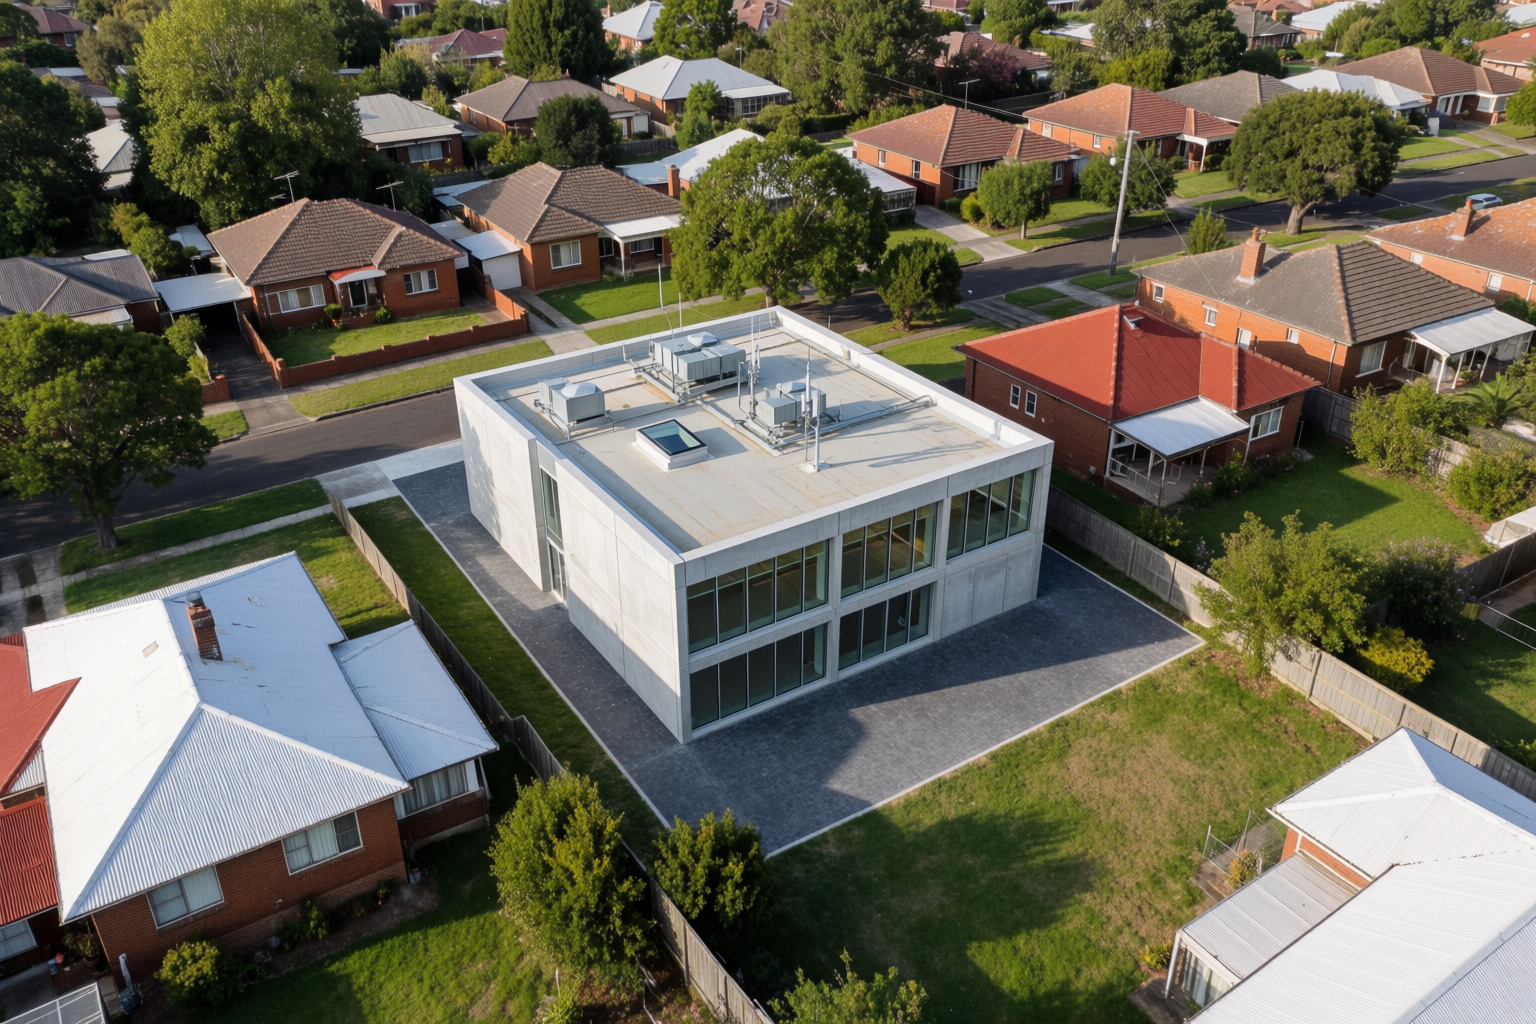
Prompt that works: “Photoreal aerial architectural rendering of a new contemporary community center inserted into a suburban neighbourhood block, surrounded by existing detached houses and tree-lined streets, midday clear light, professional architectural visualization in real site context.”
Prompt patterns that work for site context
- Lead with the existing context. “Inserted between two historic apartment buildings,” “on a Pacific coast slope,” “into a busy urban block.” Naming the context first orients the model to respect it.
- Specify what stays. “Existing buildings unchanged,” “preserve the neighbouring facades,” “no changes to the surrounding street trees.” The model will preserve more when you ask explicitly.
- Use real site photographs. Generic site prompts produce generic sites. A real photo as a reference grounds every detail in the actual conditions.
- Match the time of day to the site photo. If the site photo is overcast, prompt for overcast lighting. Time-of-day mismatches between the existing context and the proposed building break the illusion.
- Add people at the right density. Empty streets read as renders. Crowded streets read as 6pm Friday. Match the density to the moment you want to depict.
Where this fits in a project
Site context renders are the deliverable for two specific moments:
- Pre-application planning meetings. Before you submit drawings, you show the committee what the building will look like in context. A persuasive site context render is the difference between a hostile review and a routine one.
- Community engagement. Public consultation requires images real residents can understand. Plans and elevations are not enough. A photoreal site context render is.
Render your next site in Krea 2
Free to start. Image references and Krea Edit included on every plan.
Open Krea 2