In the 2026 Chaos and Architizer survey, 64% of architecture and design respondents had experimented with AI, yet only 20% had fully integrated it into their workflow. Trying to generate an image is easy; however, using different ways of editing and prompting gives AI for interior design new abilities. In this article we showcase 6 creative ways to use AI for interior design.
AI can quickly compare a warm white wall paint against a cooler alternative, while the finish decision must retain the room’s measured daylight, existing flooring, and supplier-available paint codes. A homeowner presentation, a Rhino or Revit finish study, and a client review meeting each call for different visual support. For a homeowner presentation, AI can turn material options into side-by-side room visuals that make a preferred direction easier to discuss.
Use AI for interior design as a sequence of controlled components, beginning with the real space and ending with a human-checked, sourceable presentation, rather than asking a model to design an entire room at once. Preserve the room and define materials, narrow directions with the group, then verify and present a consistent selection.
1. Restyling the Actual Room Before Reimagining It
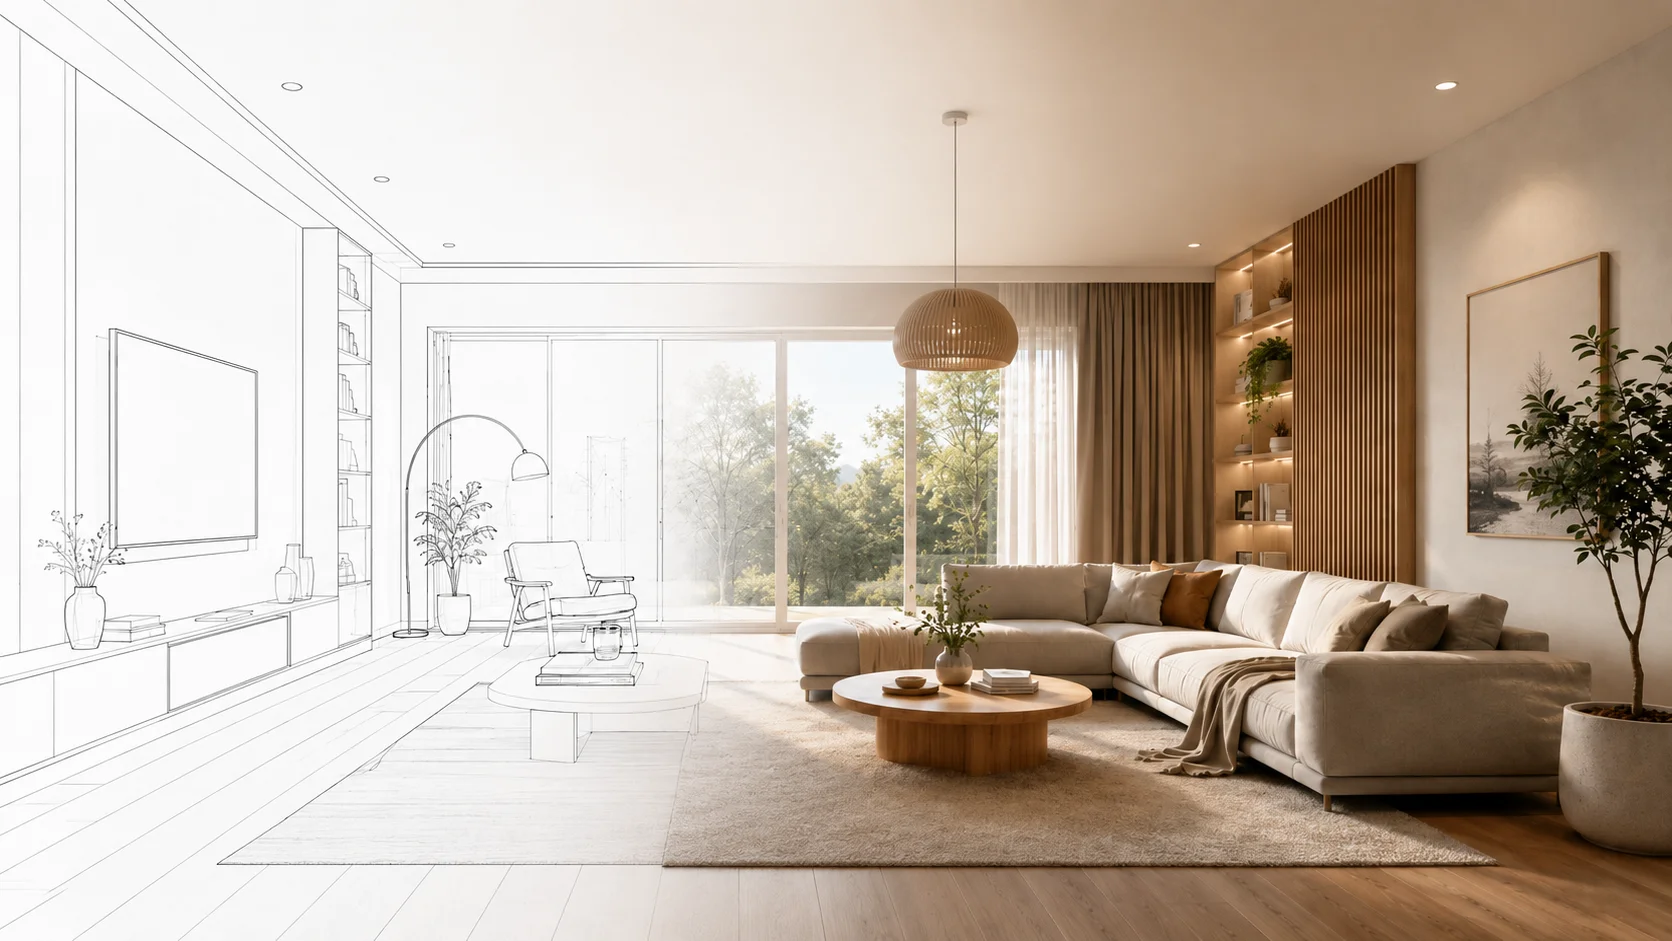
A photograph of the client’s room gives AI a constraint that an empty prompt cannot provide. Krea’s interior workflow uses an uploaded room photo to apply targeted changes in a new direction while preserving the existing structure, so the redesign remains grounded in the actual space. A tidy, level, wide photograph of the room in daylight shows the windows and fireplace clearly, with the existing layout visible between them.
That starting point changes the conversation. You can test a warmer floor, a quieter sofa, or different wall treatment against the space the client recognizes, rather than spend time defending a scene with unfamiliar proportions. Although photo restyling can alter geometry — a tradeoff our RoomGPT review and alternatives documents in detail — naming the windows and fixed architectural features gives each edit a clear boundary.
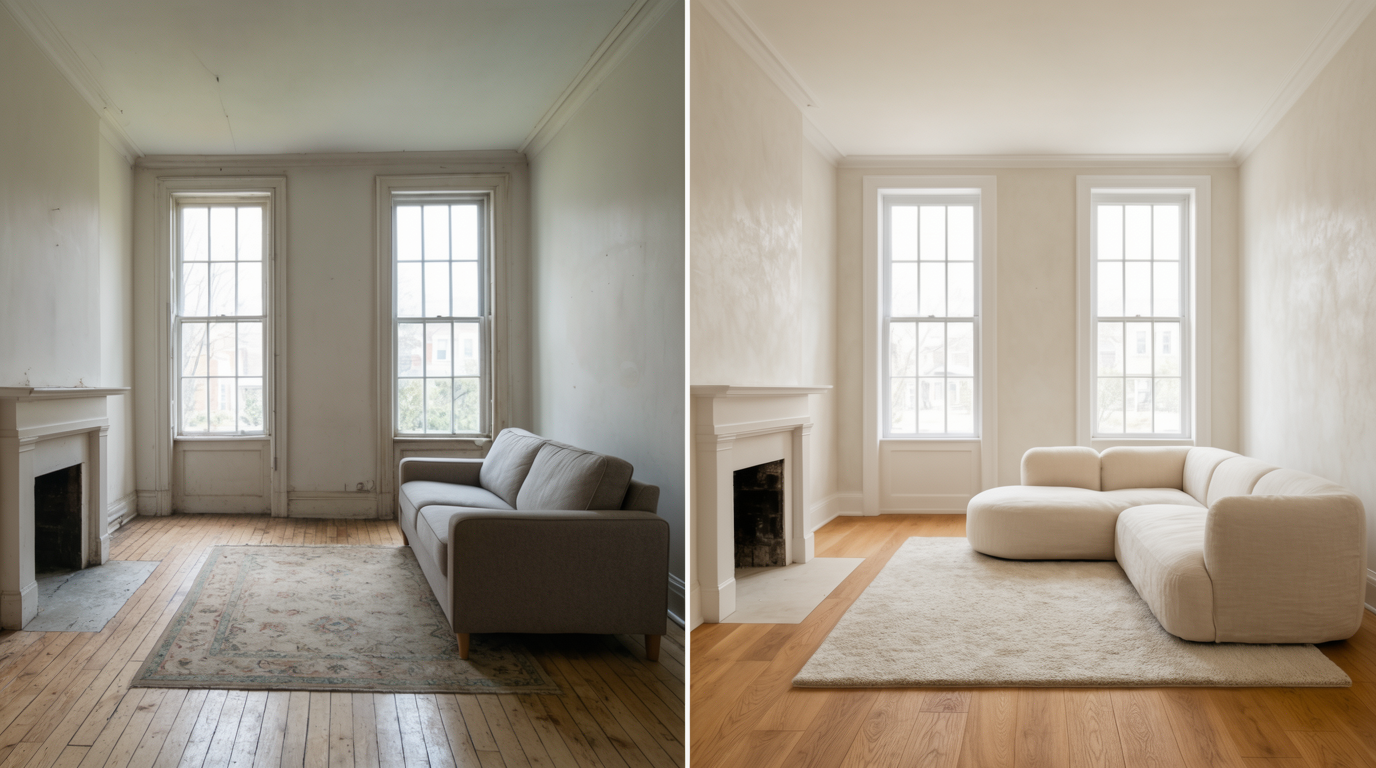
Try photo-based interior studies in Krea Image.
Restyle a real room with AI
Upload a client's room photo and test new finishes while the layout stays intact.
Open Krea Image2. Experimenting with Materials and Finishes
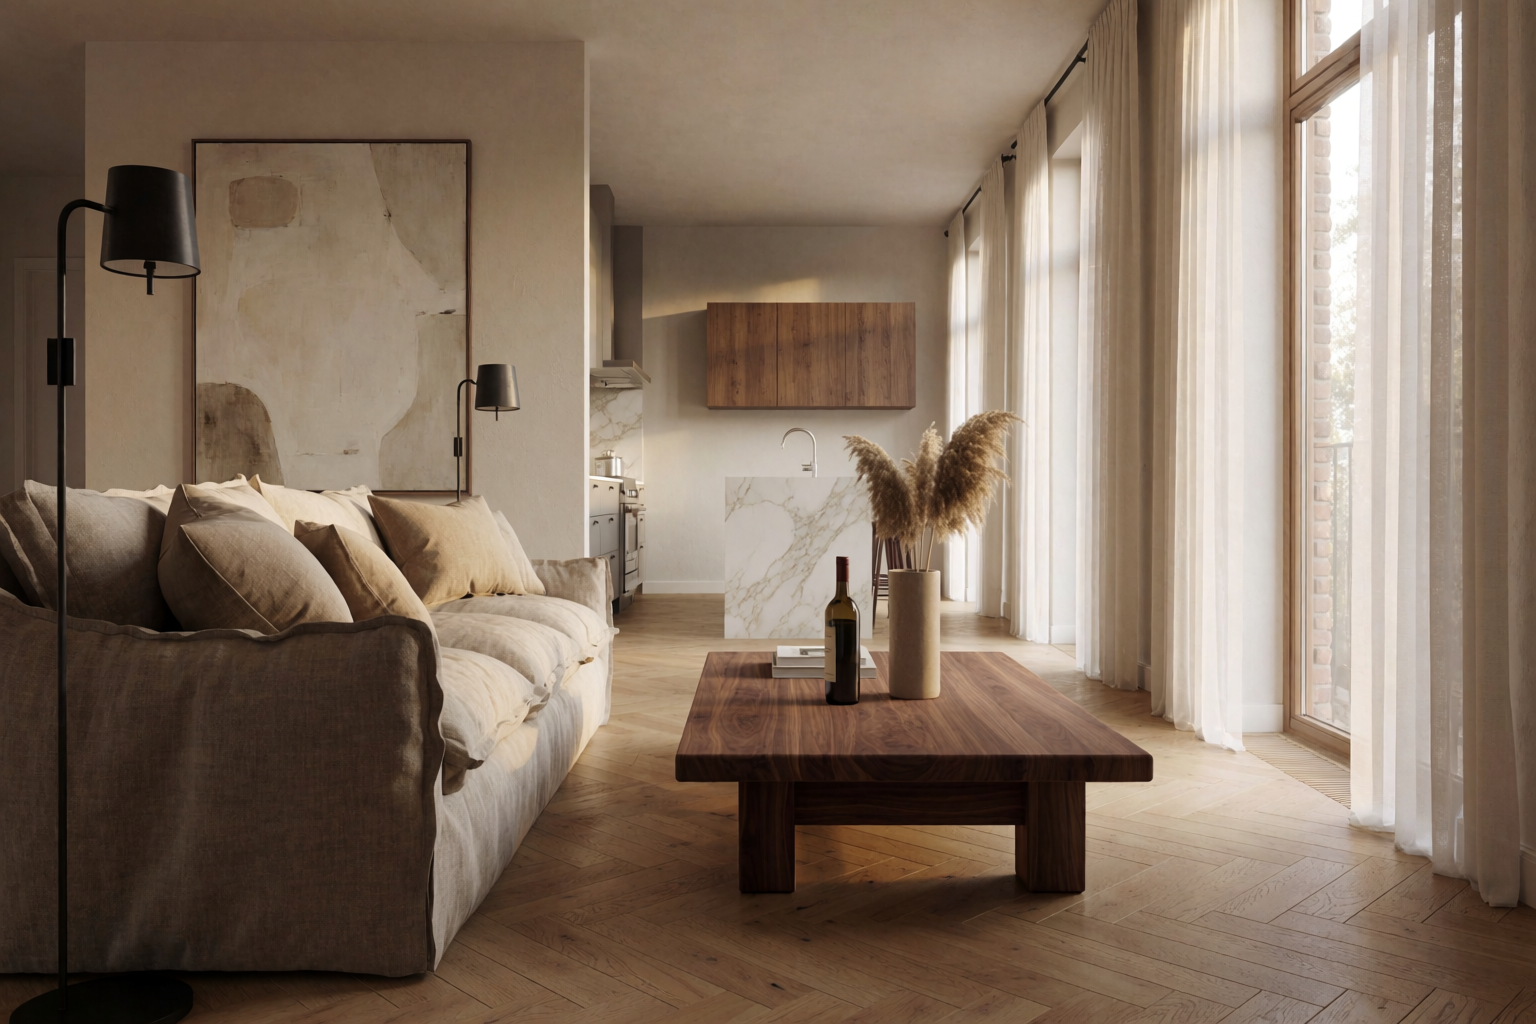
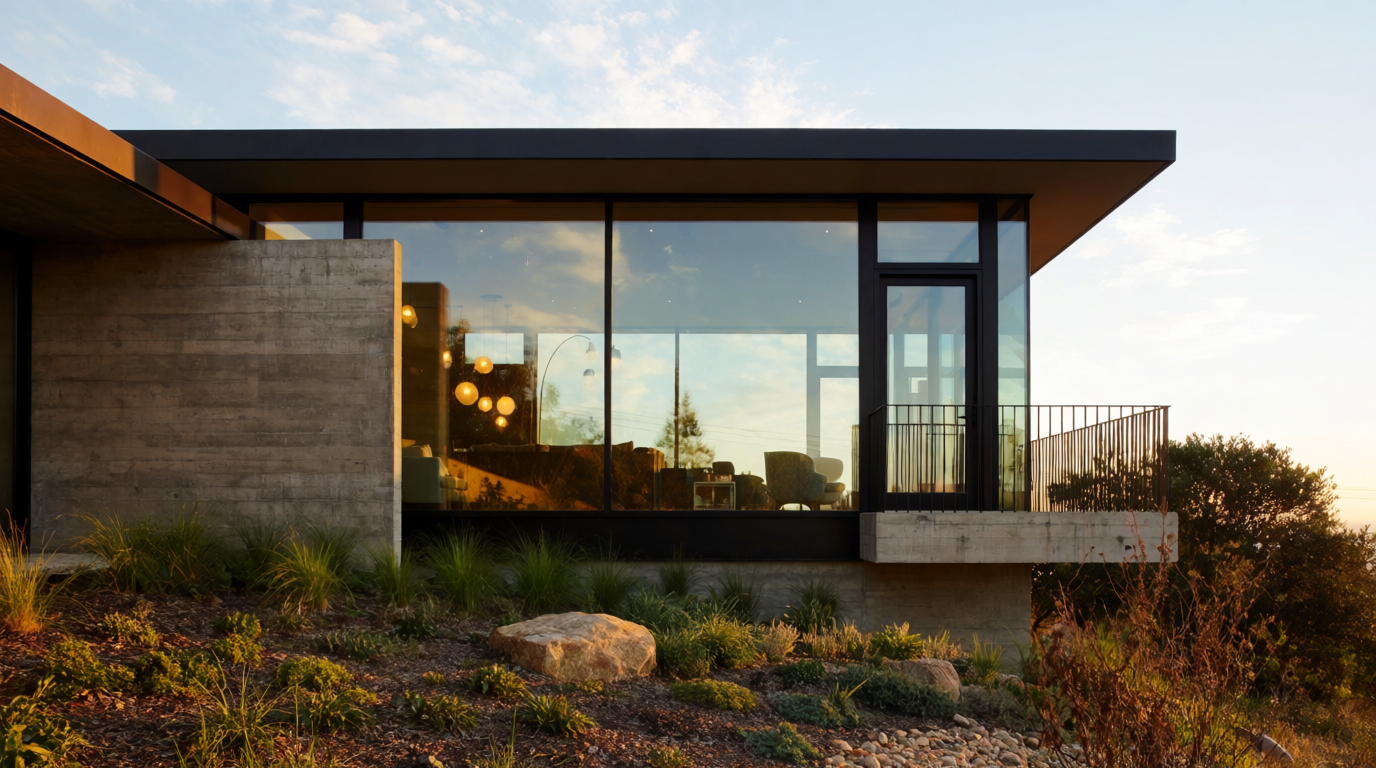
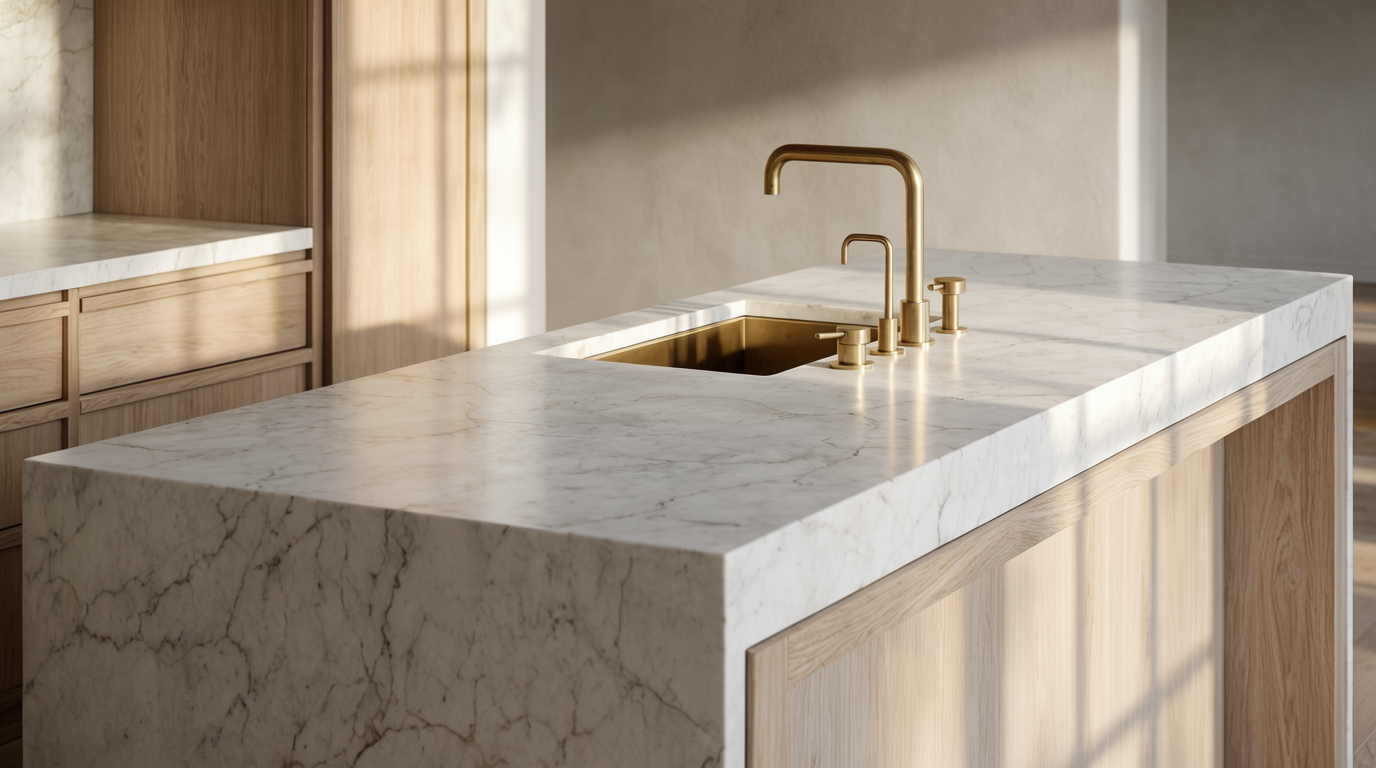
Material testing begins by naming the finishes and lighting under review. Material and framing specificity sharpen the study: Krea’s Interior design with Krea 2 guidance calls for a hero element with an art or sculptural anchor, three to five named materials, and explicit light with camera framing. Henning Larsen applies the same discipline in material language: “concrete” leaves too much open, while “board-formed concrete with visible plank texture” gives the model a surface to depict.
Specific terms direct attention to the decisions that make an interior feel deliberate: furnishings, material combinations, and light. Test one question per prompt. For a kitchen, that could mean asking whether a white-oak island works with honed marble and brushed brass, rather than assigning every object in the room at once.
3. Playing with Variations
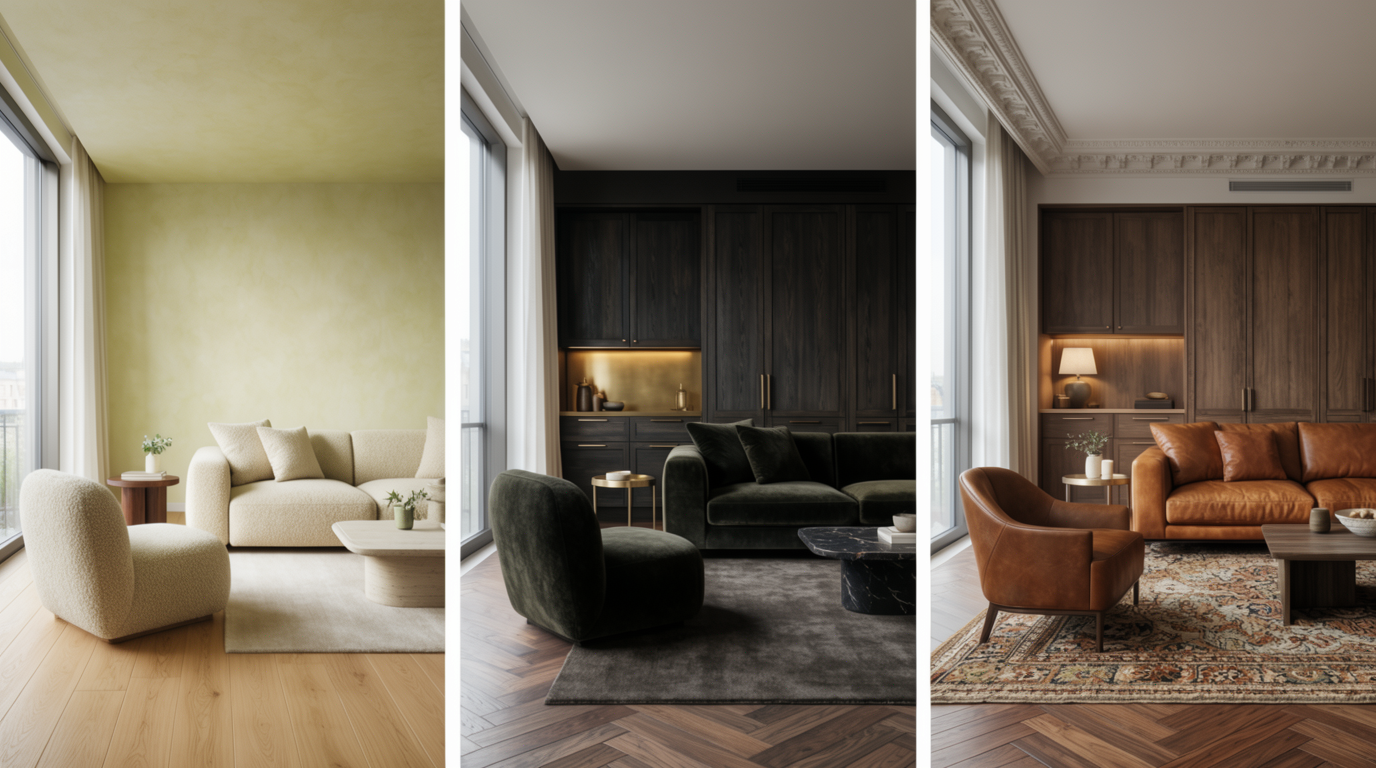
A limited set of clearly different directions produces a more useful client conversation than a large grid of near-duplicates. In MeltFlex’s veteran-designer case, the designer generated two or three directions from the client’s real-room photo for one meeting. Krea then separates generation from targeted editing, so a selected image can receive a focused refinement without rebuilding the entire room.
The limit gives clients a choice they can explain. Ask them to compare warm minimalism, a darker hospitality influence, and a traditional material palette, then listen for the details that earn agreement. Refine one agreed feature within the chosen direction to deepen the client’s commitment. The meeting moves forward because every new image responds to a decision already made.
4. Building Consistency With Vignettes, Moodboards, and Owned References
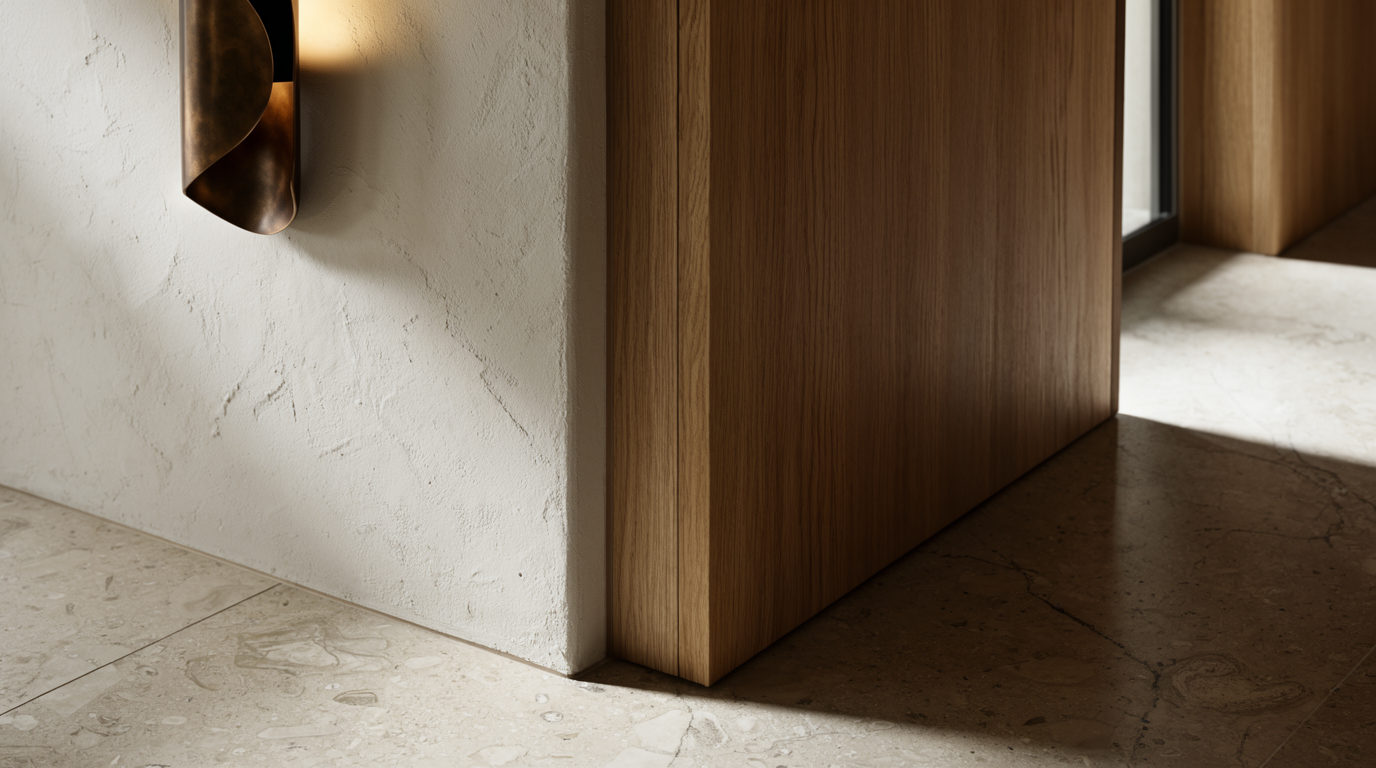
A studio can establish a project language more reliably through small scenes before it attempts a complete property set. Henning Larsen favors narrow views of thresholds, corners, and material details because they offer greater control than broad room scenes. The studio also uses custom LoRAs trained only on images it owns to carry a consistent visual language through its explorations.
A vignette isolates the relationship that matters. You can judge plaster against oak joinery, or see how a sculptural light changes an entry, without the model making competing choices across a whole room. Build the reference set from approved materials, project imagery, and a locked moodboard; repeat it through key moments before expanding to wider views. Drift becomes visible while it is still confined to one corner.
5. Verifying Scale, Products, Lighting, and Buildability Before Sourcing
AI interior imagery can persuade the eye while concealing inaccurate proportions or material effects that cannot be built. Chaos warns that AI images can show unrealistic materials and proportions that make a design impossible to build. Decorilla identifies product hallucinations as another common problem: the furniture, lighting, or finish shown may not exist in a purchasable size or configuration.
Verify room dimensions, product availability, and installation constraints before presenting a direction as something to buy or build. A sofa that appears to fit may block circulation; a pendant may be unavailable at the required drop; a shadow may conflict with the real window orientation. These checks preserve the image’s value as a tool for alignment without turning an appealing render into a costly promise.
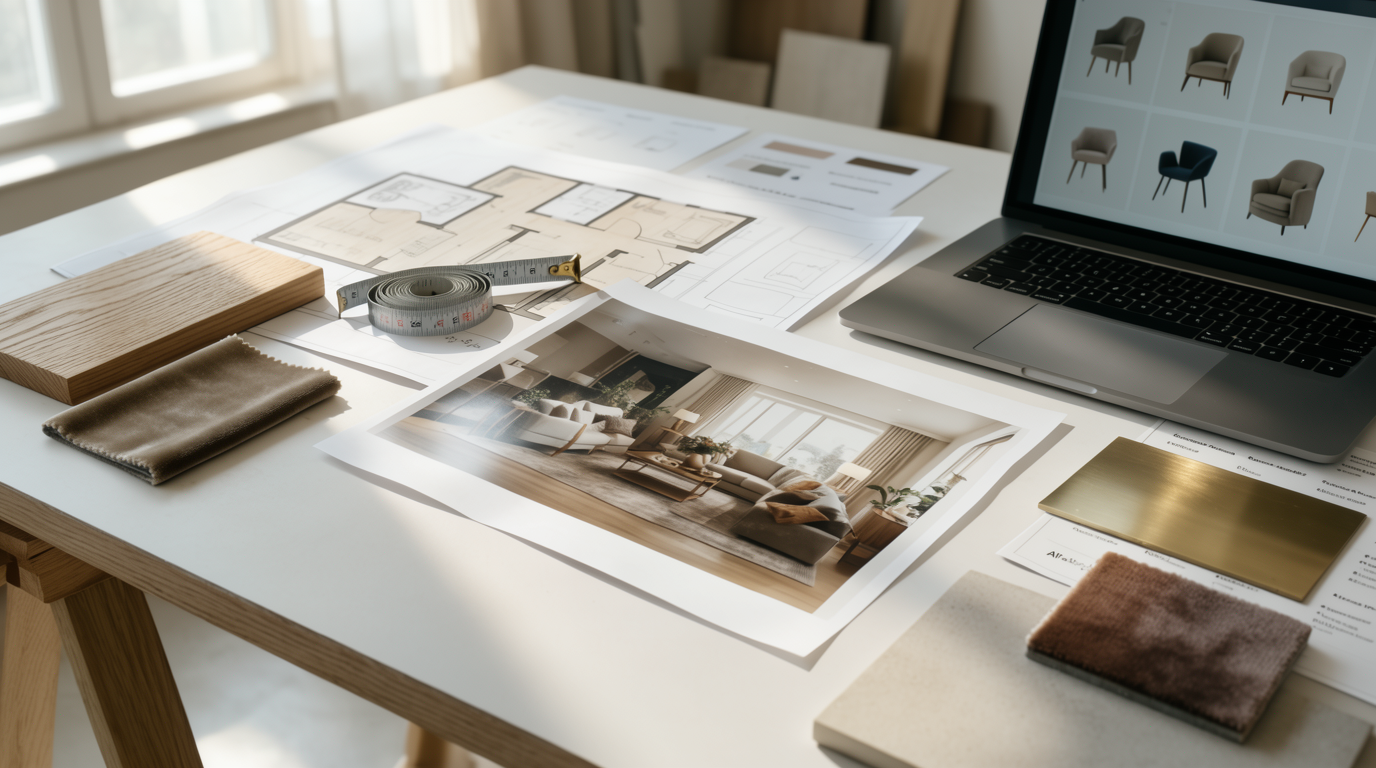
6. Turning the Approved Direction Into a Client-Ready Presentation
Presentation is where AI images add the most value after the project direction has narrowed. Krea’s connected interior workflow includes Enhancer, which upscales selected images after generation and editing for client-ready resolution. AI supports practical design work: in a 1stDibs survey of 468 designers across 17 countries, use rose from 9% in 2023 to 29% in 2025, chiefly for efficiency and client renderings.
Use the final set to communicate approved atmosphere, key material moments, and lighting intent. Let sourced specifications and measured drawings carry the next project decisions. Each frame documents a client decision, and the resulting connected, verified views show the project’s approved direction.
Where to Start
Begin with the bottleneck that delays a real design conversation. The Chaos and Architizer survey found that 85% of respondents using AI reported efficiency or time savings, with the largest gains concentrated in concept design and ideation.
Geometry-preserving room restyles are the strongest starting point for clients who cannot visualize a renovation. Use one material vignette with a tighter prompt to settle finish debates. Unchecked option generation pushes verification further out and leaves decisions unresolved.
The useful output arrives when a client points to a view of their own room, identifies what works, and gives the project a clearer next decision.
FAQ
Frequently asked questions
How is AI in interior design different from just generating pretty room images?
What’s the best way to prompt AI for interior material studies?
Should I generate many options or only a few?
Can AI help during client meetings instead of only for final presentation?
How do I keep AI outputs consistent enough to use with design and documentation?
Try interior design in Krea
Upload a room photo, restyle it while keeping the geometry, and test material directions before you present.
Try Krea Image