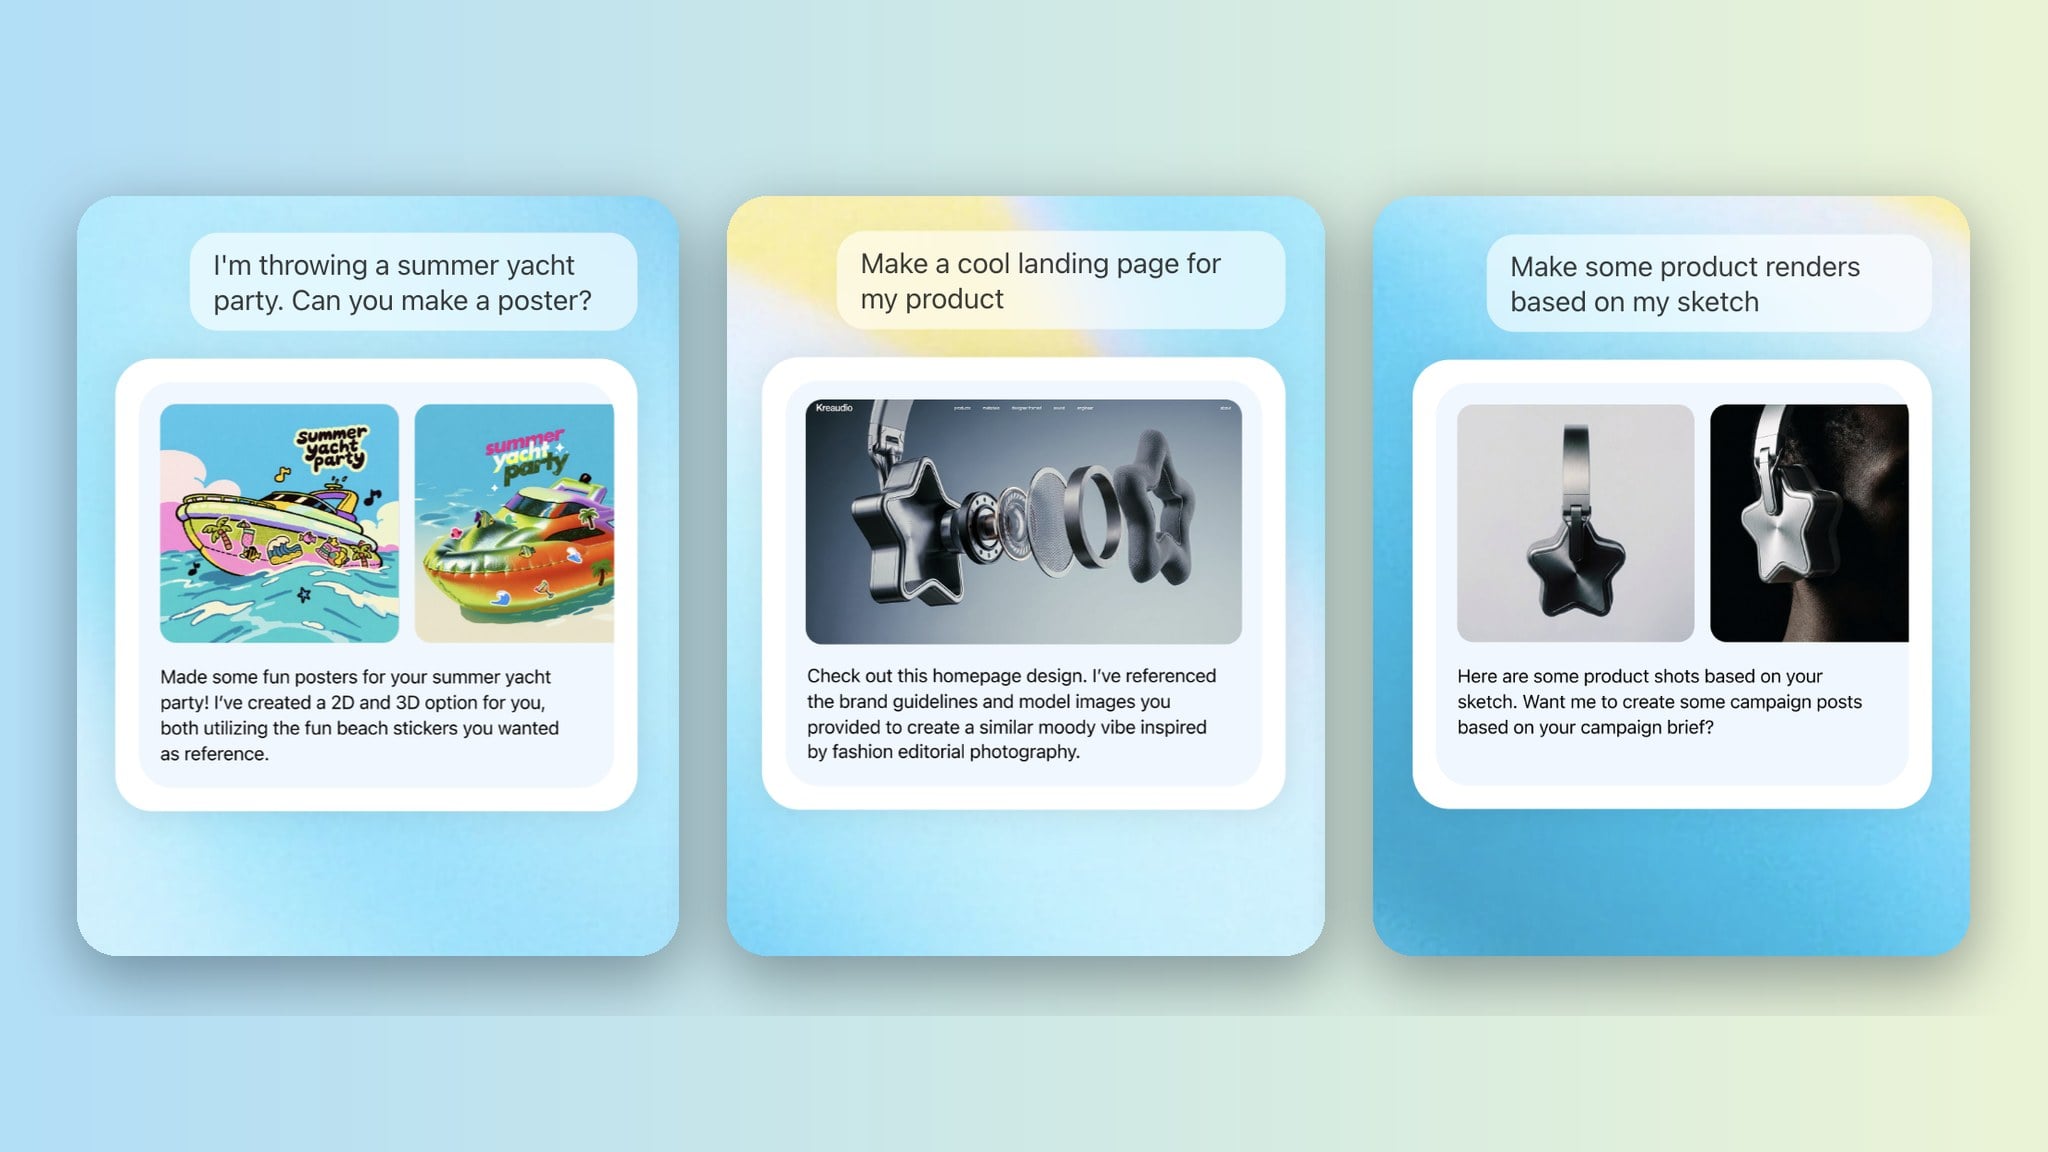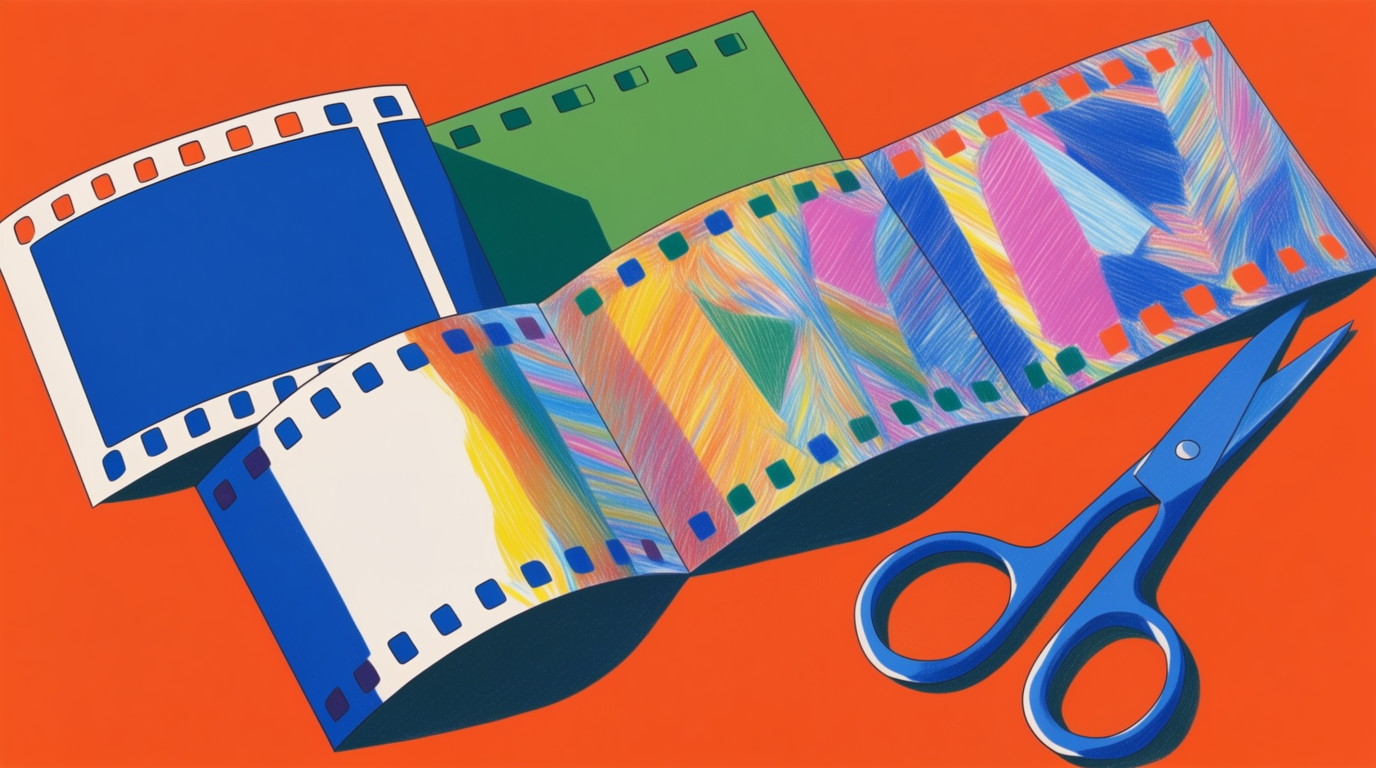
Krea Agent generates video. Until this week, the cut happened somewhere else. On September 17, 2026, Krea shipped a video editor inside the agent. You put generated clips on a timeline, cut them, extend a clip with a new generation, add audio, and export one MP4. This guide shows each step.
Try the video editor
The 'Cut a Launch Spot' template generates three clips and opens them in the editor. Agent is included on Max, Business, Creator Max and Enterprise plans.
Open the templateWhat the video editor does
The editor is a timeline. It lives in the preview panel of an agent session, next to the chat. It has:
- Video tracks and audio tracks. A session starts with two of each. A timeline can hold up to eight tracks.
- Cut, trim, move, delete. Standard timeline edits with the mouse and the keyboard.
- Generative extend. Drag the end of a clip while you hold ⌘ or Ctrl. A video model generates what happens next.
- Export. One button renders the timeline to an MP4 and saves it in the session.
The agent generates the clips. You make the cut. The agent does not operate the timeline for you.
Step 1: Generate the clips
Start a session and describe the scenes. Ask for one clip per scene. Name the model, the length, and the aspect ratio. Keep the subject the same in every clip.
The launch template “Cut a Launch Spot” uses this brief:
Create three 10-second clips for a 30-second launch spot for a matte black wireless speaker. Clip 1: a slow reveal of the speaker on a dark studio table under one warm light. Clip 2: a macro shot of the fabric grille as bass pulses through it. Clip 3: the speaker on a bookshelf in a sunlit living room at golden hour. Keep the same speaker in every clip, 16:9, use Seedance 2.5. When the clips are done I will open them in the video editor, put the three scenes on the timeline, add a music track, and export the spot.
The clips land in the generations panel when they finish.
Step 2: Open a clip in the editor
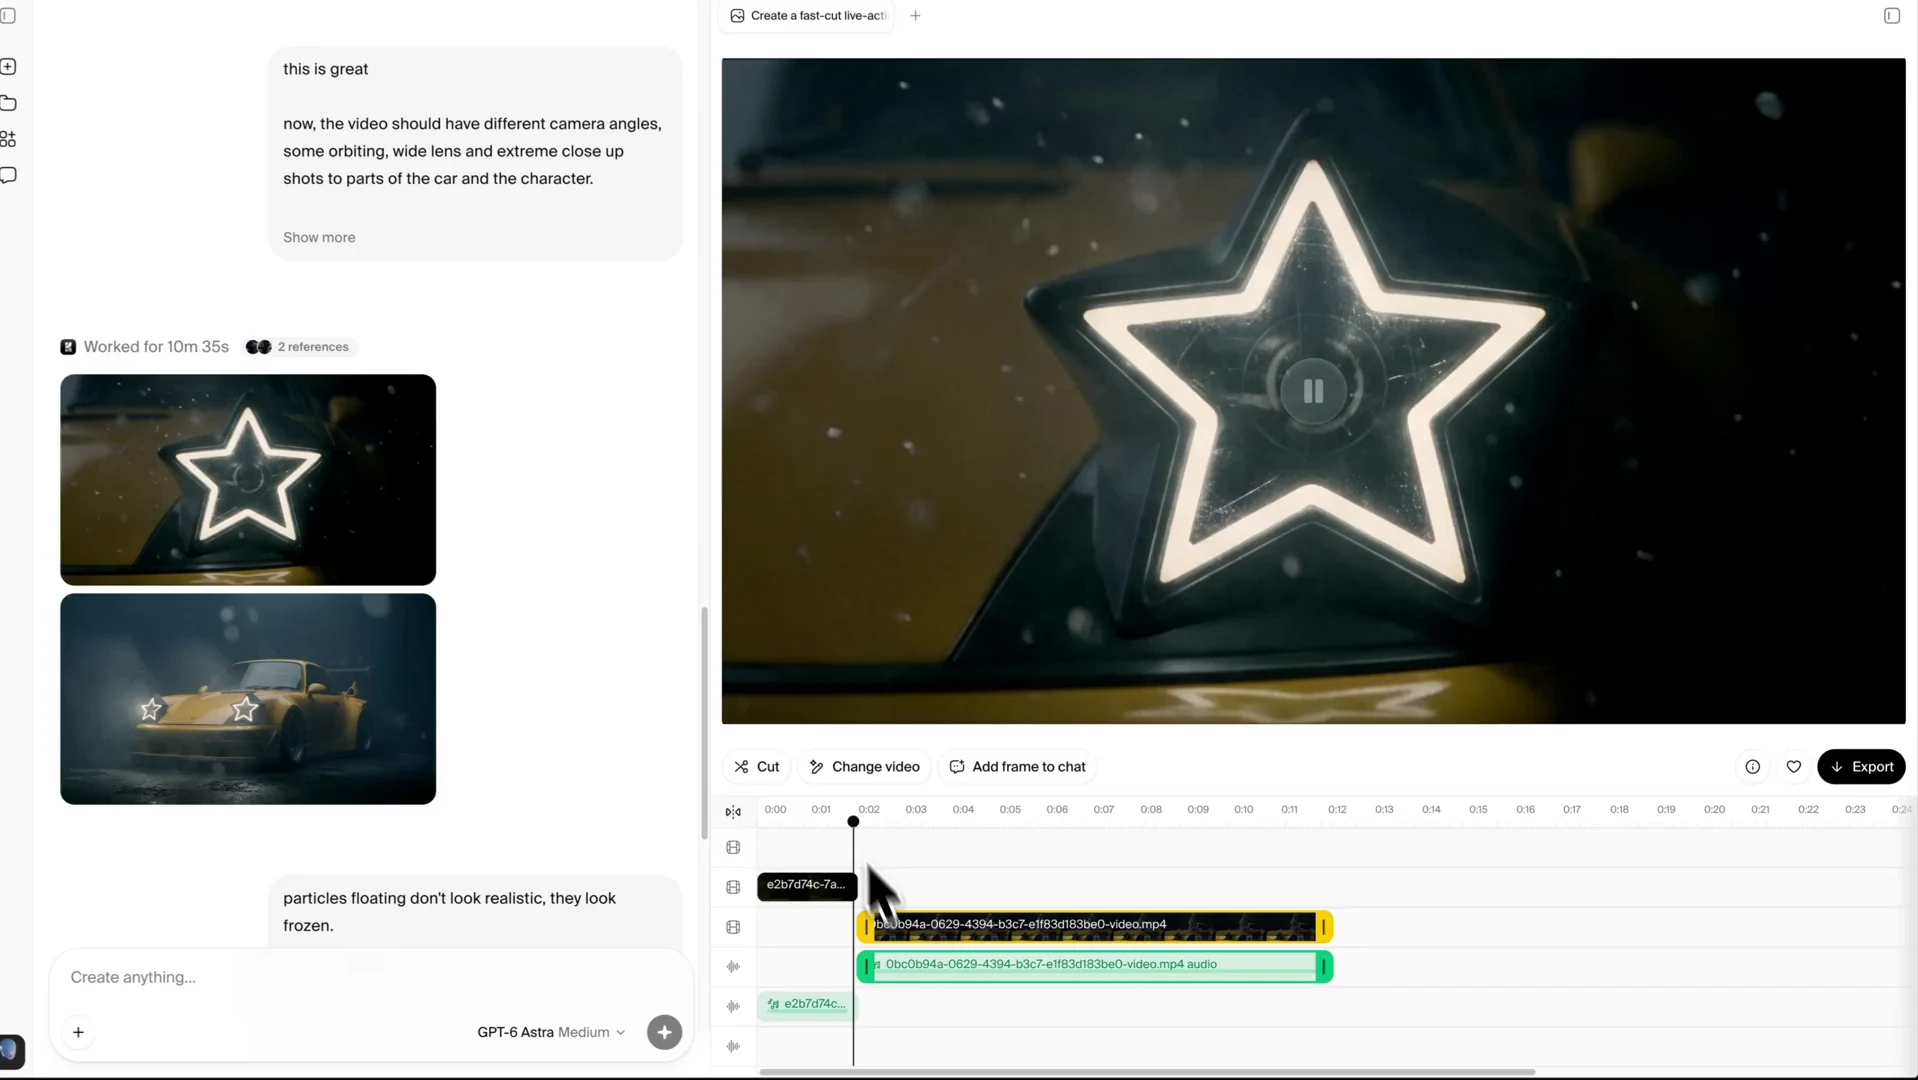
Click a generated video. It opens in the preview panel with the timeline below it. The toolbar shows Cut, Change video, Add frame to chat, and Export.
Two clips on the timeline, playhead at 0:14
Each video clip carries its own audio on the track below it. Still from the launch video.
Step 3: Add the other clips and audio
Press Add media on the timeline. Pick a generation from the session or upload a file. The editor accepts video, audio, PNG, JPG and WebP. A still image works as a title card or an end card.
Drop a music track on an audio track. Each audio track has its own mute button. Turn on Snap to clip edges to line clips up without gaps.
Step 4: Cut and trim
- Move the playhead to a point and press Cut (or the
Ckey) to split the clip there. - Drag a clip to move it. Drag the start or the end of a clip to trim it.
- Select a clip and press Delete or Backspace to remove it.
- Press Escape to clear the selection.
A plain drag on the end of a clip reveals footage you trimmed away. It does not generate new frames. Extension is a separate gesture, below.
Step 5: Extend a clip with a new generation
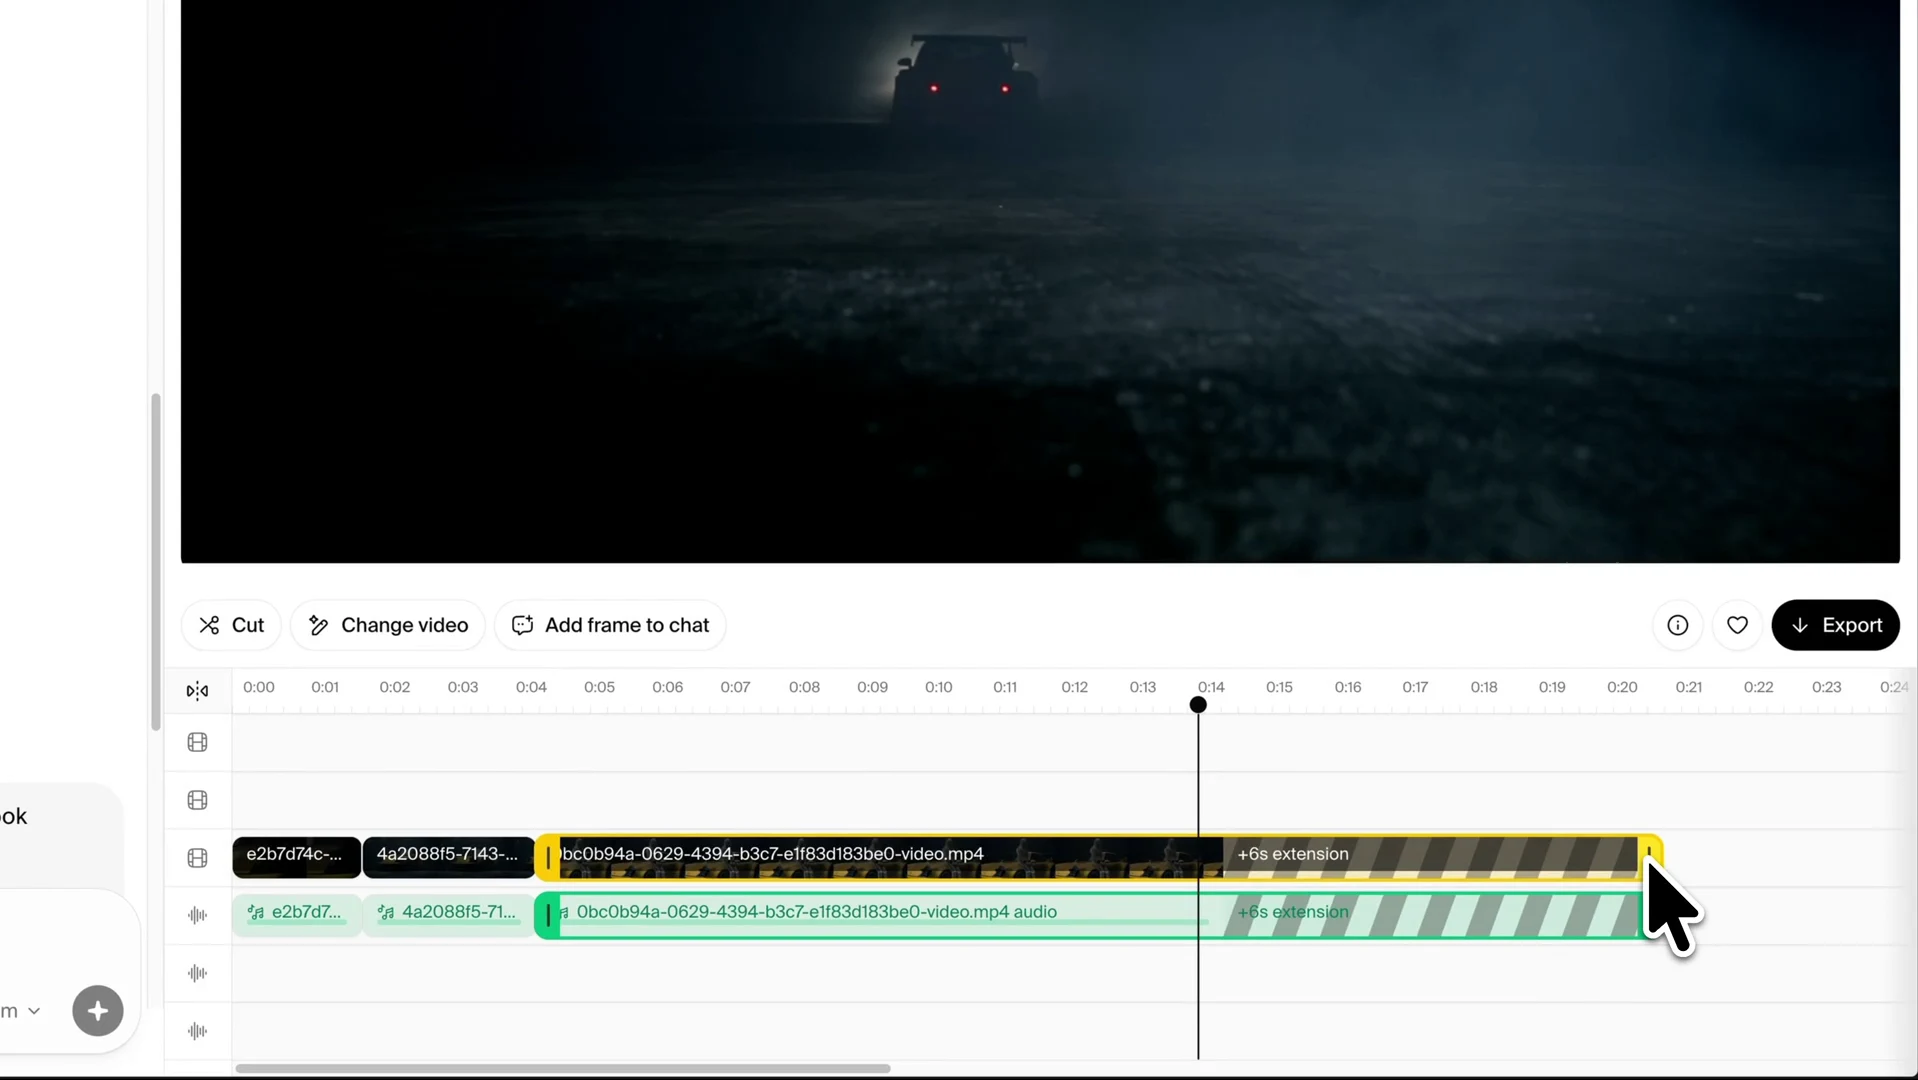
Hold ⌘ (Mac) or Ctrl (Windows) and drag the end of the clip to the right. A striped region appears on the track with a label such as +6s extension. Release. The Extend Video box opens with one field: What happens next? (optional). Describe the next beat, or leave it empty, and press Add extension.
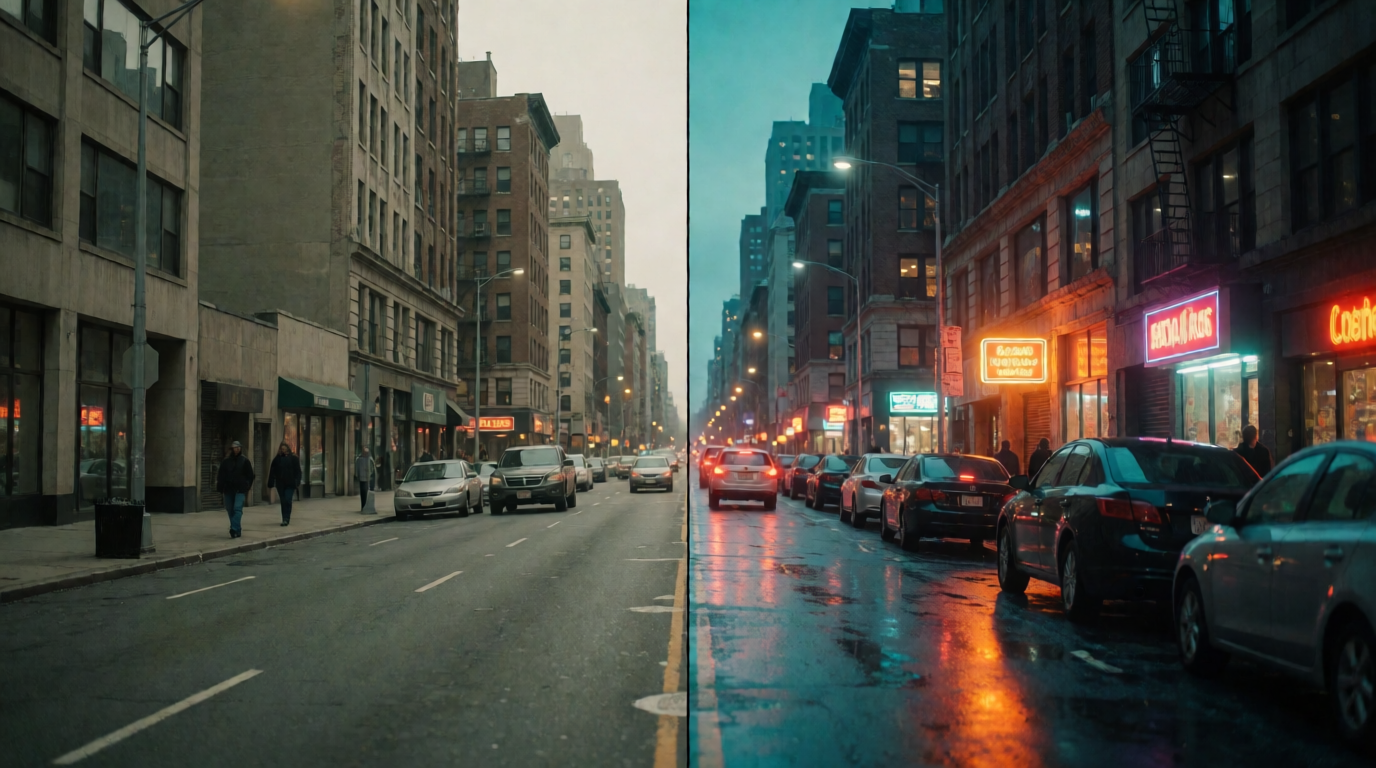
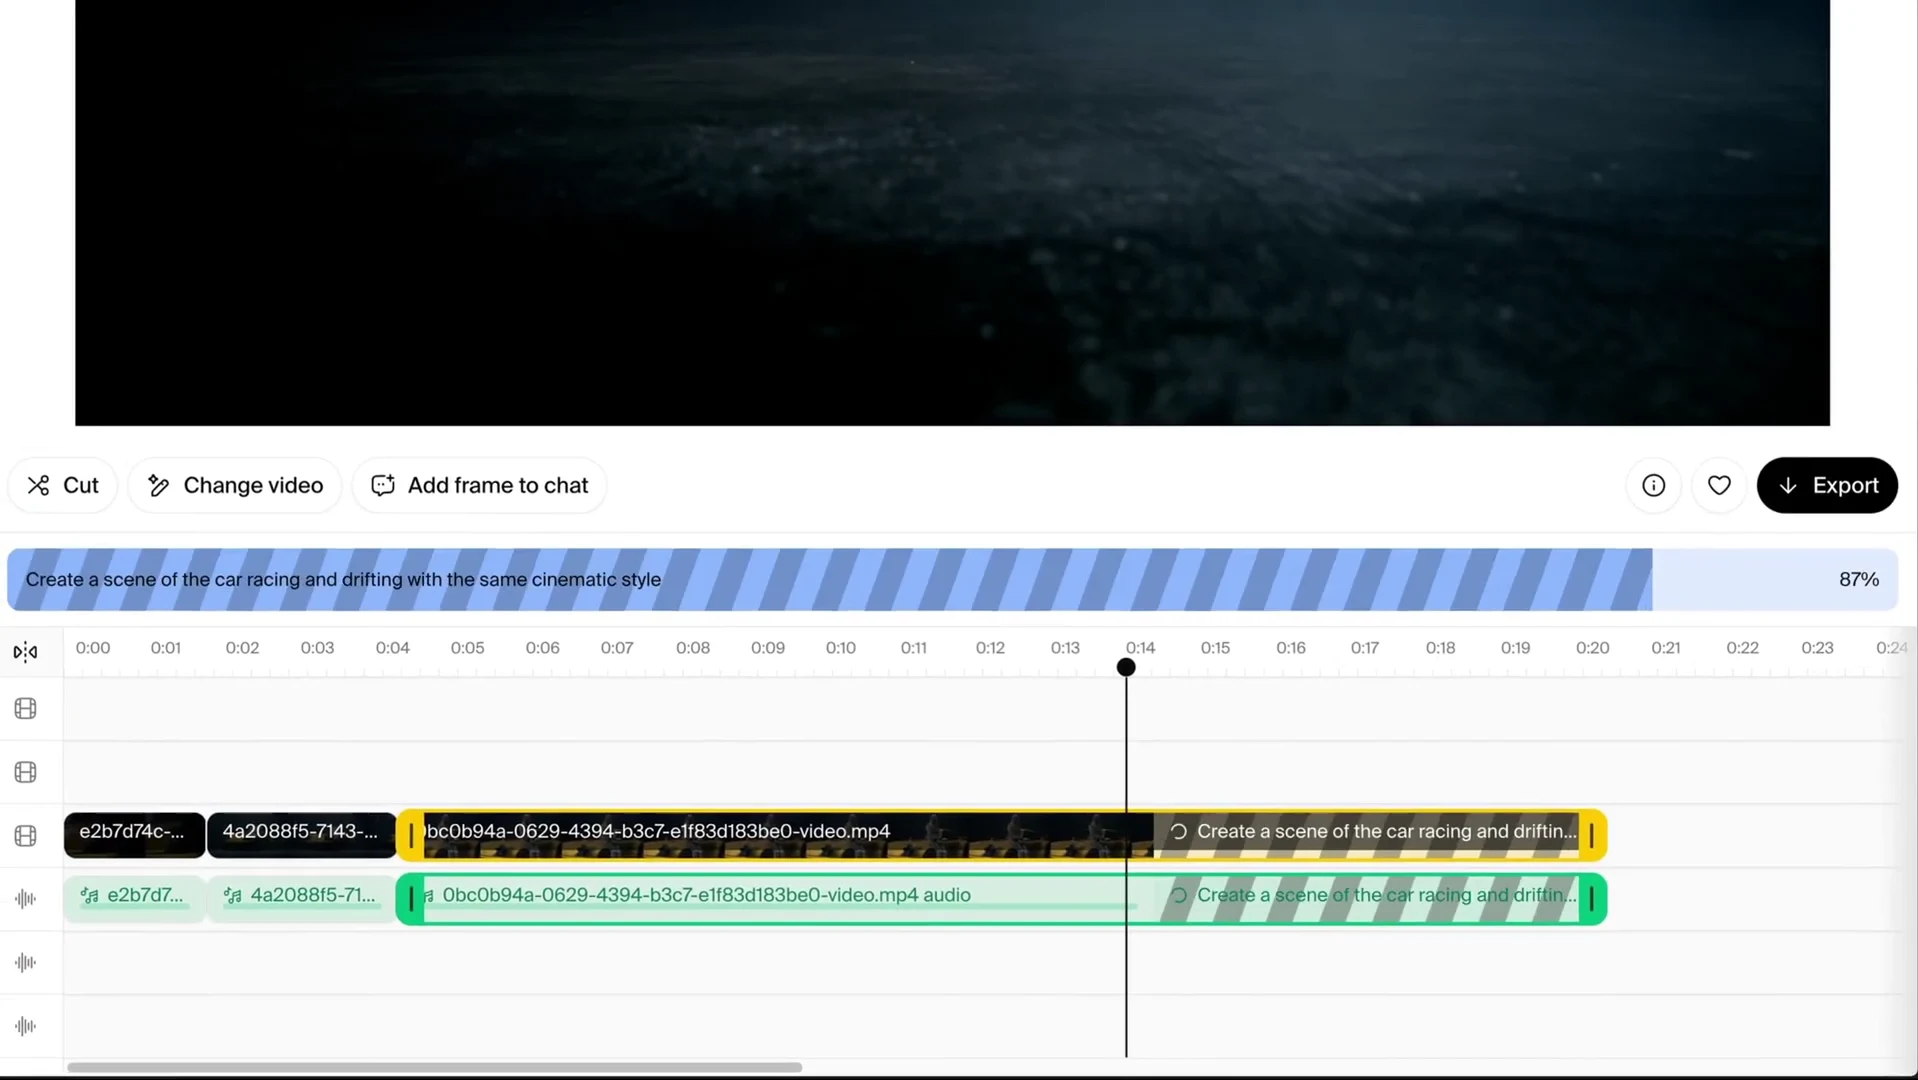
A six-second generative extension, before and after
Stills from the launch video. The prompt in the demo: 'Create a scene of the car racing and drifting with the same cinematic style.'
Rules for an extension, as of September 2026:
- The source clip must be at least 2 seconds long.
- An extension is 2 to 10 seconds. Leave at least 2 seconds of room after the clip.
- The model list: Seedance 2.5 (4 seconds minimum), FLUX 3 Video (5 seconds minimum), and Grok Video (2 seconds minimum).
- The editor sends up to 15 seconds of the clip’s tail to the model, at up to 1280×720, as the start of the continuation.
- An extension costs the same compute credits as a video generation of that length.
When the job finishes, the toast Extension added to timeline appears and the new clip sits after the source clip, with its audio below.
Step 6: Export
Press Export. The editor renders the timeline on Krea’s servers and saves <name>-export.mp4 in the session files. The output is an MP4. When the clips do not set a frame size, the render uses 1280×720 at 24 frames per second. When the render is done, the button changes to Download and the toast Export ready. Your download is starting. appears.
The editor saves your timeline as it changes. The project file sits in the session files with the clips, so you can reopen the cut later in the same session.
A second template: extend and stitch
The “Extend and Stitch” template starts from a 15-second fashion film that is already in the session. It asks the agent for two more scenes:
Here is a 15-second 90s fashion film. Create two more scenes that continue it with the same three characters and the same gritty New York look. Scene 1: they walk toward the camera down a subway entrance in slow motion. Scene 2: a final wide shot on a rooftop at dusk that cuts to black. 10 seconds each, 16:9, use Seedance 2.5, no talking. I will extend the clips and stitch all three into one film in the video editor, then add the audio track.
Open it at krea.ai/agent?template=video-editor-extend.
What the editor does not do yet
Honest limits, as of September 2026:
- The agent does not edit the timeline. It generates the clips and the audio. Cuts, trims and extensions are yours. For captions or a crossfade, ask the agent: its attached computer has FFmpeg.
- Extensions run through the model. The model sees at most the last 15 seconds of the clip, at up to 1280×720.
- Workspaces with zero data retention cannot export. The render needs a server-side copy of the clips.
- It is new. Expect rough edges and report them in the app.
Three briefs to start
Copy one of these into a new session, then open the clips in the editor.
Make four 5-second clips of a ceramic mug on a wooden table, same mug, same light, four camera angles: front, top-down, macro on the handle, slow orbit. 16:9, Seedance 2.5.
Generate a 10-second establishing shot of a small lighthouse at dawn, then a 10-second shot from the top of the lighthouse looking out to sea. Same weather, same light. 16:9. Also make a 25-second ambient sea soundscape.
Take the attached product photo and make a 6-second clip of the product rotating on a plain background. Then a 6-second clip of a hand picking it up. I will cut them together and export.
Related reading
- What Is Krea Agent? A Plain Guide to Krea’s Creative Production Agent
- Krea Agent Beta: A Workspace Agent for Creative Teams
- The 5 Best AI Video Models on Krea in 2026
Frequently asked questions
Does Krea Agent have a video editor?
How do I open the video editor in Krea Agent?
What does generative extend do?
Which models can extend a clip?
What does the export produce?
Does the video editor cost extra?
Can the agent edit the video for me?
Which plans include Krea Agent?
Cut your first spot
Open the 'Cut a Launch Spot' template. The agent generates three clips; you put them on the timeline and export.
Open Krea Agent