
Massing is the moment in a project when the only thing that matters is form. No materials. No windows. No landscape. Just volumes, in space, in relationship to a site. It is also the moment when most architects do their most important work — and the moment when most rendering tools are least helpful.
Krea 2 is unusually good at massing studies because it can render at any level of fidelity, from abstract white blocks to fully detailed buildings. This article walks through the massing-to-render workflow with three building typologies.
Why render at massing stage at all
Two answers, depending on who is in the room.
For the design team: massing renders force decisions about form, scale, and relationship to context that are easy to dodge in a 3D modeller’s perspective. A model-photography-style render makes the massing read as a real proposition.
For the client: massing renders communicate scale and form without committing to materials or details. They are the right deliverable for “how big is this building going to be” conversations.
Three massing typologies
Three classic massing diagrams, each generated as a model-photography-style render, then refined into a final building.
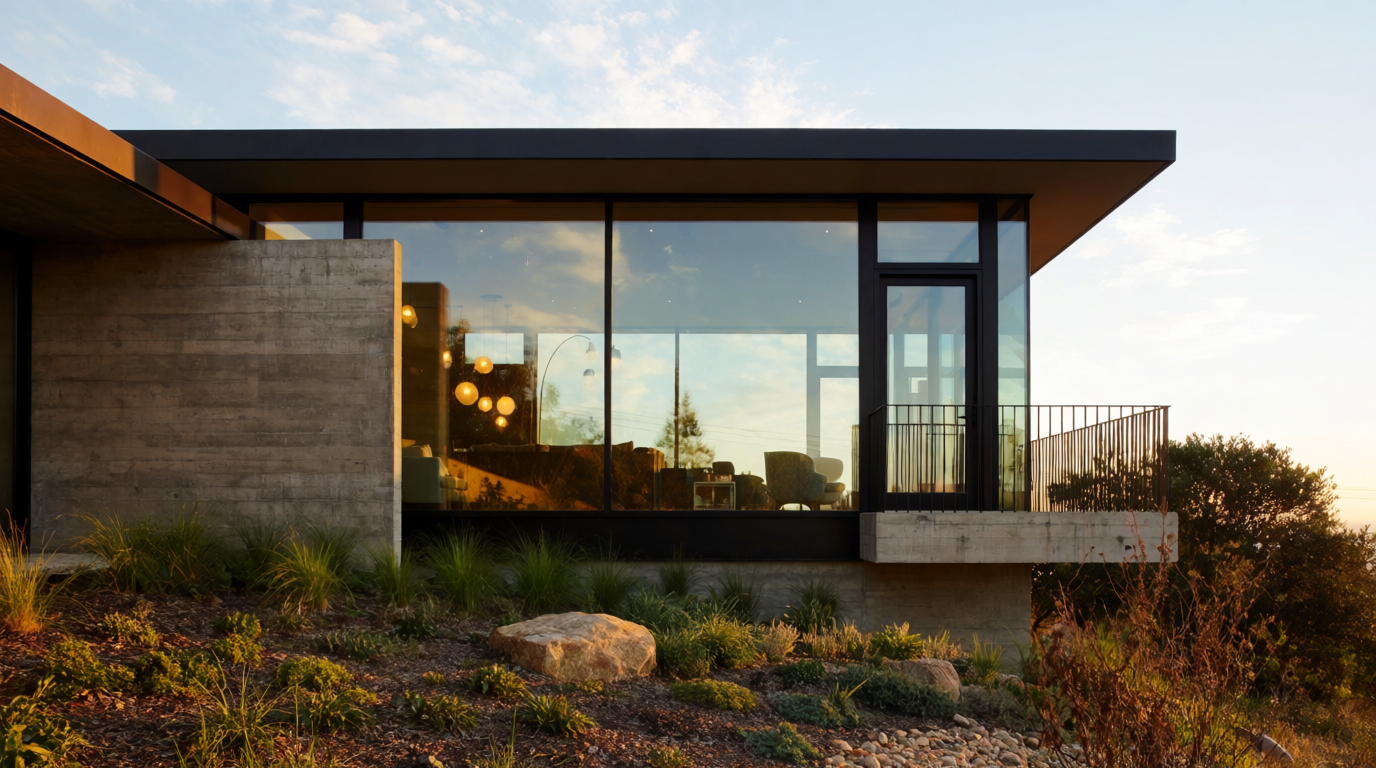
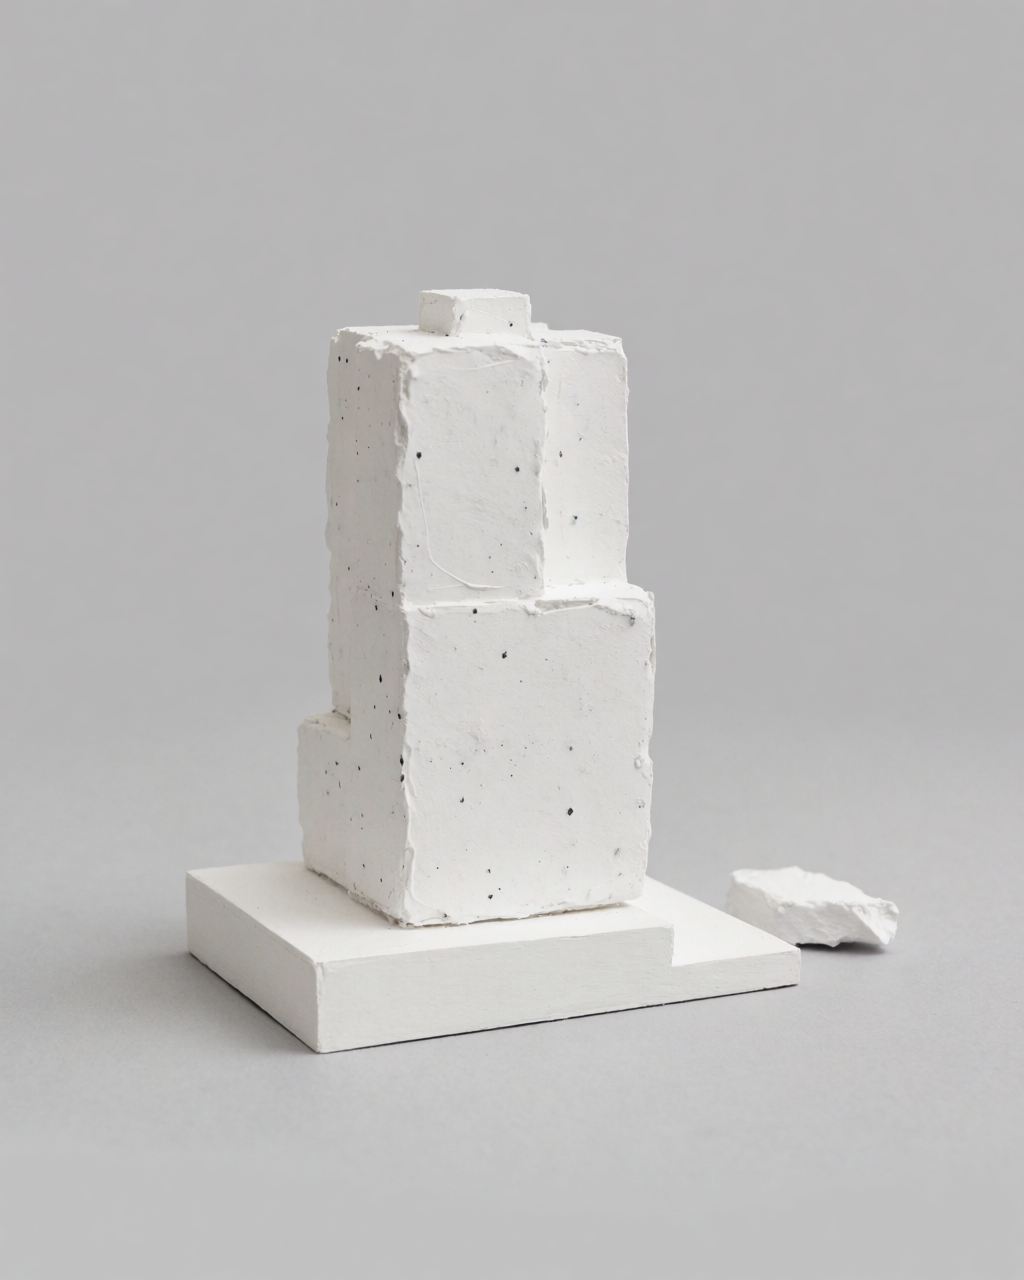
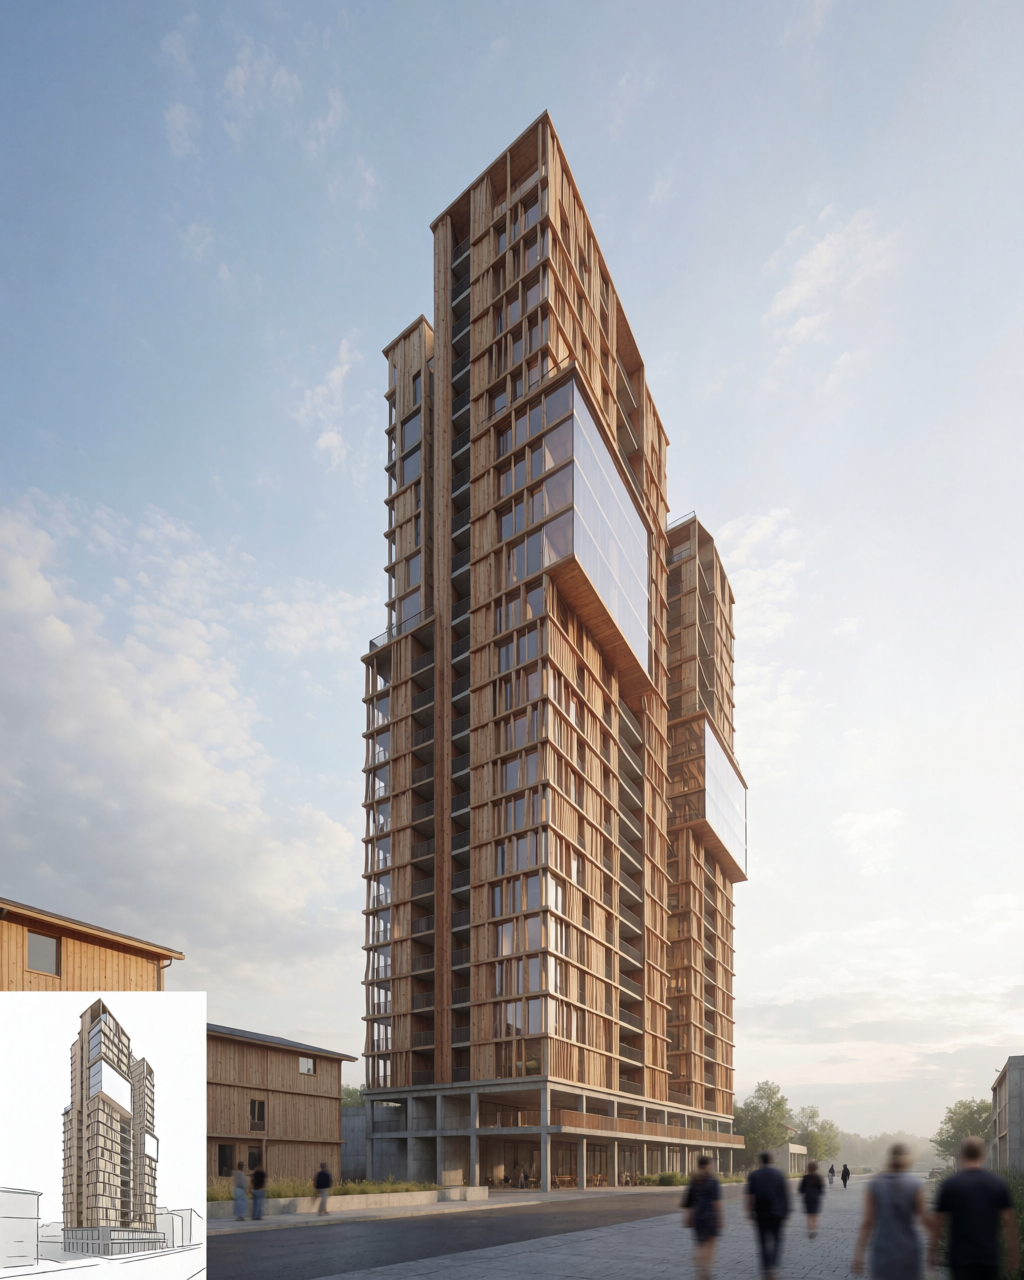
The tower
A vertical stack of volumes. The massing answers: how tall, how slender, how broken up?
Tower — massing to render
Abstract stacked volumes on the left, refined residential tower on the right.
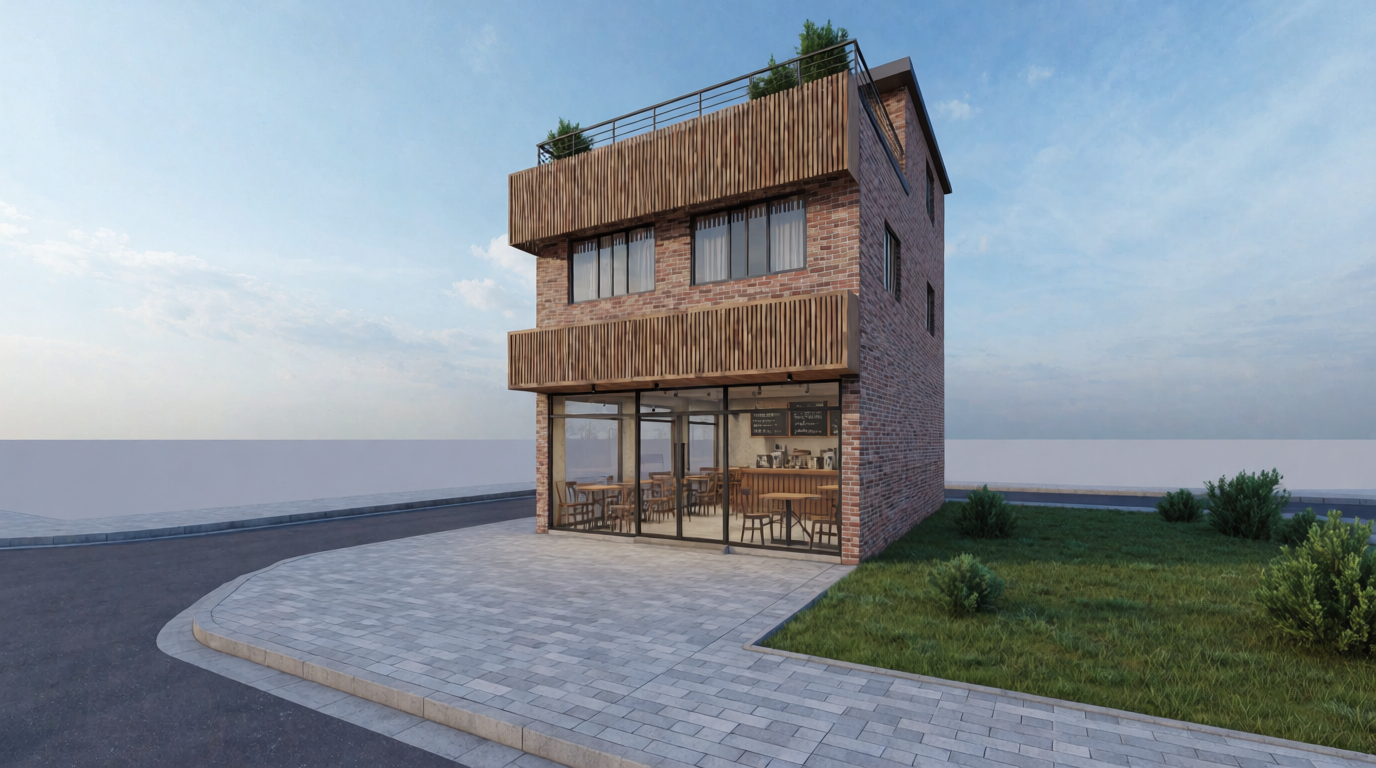
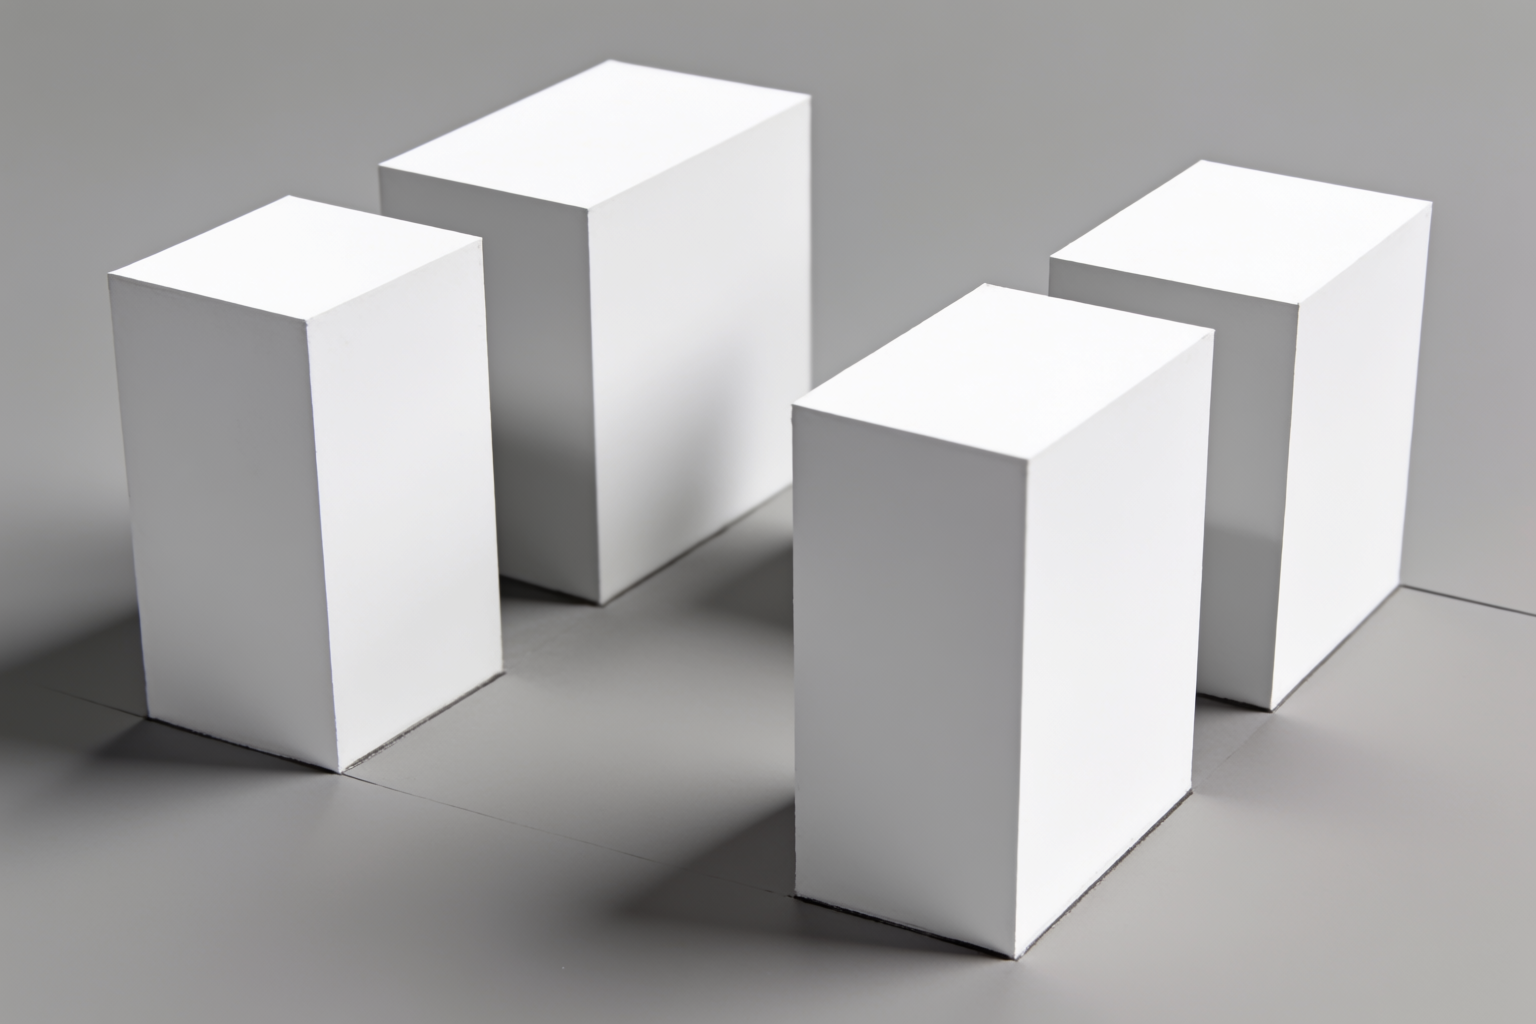
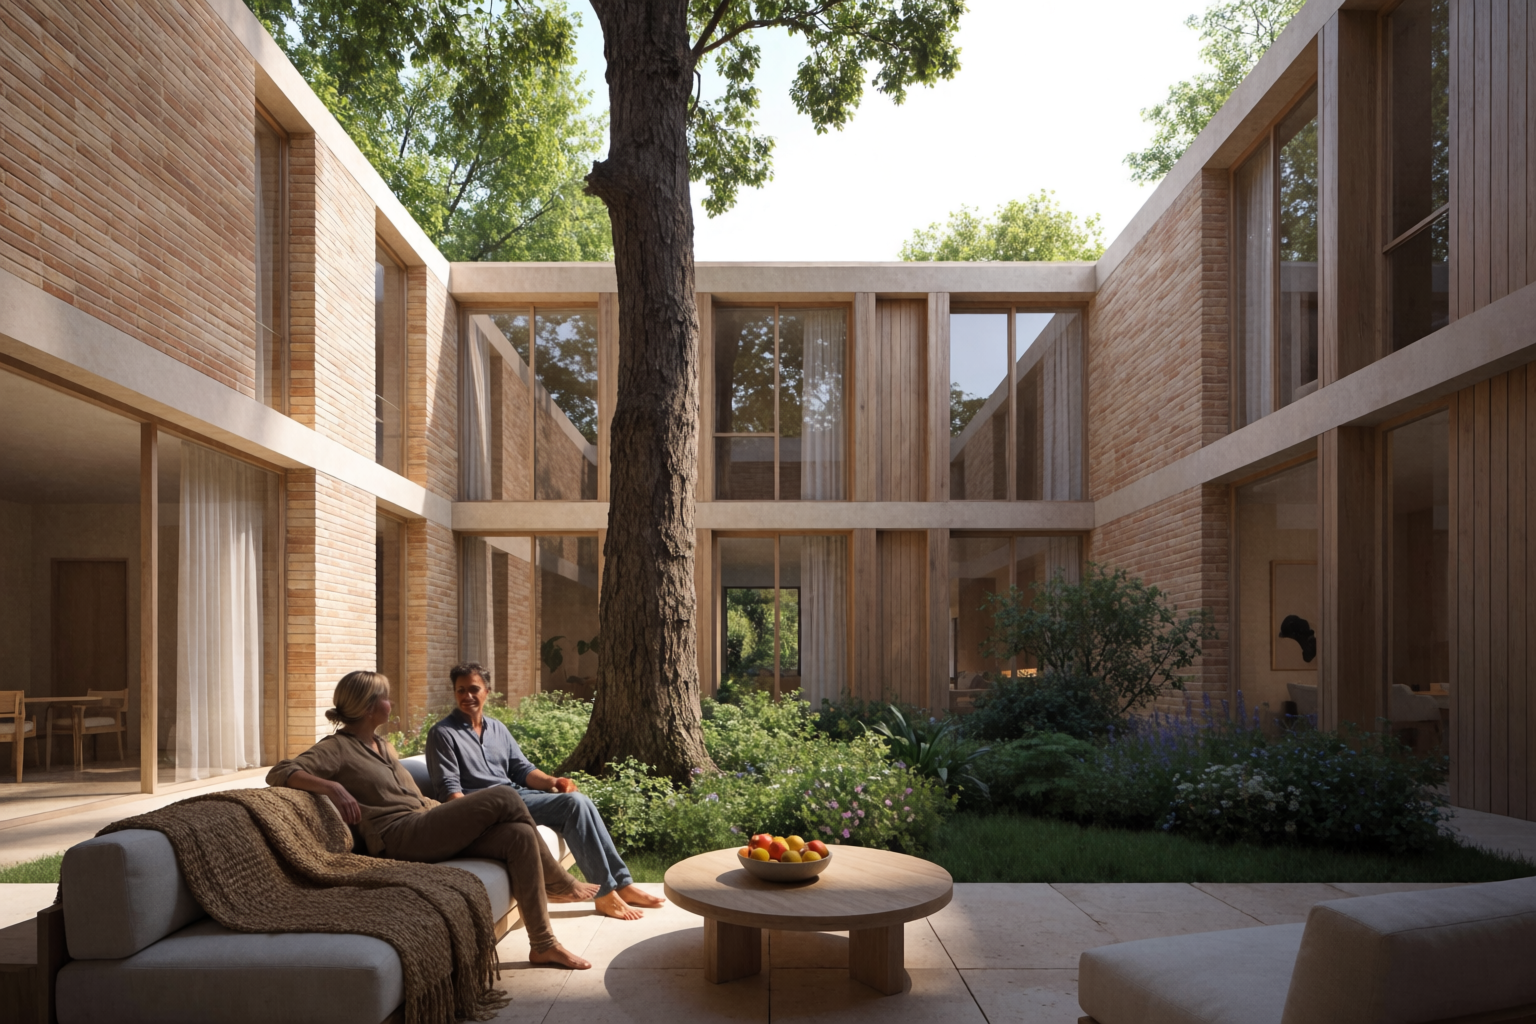
The courtyard
Four volumes around a central void. The massing answers: how does the building hold a garden?
Courtyard — massing to render
Four volumes around a central courtyard, refined as a courtyard residence.
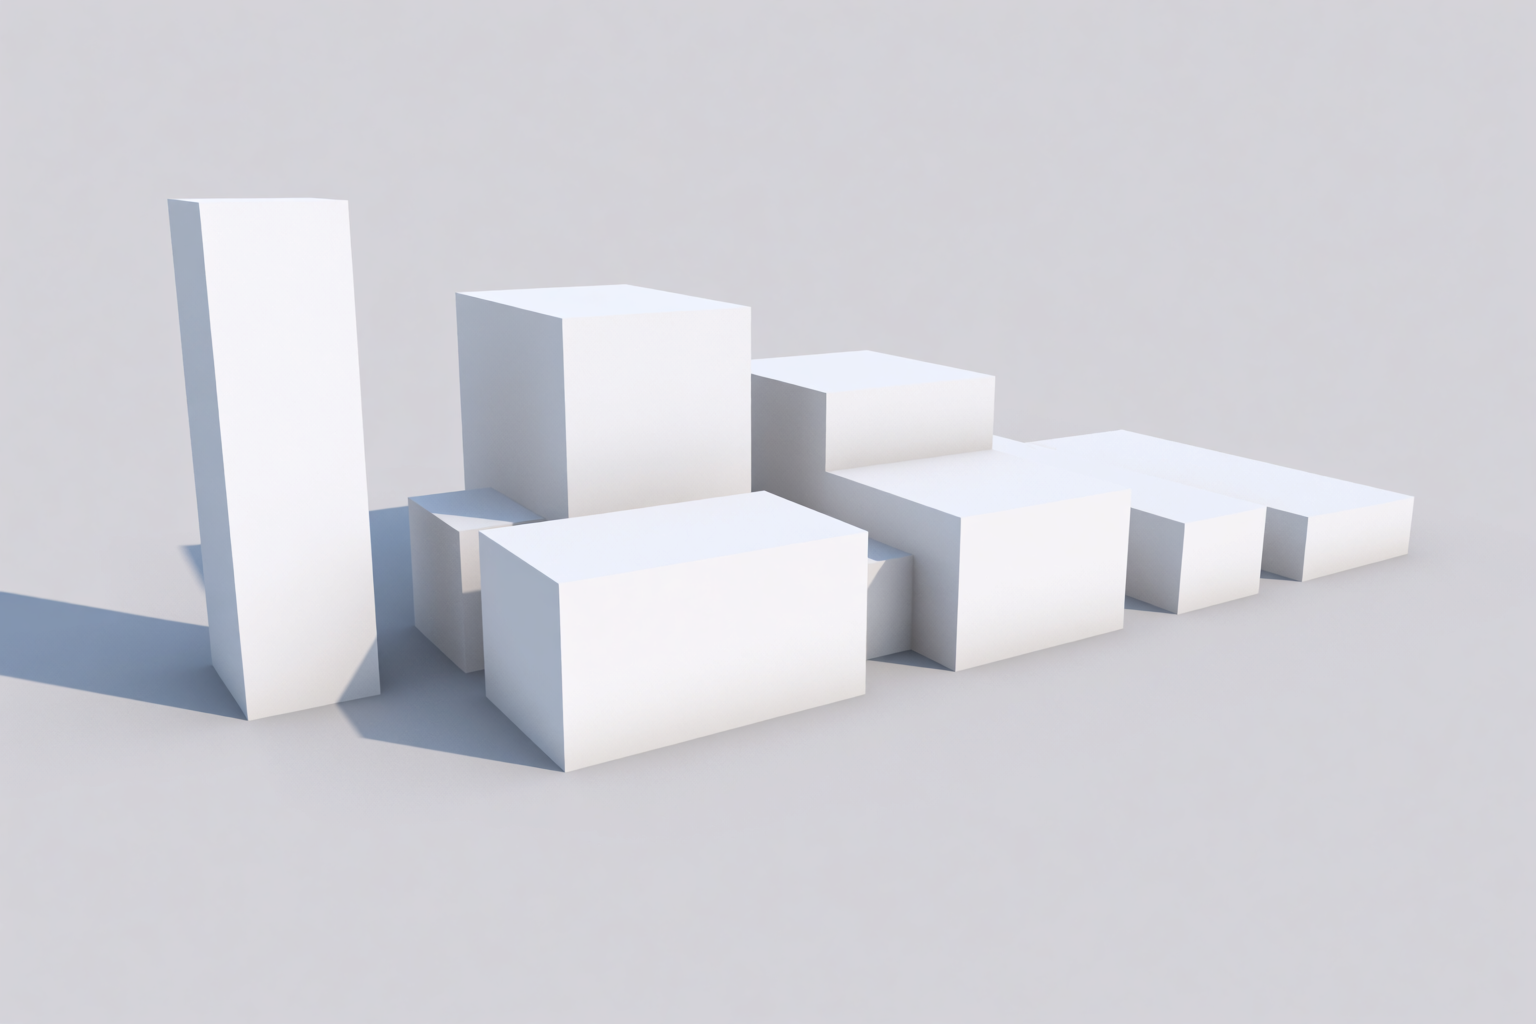
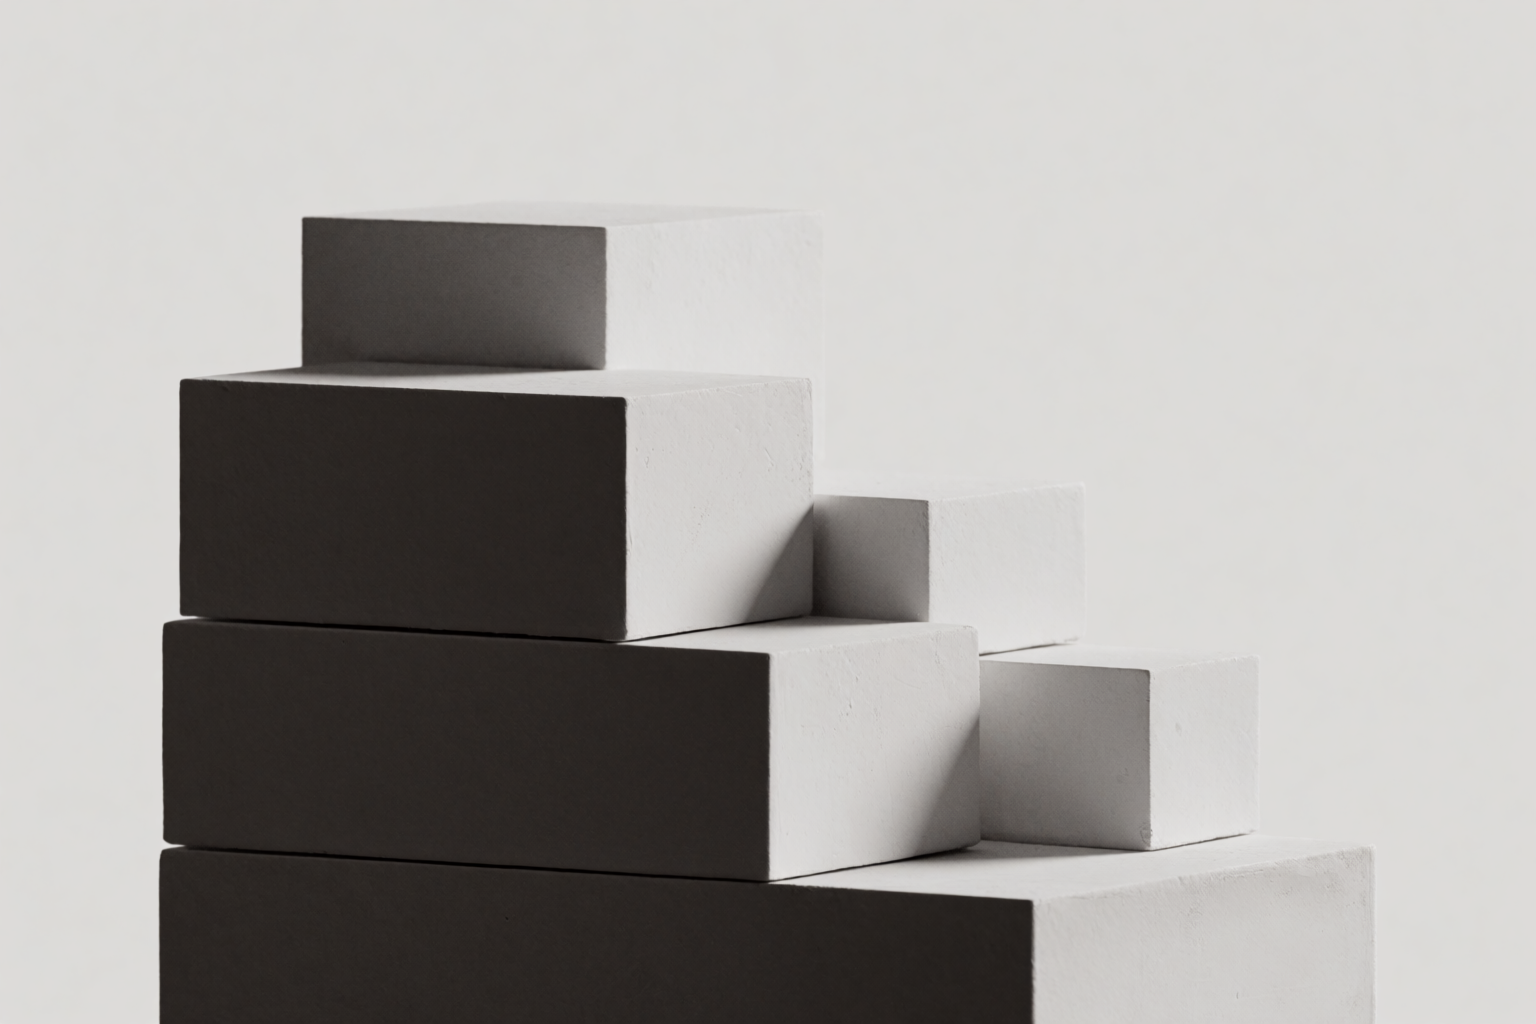
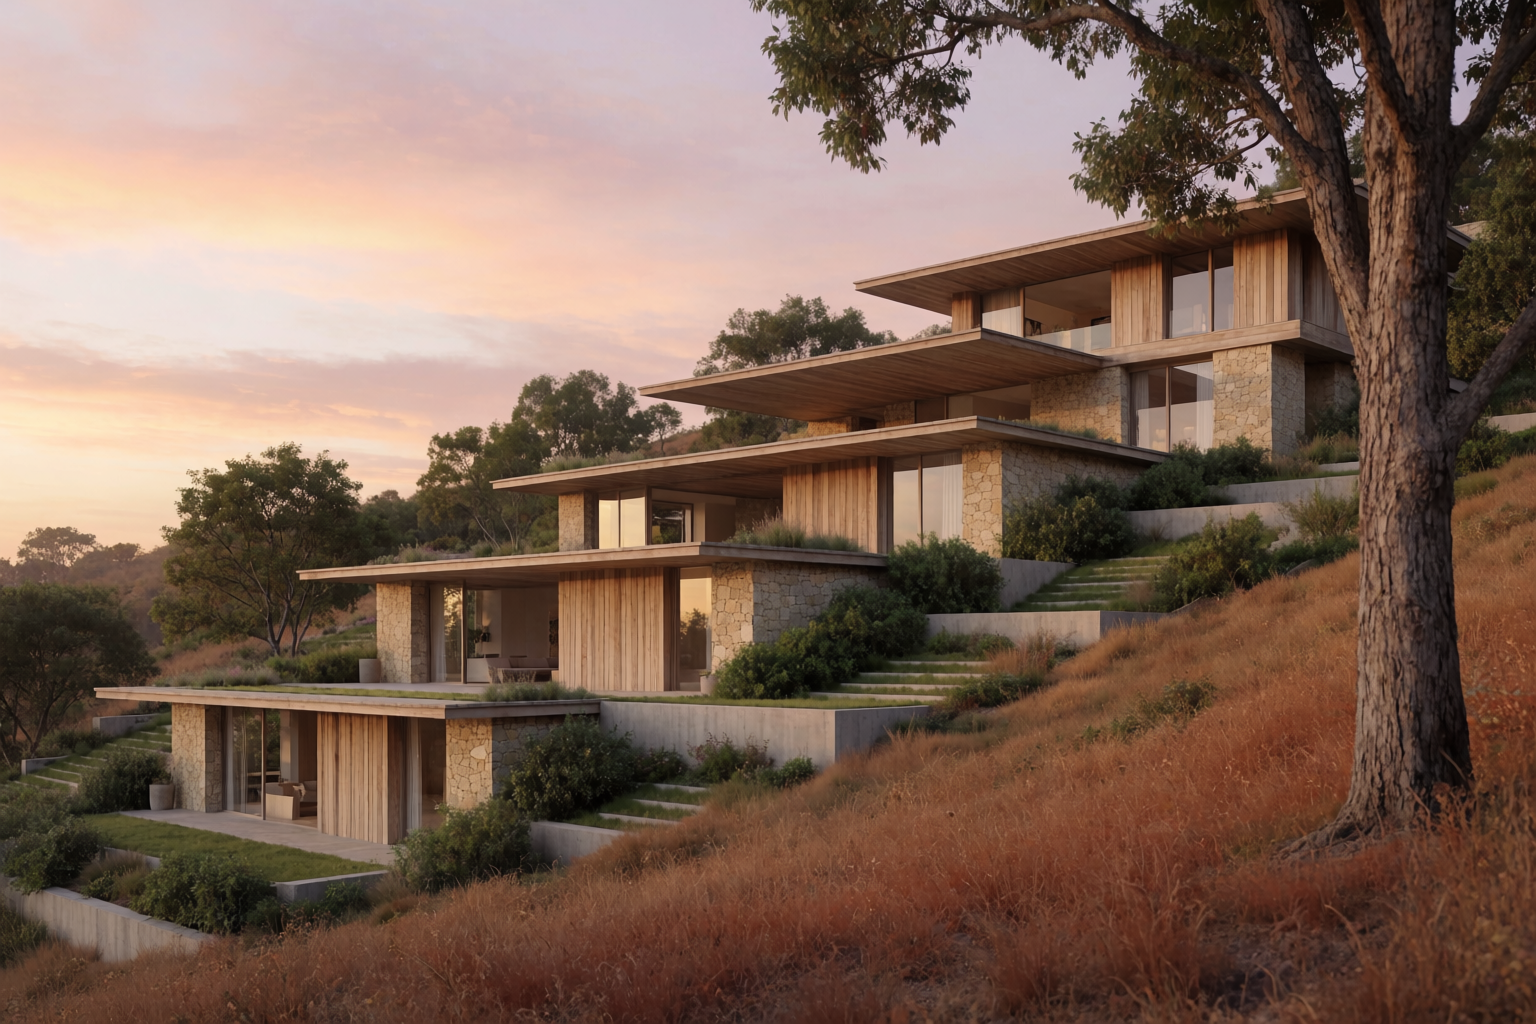
The stepped hillside
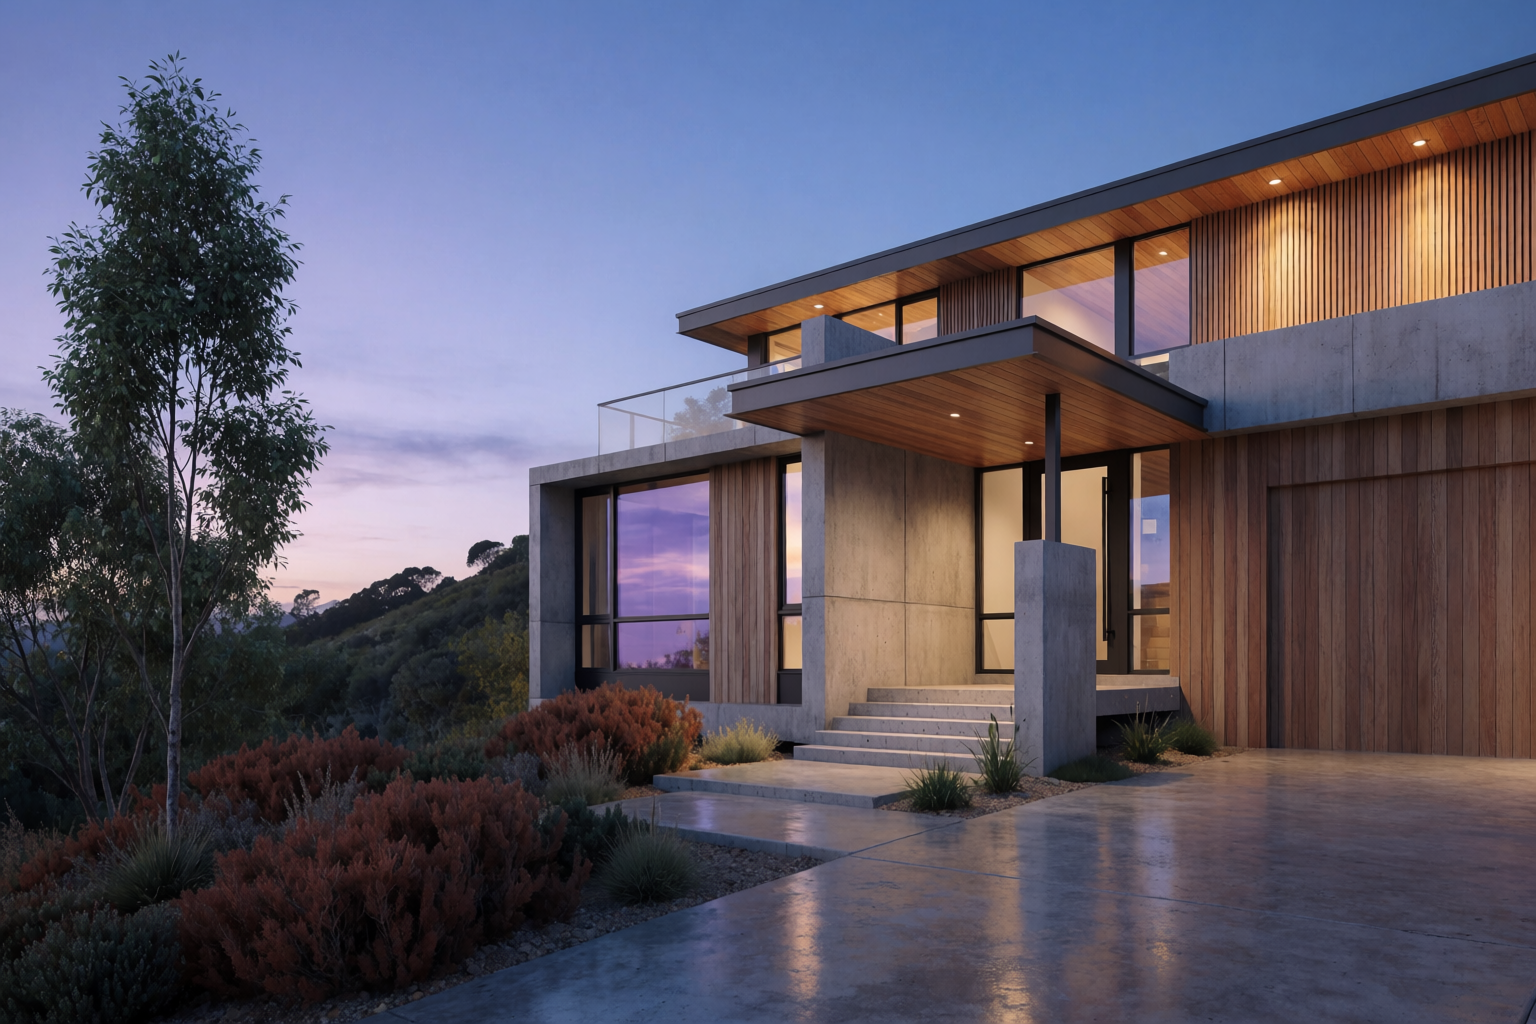
Volumes descending a slope. The massing answers: how does the building meet the land?
Stepped hillside — massing to render
Cascading white volumes on a slope, refined as a hillside residence.
The concept sketch as input
For really early-stage massing, the input is often not a 3D model but a diagrammatic sketch — arrows, blocks, notes. Krea 2 can render directly from those too.
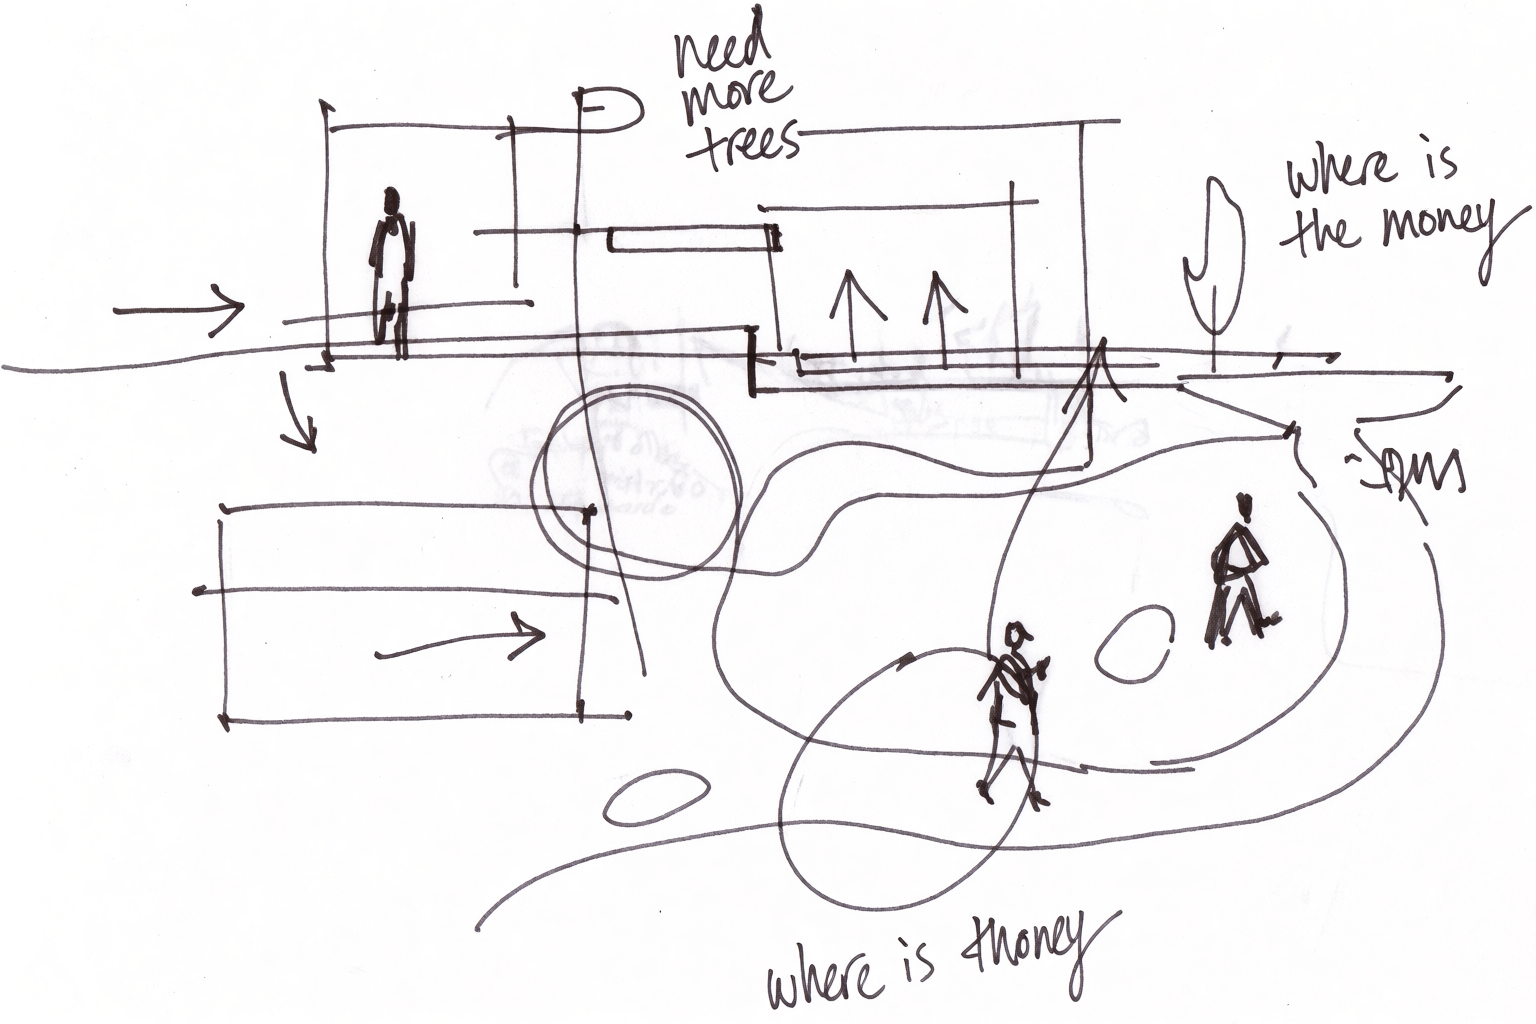
Upload the diagrammatic sketch as an image reference, write a prompt for the model-photography render you want, and the model produces it. This collapses the gap between paper-napkin sketch and presentation-ready massing image.
Prompt patterns for massing renders
- Be explicit about abstraction. “Conceptual architectural massing study,” “abstract white volumes,” “no details, no windows, no people,” “simple gray ground.” Without these, the model will try to add materials and details.
- Specify the rendering tradition. “Model photography style” produces something that reads like a physical scale model. “Diagrammatic rendering” produces flatter, more graphic output. “Conceptual axonometric” is a third option.
- Lock the lighting. Soft studio lighting reads as a model. Dramatic side light reads as architecture. Pick deliberately.
- Iterate the same composition with different volumes. The point of massing is comparison. Generate four variations of the same composition with different volume arrangements.
Where massing fits in the workflow
Massing renders are the first deliverable in an architecture project — before sketches, before materials, before any of the conversations about style. The workflow is:
- Concept and massing (this article) — abstract volumes on the site.
- Sketch to render — adding form and proportion.
- Architectural styles — testing visual languages.
- Site context — placing in real surroundings.
- Materials and lighting — refining the spec.
- Interiors — once the shell is set.
The same project can move through all six stages in Krea 2 without leaving the tool.
Study a massing in Krea 2
Free to start. Image references and Krea Edit included on every plan.
Open Krea 2