The fastest distance between an architect’s idea and a client’s “yes” is a render. The slowest distance is the days of CAD, material assignment, lighting, and post-processing that traditionally stand between a hand sketch and a presentation-quality image.
Krea 2 collapses that. Use a rough sketch — even a loose construction-line drawing on tracing paper — as an image reference, and the model generates a photoreal concept render in the same direction: same massing language, same overall silhouette, same design intent. The render is new imagery, not an edit of the sketch — think of it as the kind of render the sketch was trying to describe. This article walks through the workflow with four building types.
How it works
- Sketch the building rough — elevation, perspective, or three-quarter view. Hand-drawn is fine; CAD line work is fine.
- Upload the sketch as an image reference in Krea 2. It guides composition and massing; it is not edited or overlaid.
- Write a tight prompt describing the materials, the time of day, the site context, and the level of finish you want.
- Generate. Iterate on materials and lighting until the render reads.
The sketch nudges Krea 2 toward what kind of building, in what kind of composition. The prompt fills in what it should look like finished. The model generates a fresh photoreal image in that direction — not a literal edit of the sketch. Expect the concept to carry, not every line.
Hillside modernist villa
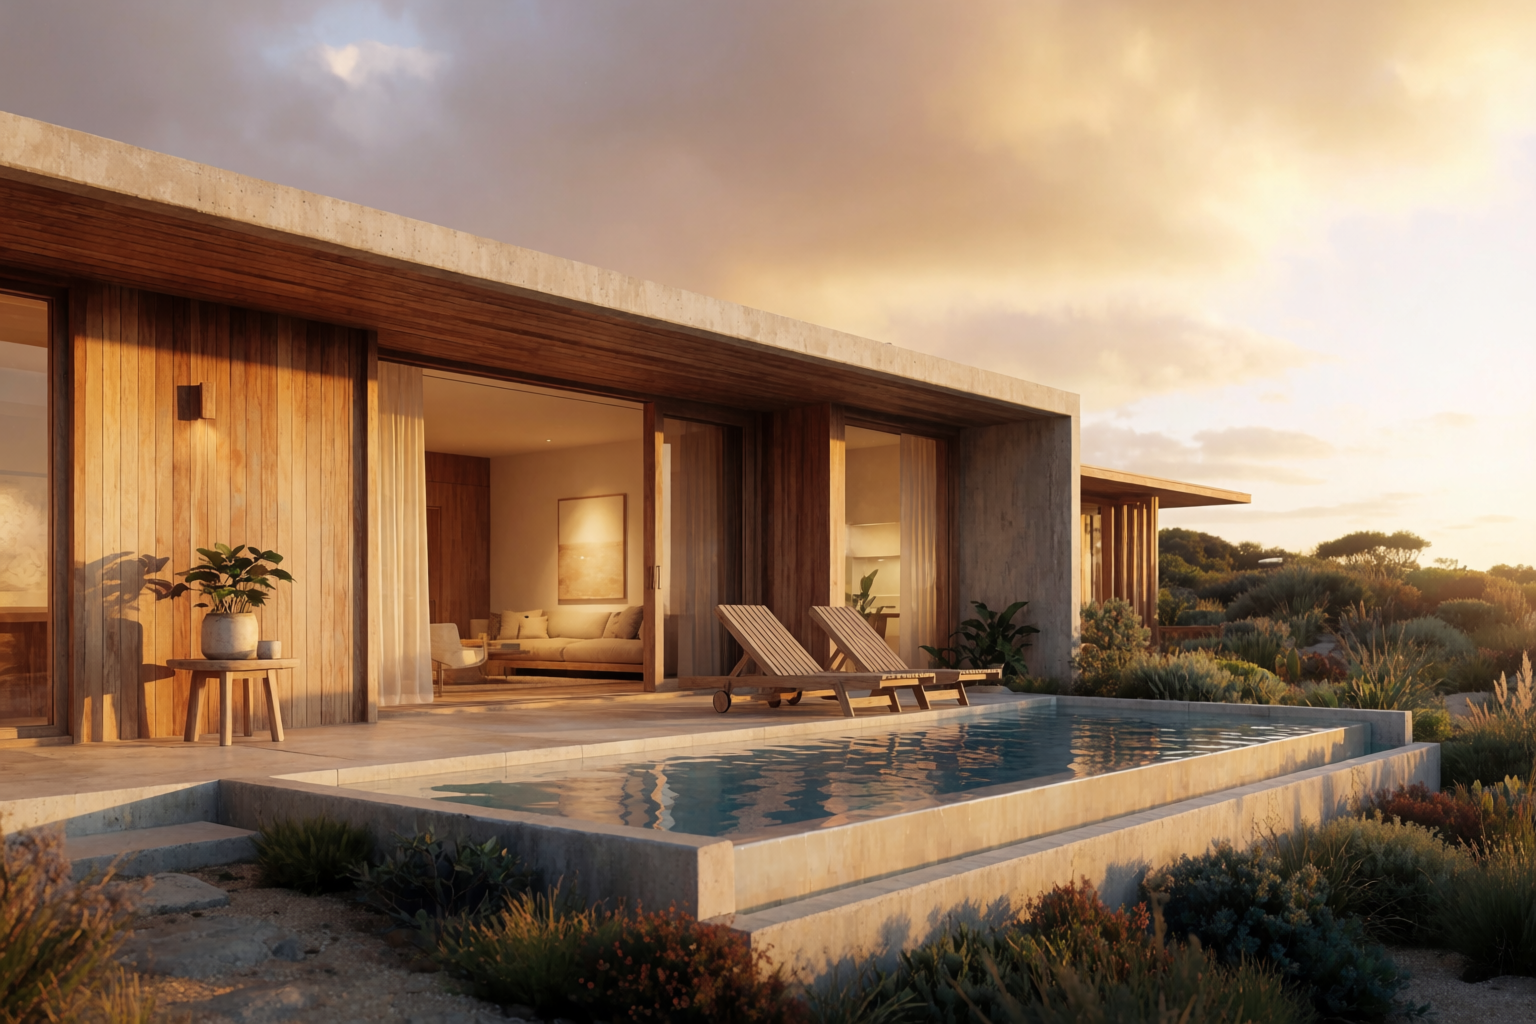
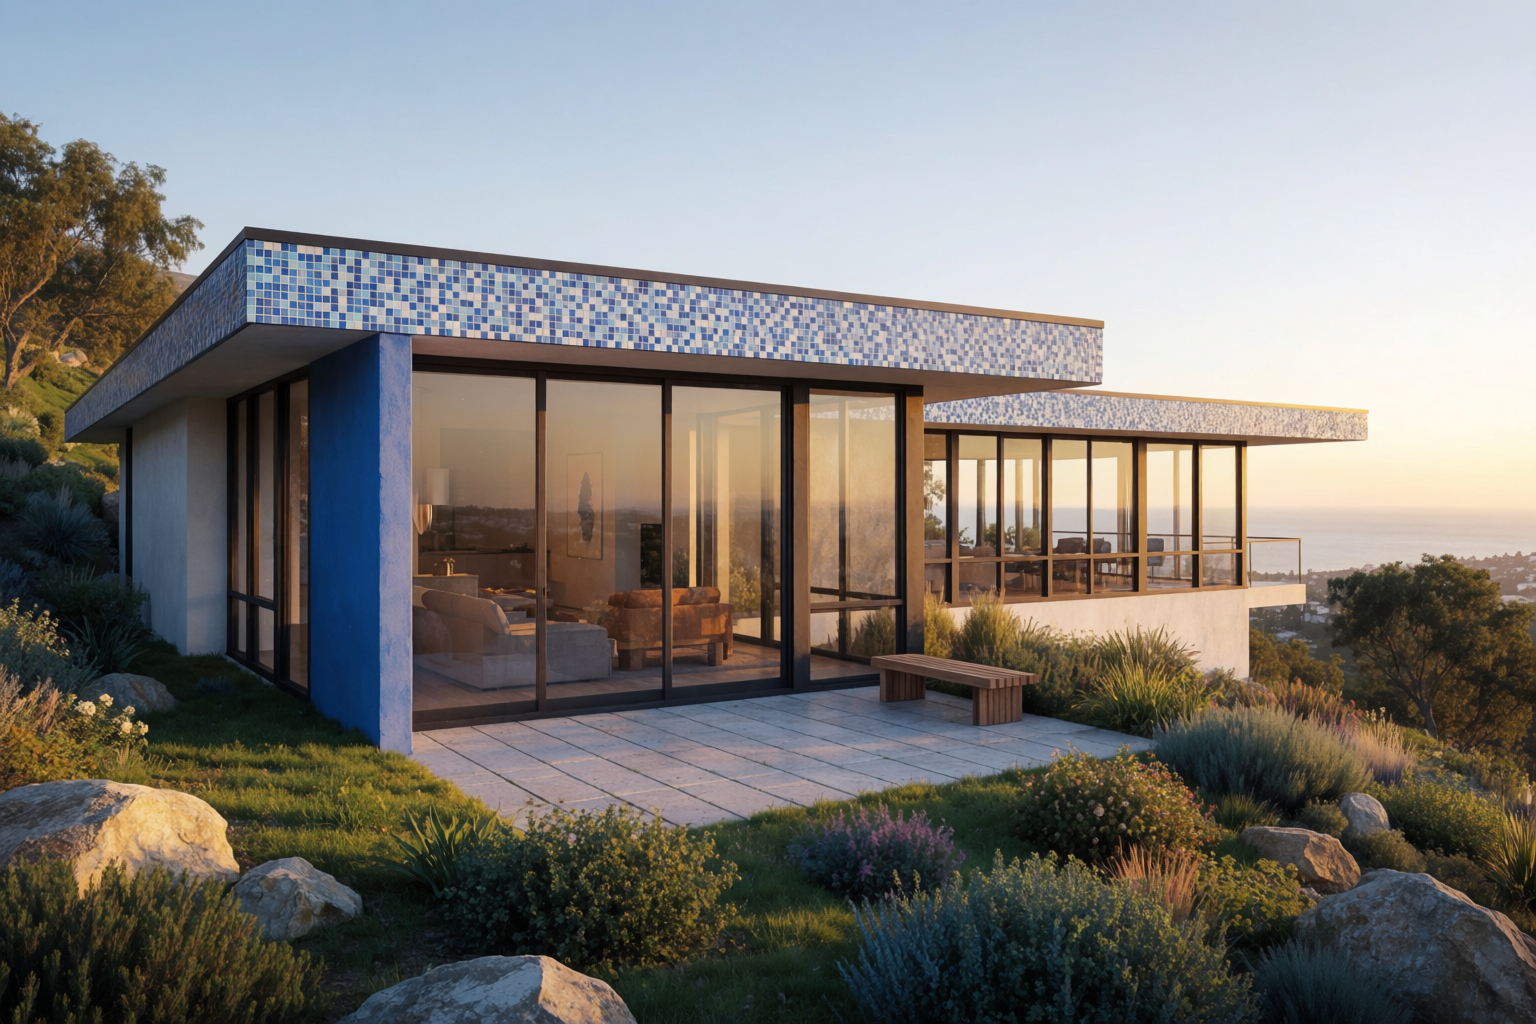
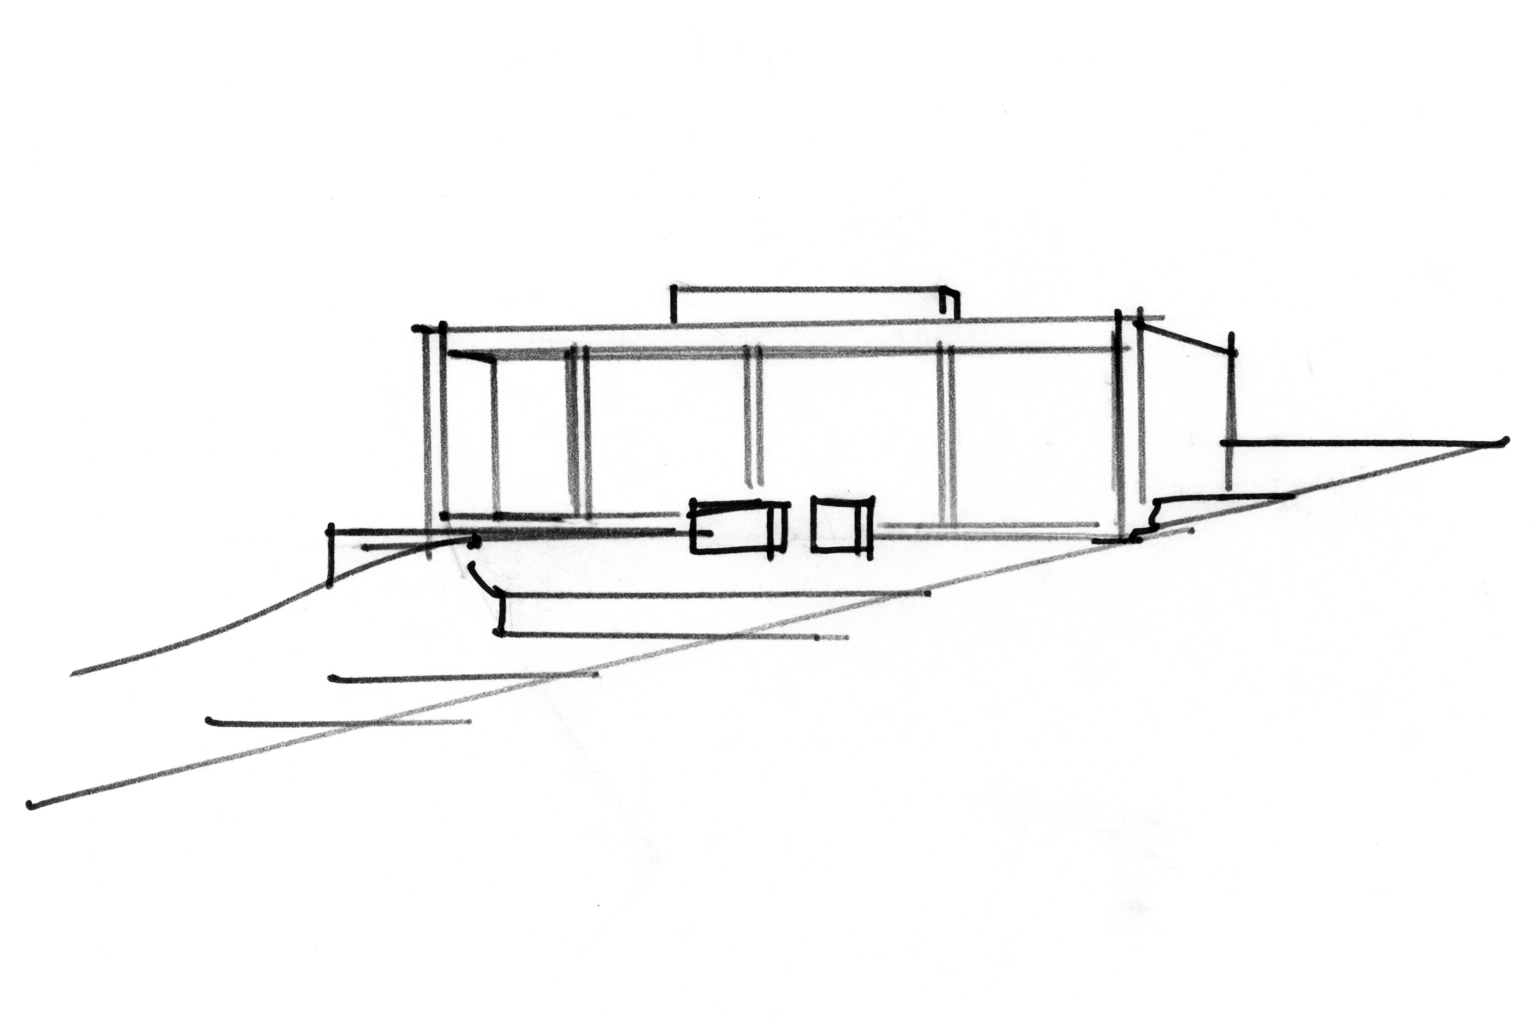
A common early-stage deliverable: a flat-roof modernist house on a sloping lot. The sketch sets the direction — long horizontal volume, flat roof, hillside siting. The prompt fills in golden-hour warmth and native planting. The render isn’t a tracing of the sketch; it’s a new image with the same design intent.
Sketch to render — hillside villa
Sketch on the left sets the direction; Krea 2's generated render on the right is a new image in the same spirit, not an edit of the sketch.
Prompt for finish: “Photoreal architectural rendering of a modernist hillside villa with flat roof and floor-to-ceiling windows, golden hour warm light, lush native landscaping, distant ocean horizon, professional architectural visualization.”
Urban industrial loft
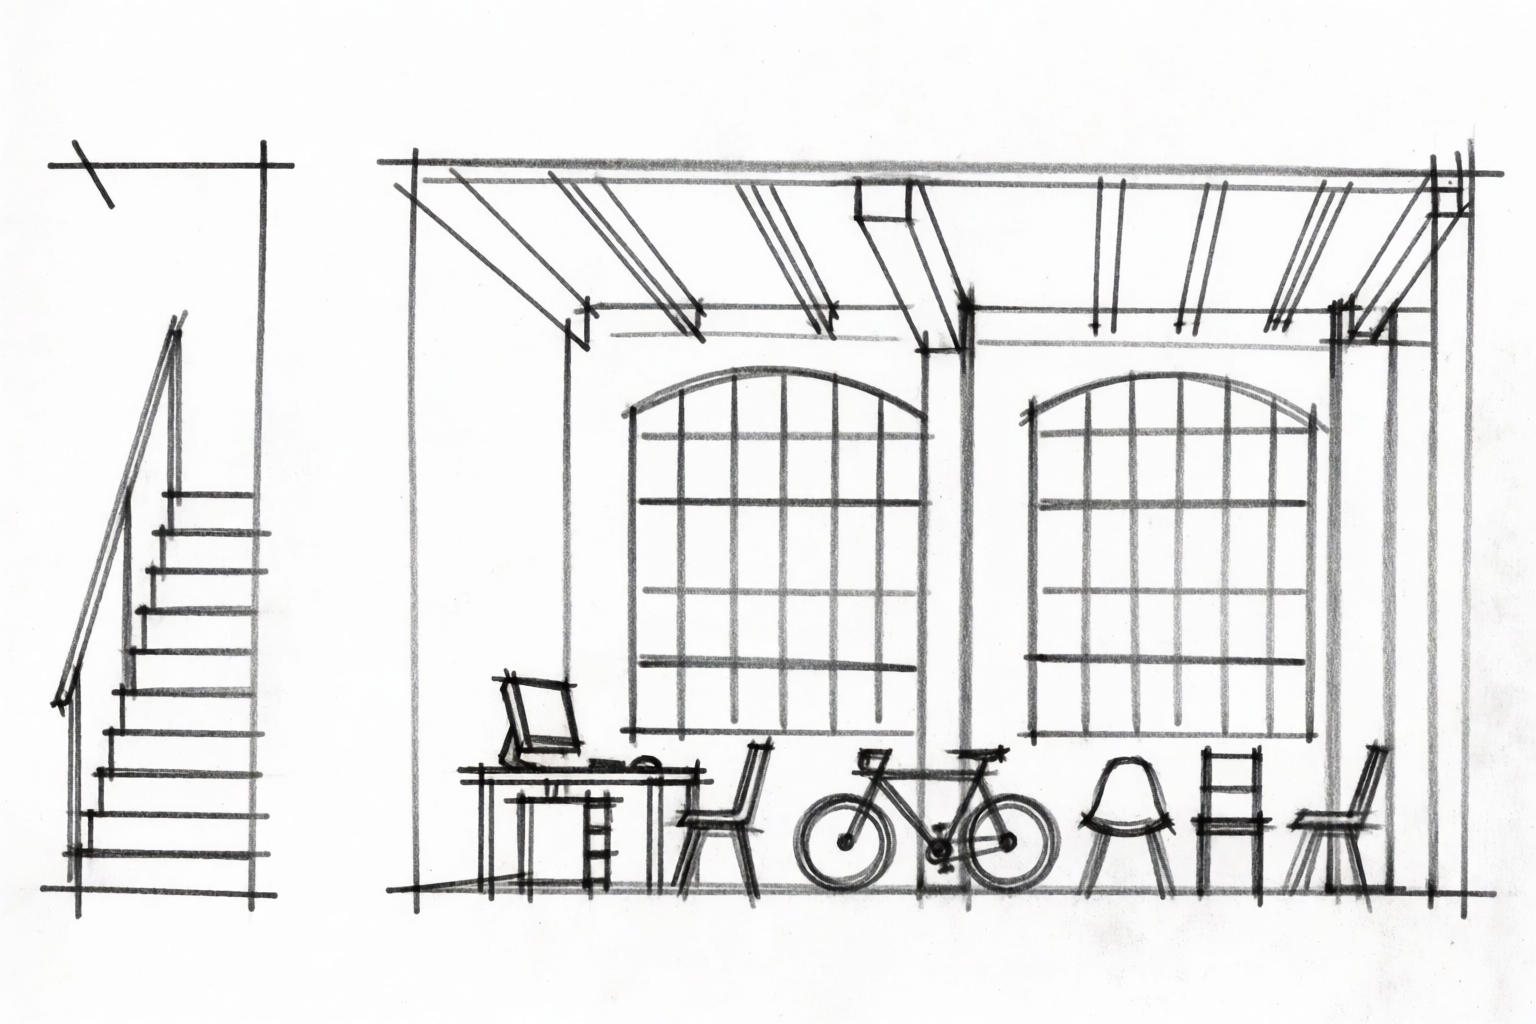
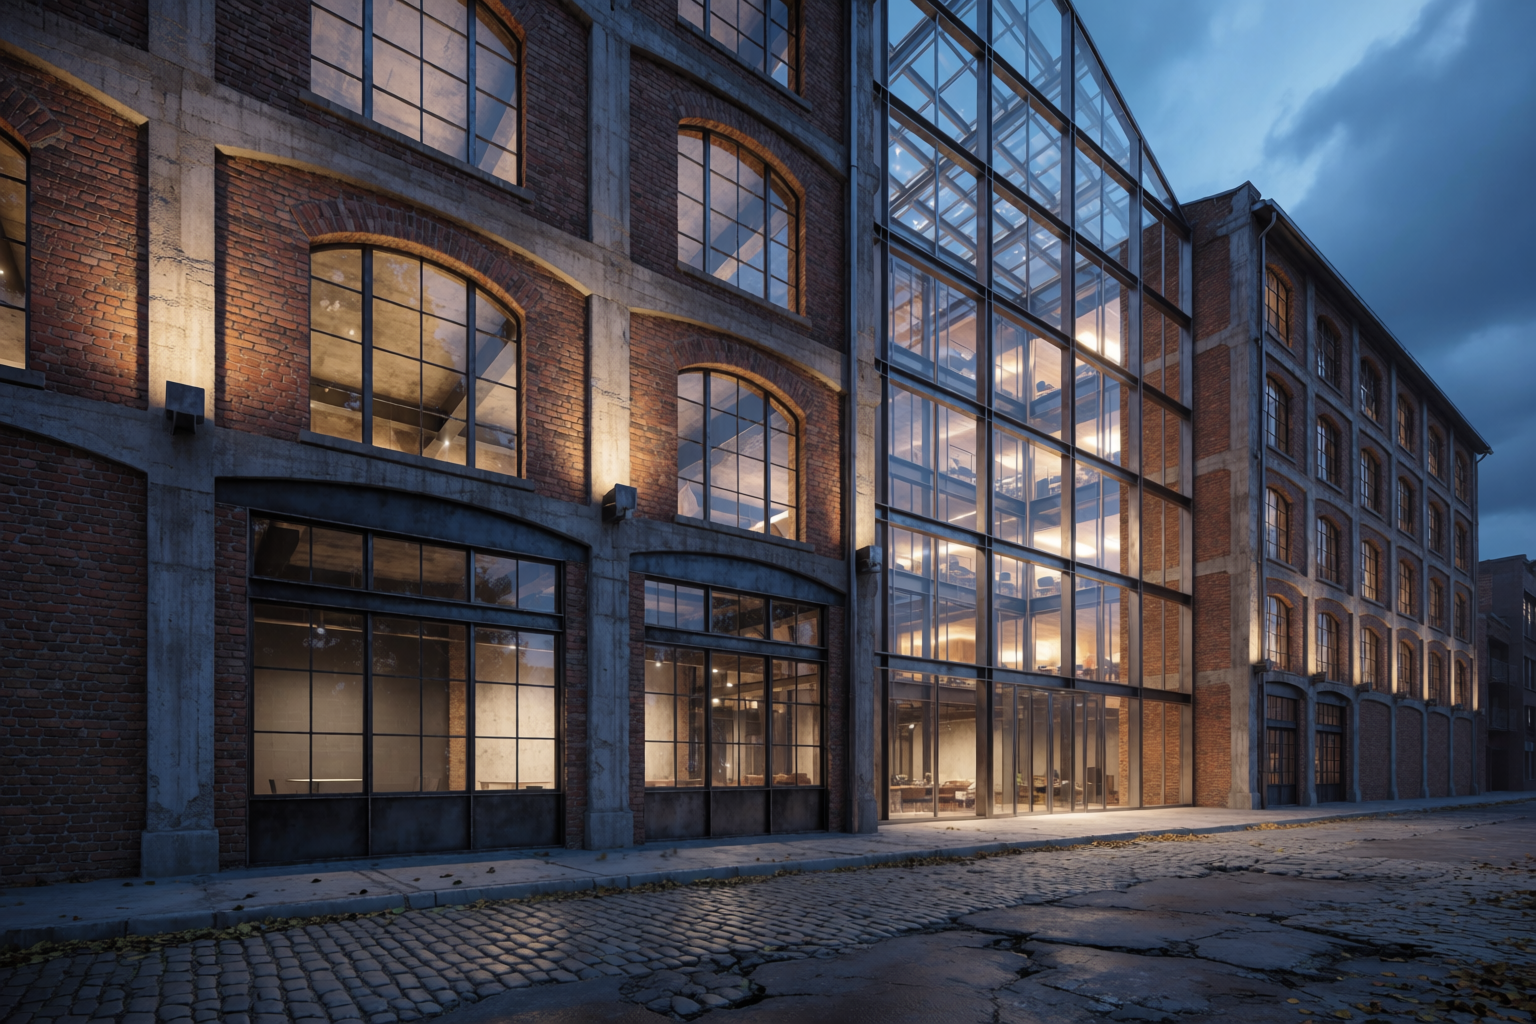
A different brief: a warehouse-to-loft conversion in a tight urban context. The sketch sets the bones — arched openings, mass, rhythm. The prompt sets the blue-hour atmosphere. The render reads the type and language of the sketch, then generates fresh in that direction.
Sketch to render — industrial loft
Arched warehouse facade sketch as a directional reference; Krea 2 generates a blue-hour urban concept render in the same family.
A-frame timber cabin
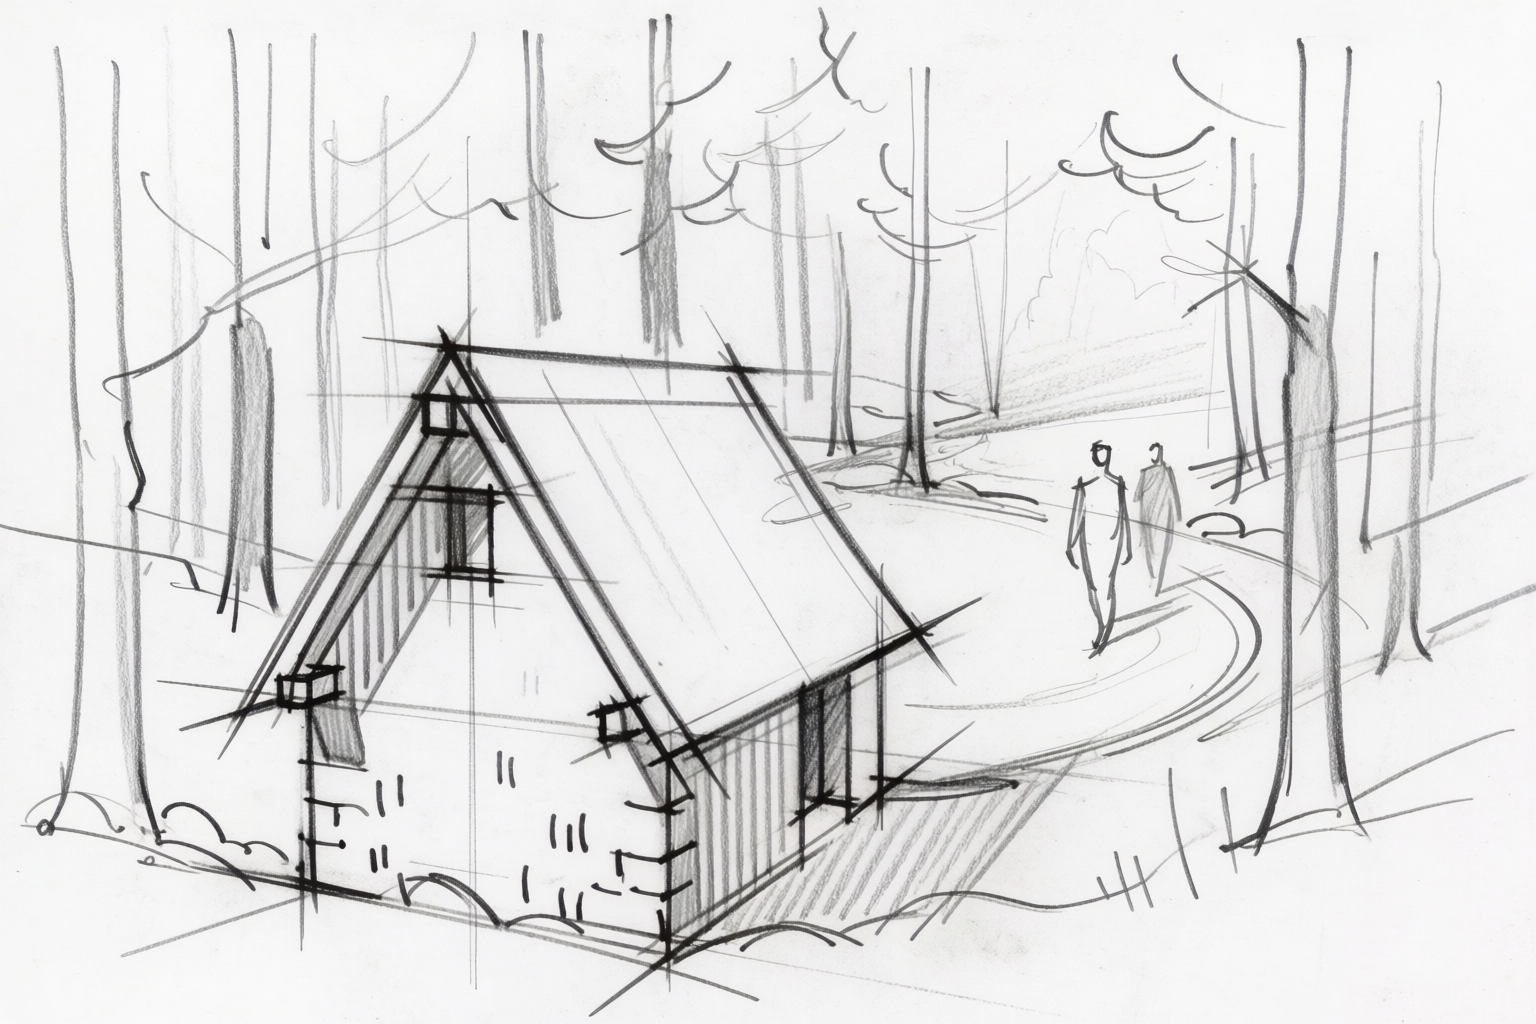
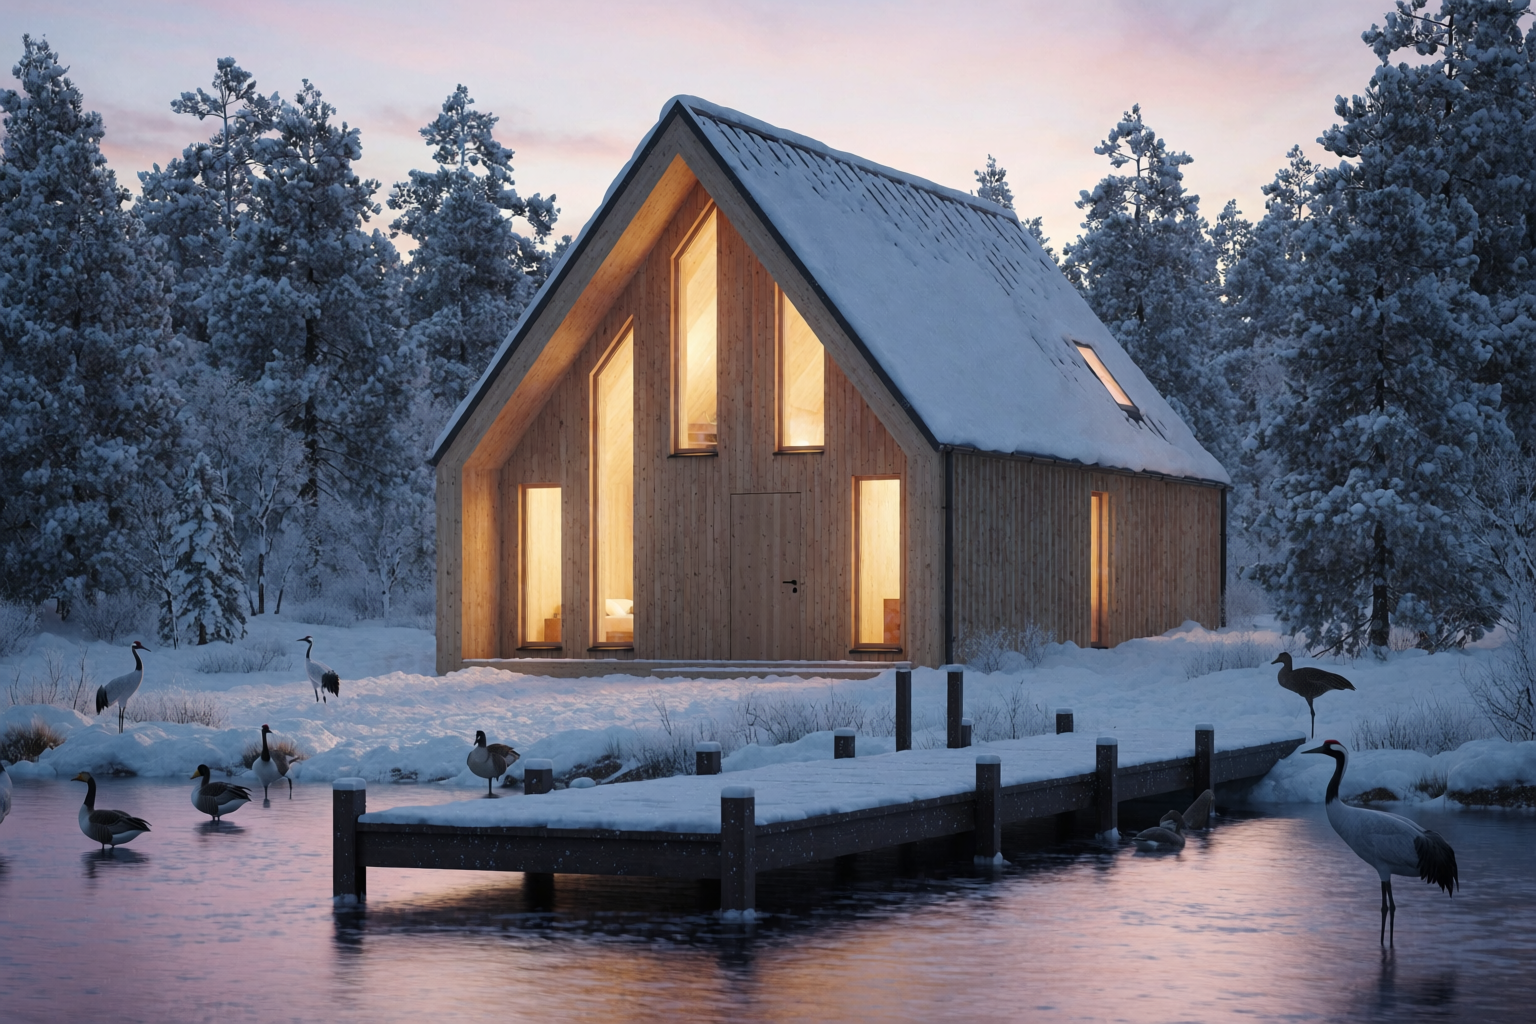
A small program in a heavy site. The sketch carries the gable language. The prompt carries the snow and the trees. Same shape language, freshly generated render.
Sketch to render — A-frame cabin
Gable sketch as conceptual reference; Krea 2 generates a related winter-forest concept — same shape language, new image.
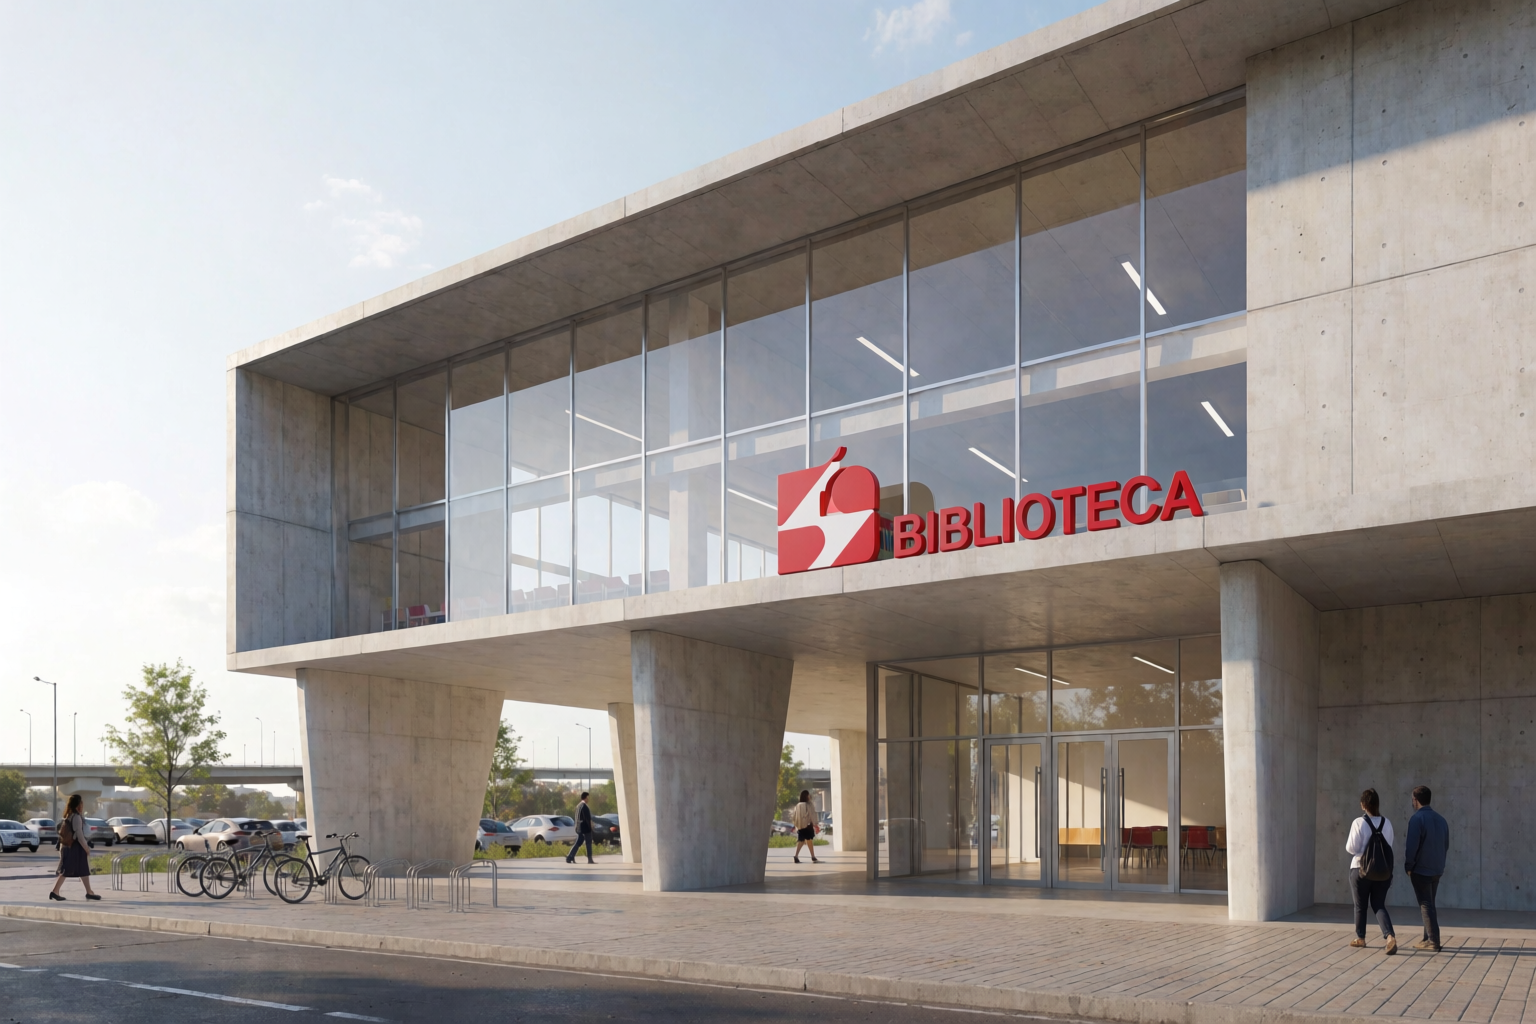
Civic library
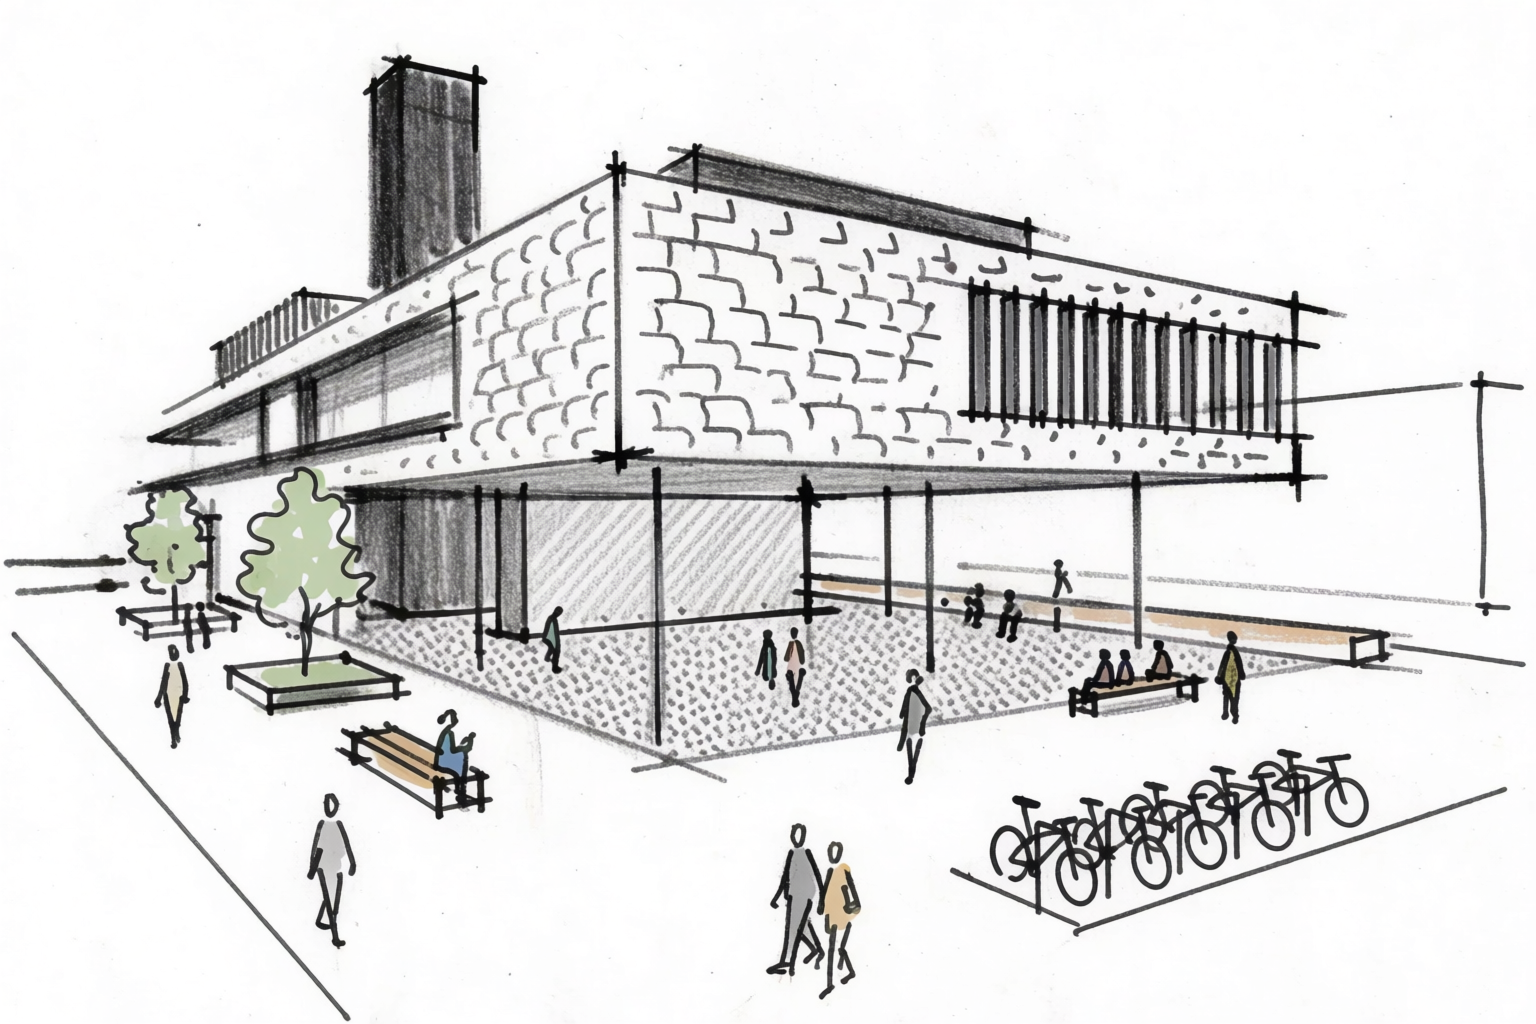
A public-realm program. The sketch defines the cantilever and the overall move. The prompt defines materiality and lighting. The render is a generated concept in that same direction — not an edit of the line work.
Sketch to render — civic library
Three-quarter perspective sketch sets the direction; Krea 2 generates a clear-light public concept render in the same spirit.
Prompt patterns that work for architectural renders
- Name the materials. “Fair-faced concrete,” “vertical cedar cladding,” “standing seam zinc,” “warm masonry.” Generic prompts give generic materials.
- Specify the lighting. “Golden hour warm light,” “blue hour with warm interior glow,” “soft overcast daylight,” “midday clear light with sharp shadows.” Lighting is the single biggest driver of render mood.
- Add human scale. “Pedestrians for scale,” “a cyclist in the foreground,” “people on the terrace.” Architectural renders without people read as toy models.
- Anchor the site context. “Pacific coast slope,” “tight European street,” “suburban infill,” “tree-lined urban block.” Site context dictates the lighting, the surroundings, and the believability.
- Specify the level of finish. “Professional architectural visualization,” “concept sketch,” “watercolor presentation,” “competition-quality rendering.” Each one pulls a different fidelity.
Where this fits in an architecture workflow
Sketch-to-render lives at the moment between concept and DD — the phase where you need a fast, beautiful image to align the client without committing to weeks of modeling. The full project workflow with Krea 2 looks like:
- Concept and massing — abstract volumes, early forms.
- Sketch to render (this article) — moving from a hand sketch to a presentation-quality image.
- Architectural styles — testing visual languages before committing.
- Site context — placing the design in its real surroundings.
- Materials and lighting — variations on the locked design.
- Interiors — once the shell is set, the inside.
- Pitching — assembling the deck.
Render your next sketch in Krea 2
Free to start. Image references and Krea Edit included on every plan.
Open Krea 2