Krea Enhancer is Krea’s image-upscaling tool, and Magnific is the model inside it that adds real detail instead of a plain resize, one of several enhancers compared in our best AI photo enhancers guide. Magnific is useful when an image needs more resolution and more believable detail, not just a sharper resize. This walkthrough uses a simple portrait-style image from Assets, keeps the settings conservative, and ends with a real 2x Magnific enhancement.
Give your image Magnific detail
Upscale a portrait to 2x with richer, more believable texture.
Try MagnificStart in Enhancer
Open Krea and choose Enhancer from the tools sidebar. The empty state gives you one clear starting point: add an image, then choose how much larger you want it to become.
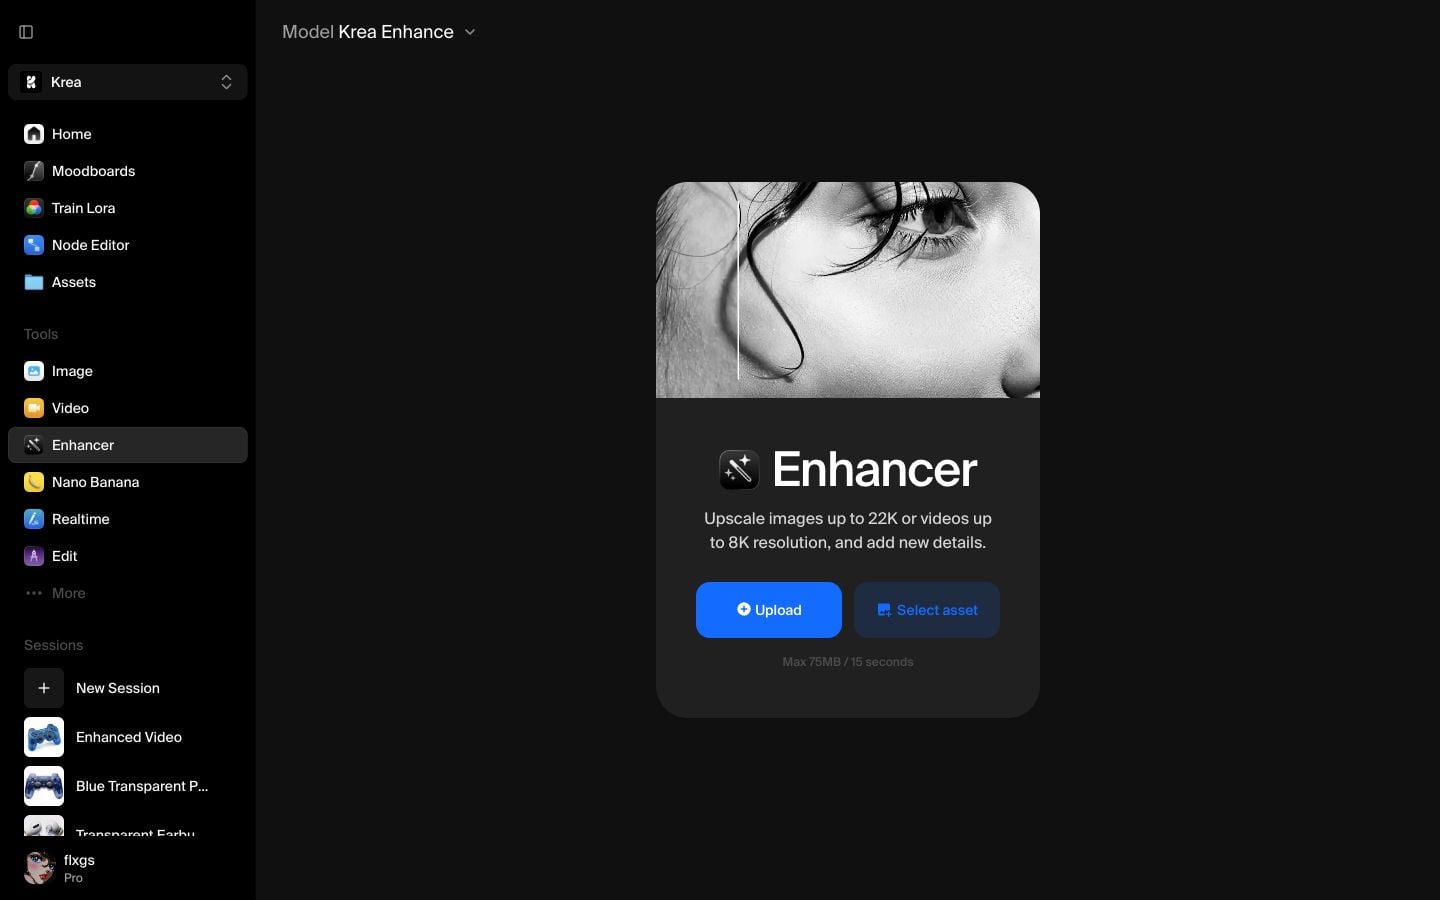
Click Select asset to pick an existing image from your Krea Assets library. You can also upload a file, but Assets is the fastest path when you already have a generated image you want to polish.
Choose the image to enhance
After the image loads, Krea shows the original on the canvas and opens the enhancement settings on the right. For a first pass, choose 2x. It gives Magnific enough room to add detail without jumping straight into a very large, slower render.
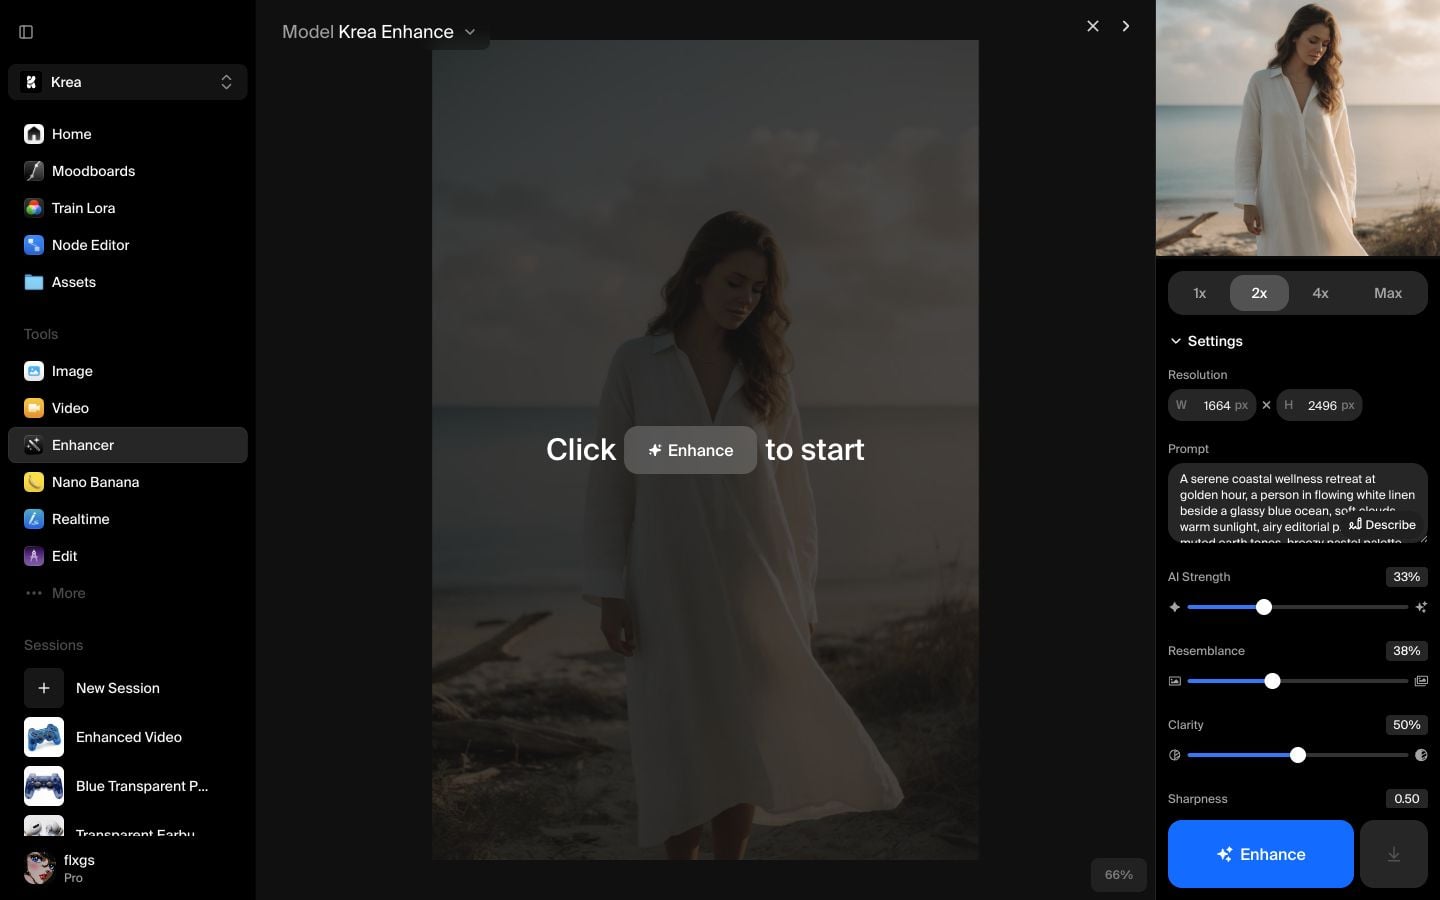
If Krea adds or detects a prompt, treat it as guidance for the enhancer. A short prompt helps Magnific understand what details should stay coherent: subject, setting, lighting, material, and style.
Switch the model to Magnific
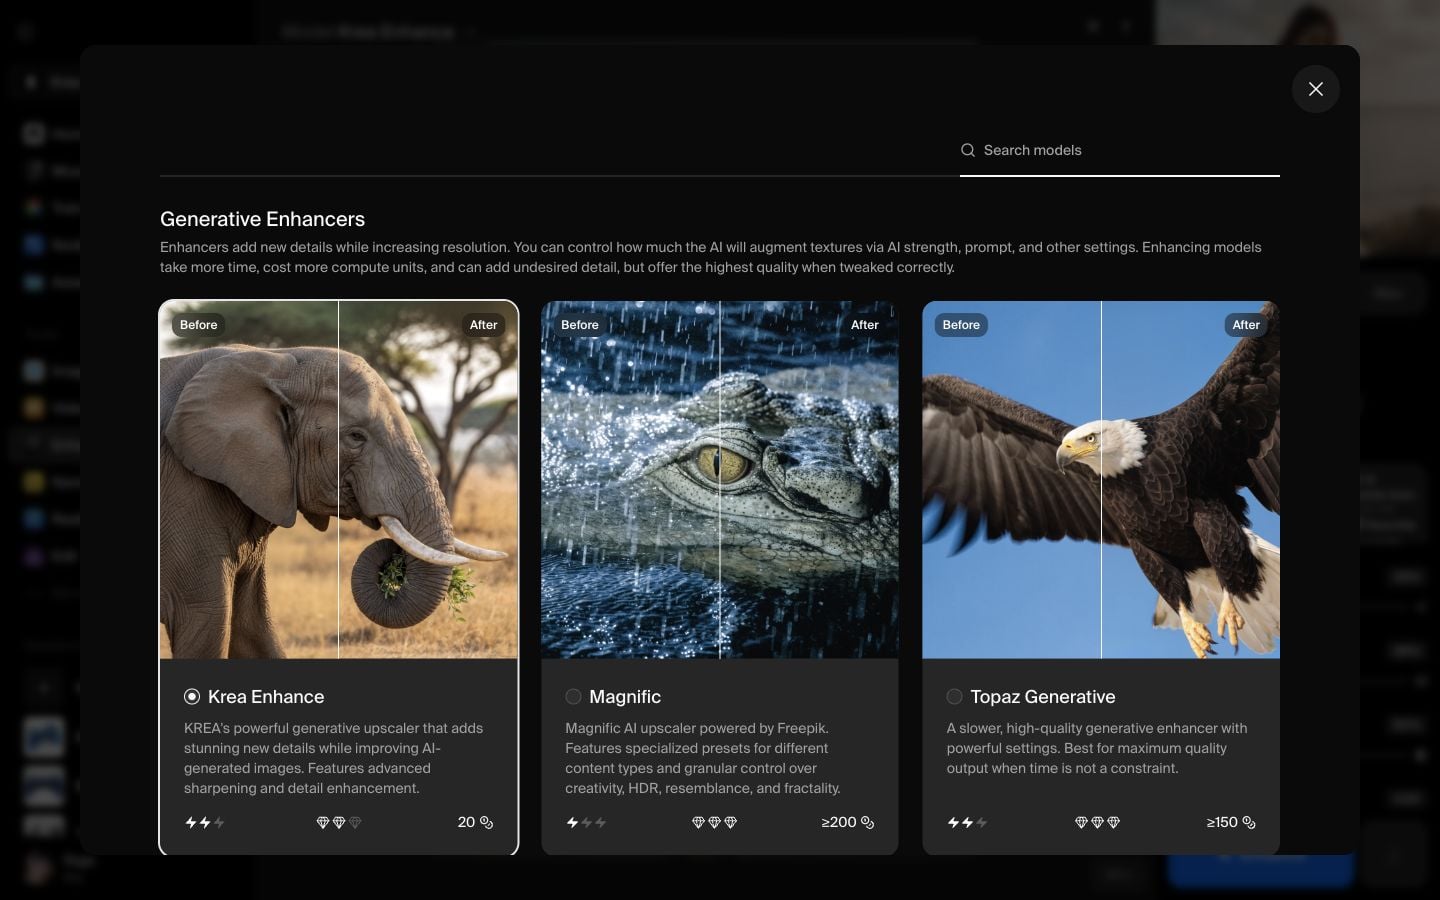
Open the Model selector and choose Magnific under Generative Enhancers. Magnific is the option to use when you want the upscale to invent cleaner texture and richer detail while still following the source image.
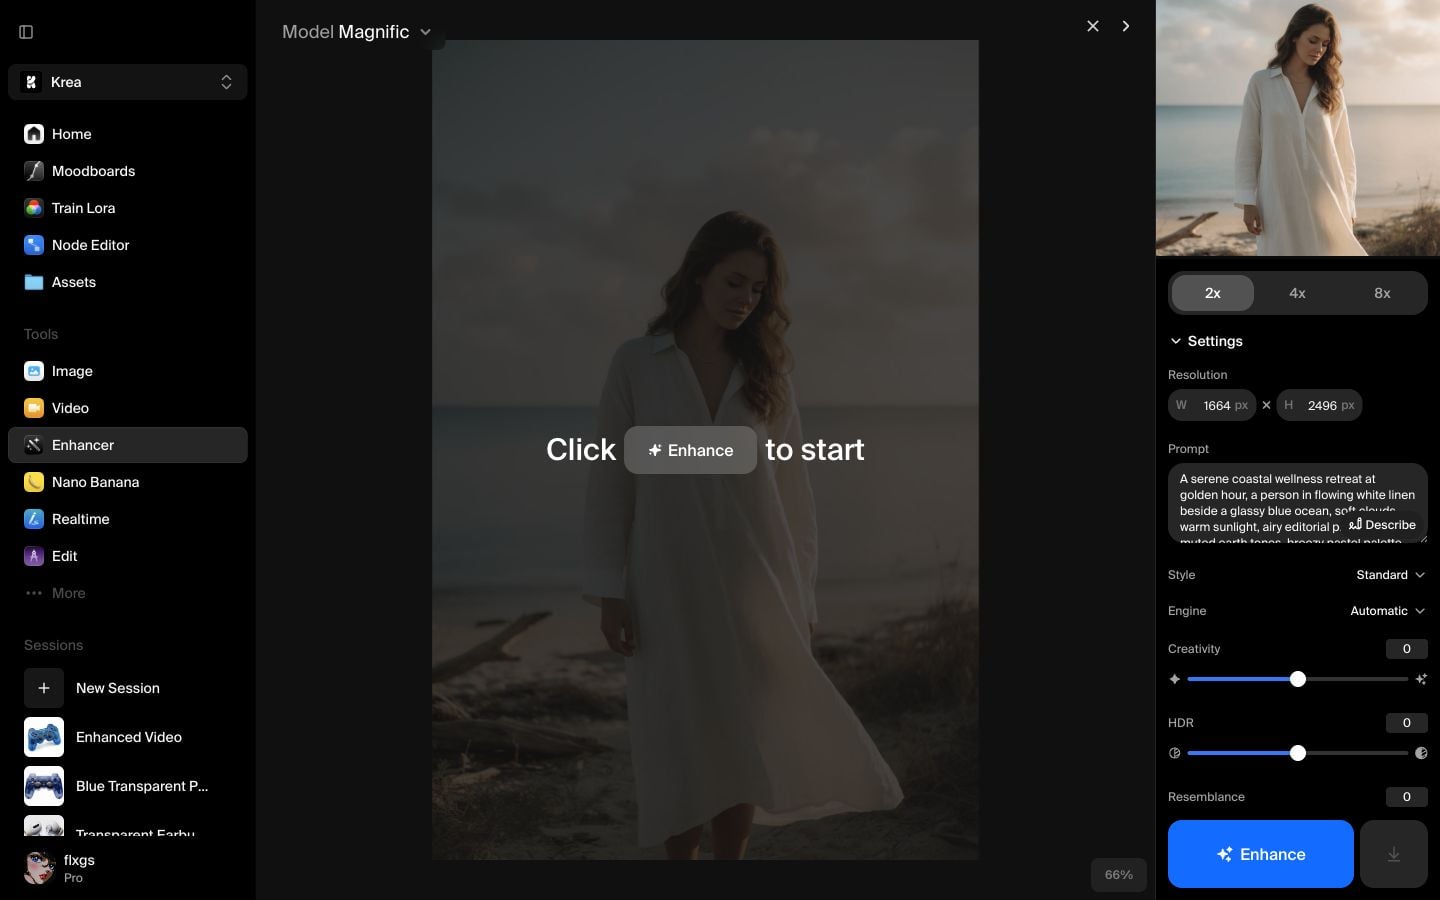
For a faithful first result, keep the defaults restrained:
- Style: Standard
- Engine: Automatic
- Creativity: 0
- HDR: 0
- Resemblance: 0
- Fractality: 0
Raise these later only when you want a more stylized or heavily reinterpreted enhancement, closer to a full photo restyle.
Run the enhancement
Before clicking Enhance, check the output size and prompt one more time. In this example, the source image is 832 x 1248 and the 2x output becomes 1664 x 2496.
Click Enhance and wait for the job to finish. When it completes, use the split view to compare the original and enhanced image directly on the canvas.
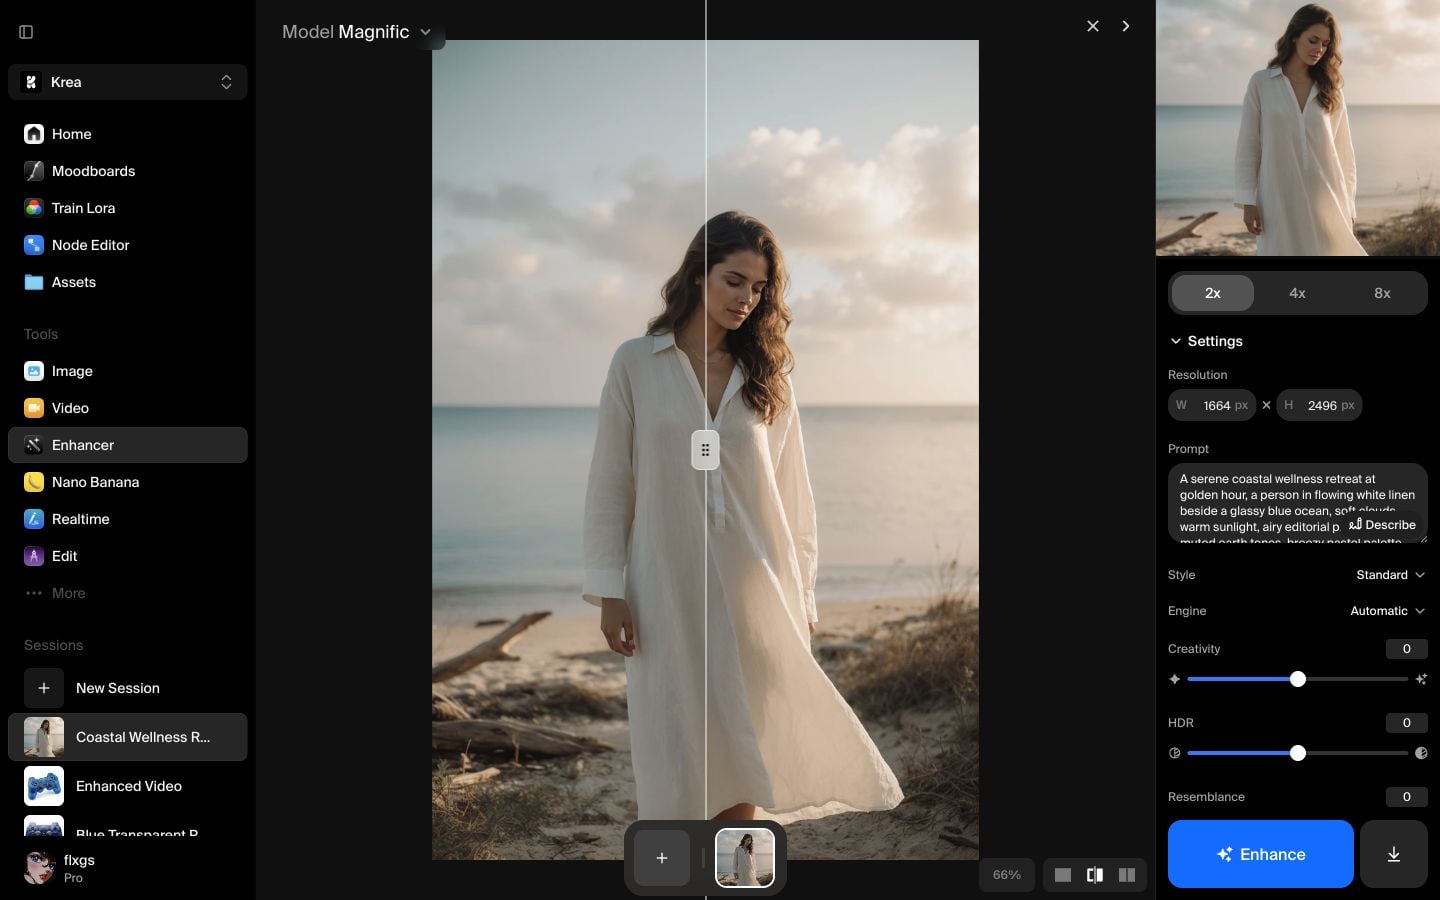
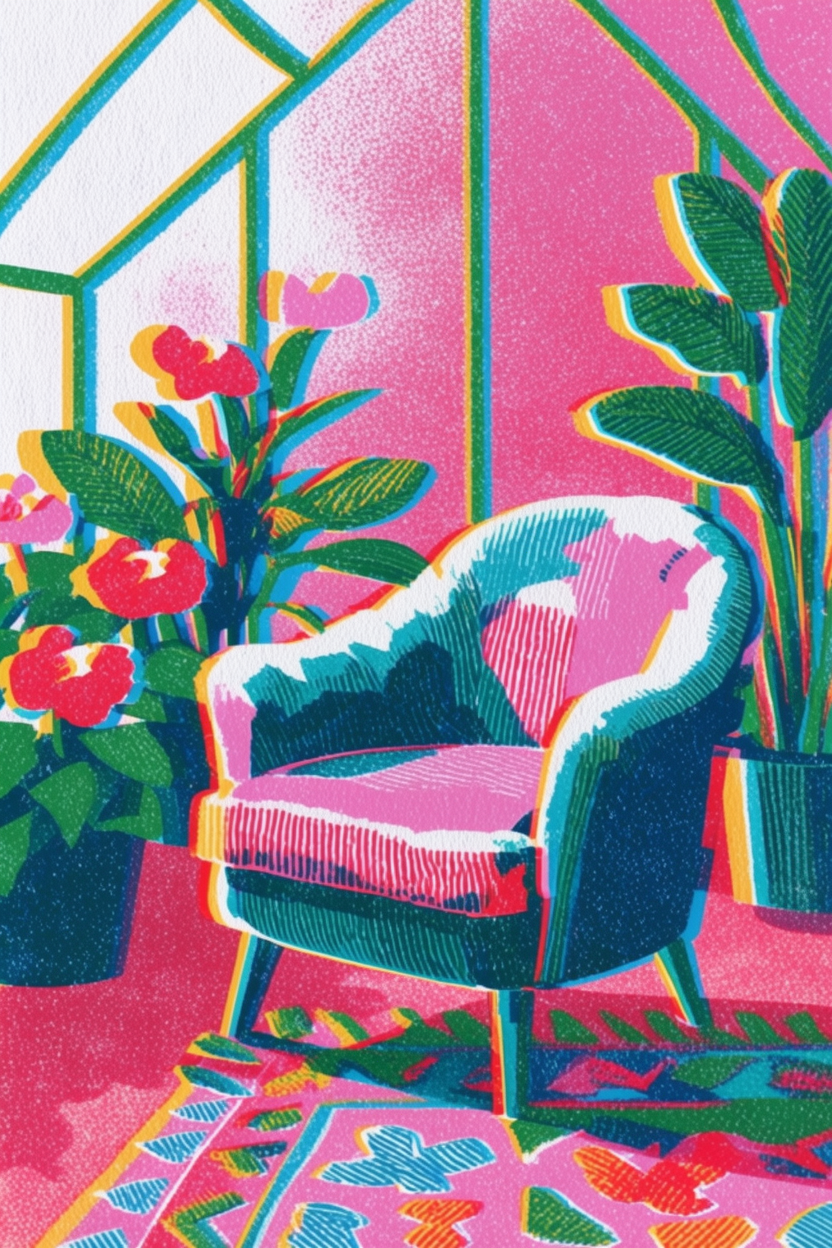
Here is the enhanced image from the walkthrough:

Quick checklist
- Start with a clean image that already has the composition you want.
- Use 2x for the first pass unless you know you need a larger delivery size.
- Add a short prompt when the subject or style needs to stay consistent.
- Keep Magnific settings low for faithful enhancement.
- Compare in split view before downloading or using the result elsewhere.
Enhance an image with Magnific
Open Krea Enhancer, choose an image, select Magnific, and create a higher-resolution version with richer detail.
Open Enhancer