“How do I make this old video HD?” is two questions. The technical one: what can software recover from a 480p tape or a grainy phone clip, and what is lost for good? The practical one: which tool does it, what does it cost, and how long does it take? This guide answers both. It explains what “converting to HD or 4K” does and does not do, then compares six AI video enhancers on price, free limits, and output caps, with a settings recipe for each. Every number comes from the vendor’s own page, checked in September 2026.
Upscaling vs converting: what “HD” and “4K” really mean
A video converter changes the file: the container (MP4, MOV, MKV), the codec (H.264, H.265), or the bitrate. It can also resample the frame to 1920×1080 or 3840×2160. A plain resample spreads the same pixels over a larger grid. The file says “4K” but shows no more detail, and it often looks softer than the original.
An AI video enhancer (or AI upscaler) runs a trained model over each frame and its neighbors. The model predicts edges, textures, and fine detail that a resample cannot. Good enhancers also remove noise, reduce compression blocks, deinterlace old tape, and sharpen faces. That is what “convert blurry video to HD” really means: new detail, not a new container.
Three limits apply to every tool below:
- Upscaling cannot recover what was never recorded. A face eight pixels wide stays a guess. The model invents plausible detail. Fine for a family video, a problem for evidence.
- Source quality sets the ceiling. A clean 720p clip upscales to 4K well. A 240p, heavily compressed clip upscales to a cleaner 1080p at best. Push it to 4K and the artifacts get bigger too.
- Old tape needs deinterlacing first. VHS, Hi8, and MiniDV are interlaced. Upscale without deinterlacing and the comb lines become permanent.
So a “4K video converter” that only rewrites the container does not add detail. For detail, you need one of the tools below.
Prompt (Krea 2 Turbo, illustration only):
A still frame in the style of a 1990s home camcorder recording: a family birthday party in a wood-paneled living room, warm tungsten light, soft focus, slight color bleed, faint scan lines, low-resolution video look, no text

AI video enhancers at a glance
| # | Tool | Runs where | Free option | Max output | Paid from |
|---|---|---|---|---|---|
| 1 | Topaz Video | Desktop (Mac, Windows) + cloud | Trial with watermark | 4K and 8K | $25/month billed annually ($299/year) |
| 2 | Krea Video Upscale | Browser | 4 videos per 24 hours for signed-in free users | Up to 8x the source, by plan | Basic $9/month |
| 3 | CapCut | Browser, desktop, mobile | Yes, inside the free editor | 4K (Pro for 4K export) | Pro $19.99/month |
| 4 | TensorPix | Browser | Weekly free credits, 720p input cap | 4K input on paid plans | Standard $5.50/month billed annually |
| 5 | AVCLabs Video Enhancer AI | Desktop (Windows, macOS) | Trial: watermark, 30-second exports | 4K and 8K | $39.95/month, $299.99 lifetime |
| 6 | Video2X (Real-ESRGAN) | Desktop (Windows, Linux) | Fully free, open source | Limited by your GPU | $0 |
Upscale a clip in your browser
Upload an MP4 to Krea Video Upscale, pick 2x or 4x, and download. Signed-in free users get four upscales a day.
Try Krea Video UpscaleHow we chose and tested
The six tools cover the real options: a professional desktop suite, a browser upscaler, an editor with a built-in enhancer, a credit-based web service, a one-time-purchase desktop app, and a free open-source path. Every price, quota, and limit comes from the vendor’s own page, checked on September 14, 2026: Topaz Video, Krea Video Upscale and Krea pricing, CapCut Standard vs Pro, TensorPix pricing, AVCLabs Video Enhancer AI, and the Video2X repository. Where a vendor publishes no figure, we say so.
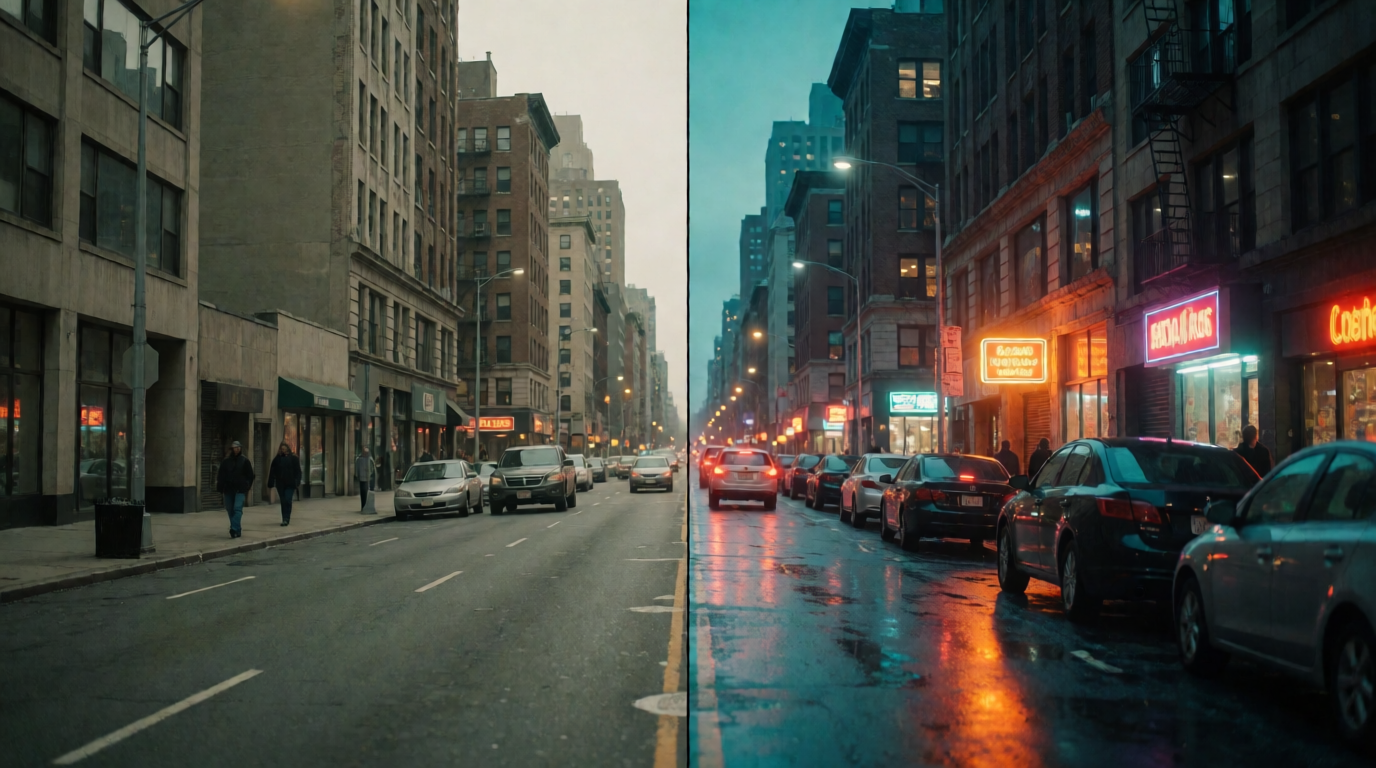
One note on the images. Every picture in this post is a single, raw Krea 2 Turbo generation from the prompt printed beside it. They illustrate the kinds of footage people restore. None is a before/after result from any enhancer, including Krea’s.
1. Topaz Video: the professional standard for old footage
Topaz Video is where most serious restoration work ends up. It runs on Mac and Windows with a large model library: Starlight Precise, Proteus, Iris, Nyx, Rhea, Rhea XL, Artemis, Gaia, Theia, Apollo, Chronos, Aion, Themis, plus SDR to HDR and stabilization. Topaz says it can “recover and upscale old archival videos to 4K” and “upscale footage up to 4K and 8K.”
Pricing is subscription only. Personal is $25/month billed annually ($299/year) or $59 month to month, with 25 video cloud credits a month and a commercial-use limit for organizations under $1M in annual revenue. Pro is $58/month billed annually ($699/year) and adds local access to Starlight Mini, Sharp, HQ, and Fast. A browser product, Topaz Astra Standard, offers 4K output and 400 credits a month (about 10 minutes of HD video); the page listed it at $19/month against a $39 list price when we checked. Topaz’s own community post states that the trial “and licensed versions are identical, except the trial includes a watermark,” with no payment information needed.
Settings recipe (VHS or camcorder, 480i to 1080p):
- Deinterlace first (Dione for interlaced sources).
- Model: Iris for faces, Proteus for general footage. Output 1080p, not 4K, for 480-line sources.
- Add Nyx only for noisy sources, at low strength, to avoid a waxy look.
- Export ProRes or high-bitrate H.265.
Variation tips: for clean 1080p to 4K, use Proteus or Rhea and skip the denoiser. Use Apollo or Chronos only when you need 60 fps or slow motion; interpolation on shaky footage adds ghosting.
Where it stops: it needs a modern GPU, renders take minutes per minute of footage on older machines, and there is no perpetual license any more. The trial watermark makes fine side-by-side checks hard.
Prompt (Krea 2 Turbo, illustration only):
A still frame in the style of a low-light smartphone video clip: friends at a night street market under string lights, heavy sensor grain, motion blur on a passing figure, cool blue shadows and warm orange highlights, no text

2. Krea Video Upscale: the fastest browser path
Krea Video Upscale is a browser mini-app. You upload an MP4, Krea reads the input resolution, and you pick 1x, 2x, 4x, or 8x “based on your source resolution” and your plan. Krea calls it “Krea’s native video upscaler” and says it “improves clarity and output resolution while keeping motion coherent.” The page does not name the underlying model, so we do not either.
The free path is real but small. Krea states that “signed-in free users can enhance up to 4 videos every 24 hours in this miniapp flow.” Beyond the mini-app, the pricing page is clear: the Free plan ($0, 100 compute units a day, no credit card) covers Krea 2 images and basic image upscaling to 2K, and lists video concurrency as 0 with video models not included. So full video work on Krea, including the higher upscaling factors and the models in Krea Video, needs a paid plan. Basic is 5,000 units a month at $9/month (about $5/month billed yearly), Pro is 20,000 units at $35/month ($21/month billed yearly), and Max is 60,000 units at $105/month ($63/month billed yearly).
Settings recipe (720p phone clip to 4K):
- Export the clip as MP4; the mini-app accepts MP4 only.
- Pick 2x for 720p to 1440p or 4x for 720p to 4K. Prefer 2x if the source is heavily compressed.
- Preview, then download.
Variation tips: for a still or a thumbnail from the same clip, the Krea Enhancer gives far more control than the video path. See the image upscalers guide.
Where it stops: no deinterlace, no separate denoise, no face model, no batch queue. MP4 in, MP4 out. Four free upscales a day is enough to test, not to restore a tape archive. The available factors depend on the plan, and the page does not publish a clip length or file size cap, so long clips need a test run first.
Prompt (Krea 2 Turbo, illustration only):
An archival family video still in the style of 1970s 8mm home film: two children running on a summer beach, faded warm colors, light leaks at the frame edge, soft focus, heavy film grain, no text

Try Krea Video Upscale. If you need a new clip rather than a restored one, see the free AI video generators guide.
3. CapCut: the enhancer inside the editor you already use
CapCut’s AI video upscaler lives inside CapCut’s editor on web, desktop, and mobile. CapCut says it “sharpens, deblurs, and upscales your footage” with HD, UHD, and 4K output levels. It is the right answer when the clip is going into a social edit anyway.
The free plan includes the editor and the enhance tool. CapCut’s Standard vs Pro page lists Pro at $19.99/month or $179.99/year for individuals, with the note that “prices can vary by region, platform (mobile, desktop, or web), taxes, and promotional discounts.” Its help center repeats the point, so check the in-app price before you buy. CapCut’s export help page states that options like “4K”, “60fps”, or “No Watermark” appear “grayed out or locked if you’re not a Pro user,” and that a project which uses Pro materials exports with a CapCut watermark, even at 1080p.
Settings recipe (1080p clip, cleaner and sharper):
- Import the clip and select it on the timeline.
- Open Video, then Basic, then Enhance quality (labels differ slightly between web and desktop).
- Pick HD for a 480p source, UHD or 4K for a 1080p source.
- Export at 1080p on the free plan; 4K needs Pro.
Variation tips: run the enhancer before you add captions or stickers. Enhancing a finished edit sharpens the text edges and shows compression noise around them.
Where it stops: one preset, no model choice, no deinterlace, no strength control. Free exports cap at 1080p. The published price is a guide, not a promise, because CapCut prices by region.
4. TensorPix: pay-per-minute enhancement in the browser
TensorPix charges by credit. One credit “roughly equals 2 min. enhanced video.” The Free plan is “free forever”: credits on sign-up and “weekly Credits by logging in,” inputs up to 720p, 1 GB of storage, up to four filters per video, and files deleted 30 days after creation. TensorPix does not publish the weekly credit amount on its pricing page. Pay-as-you-go credits cost $3 each.
Paid plans, billed annually, are Standard at $5.50/month (10 credits a month, inputs up to 4K), Premium at $12.42/month (35 credits, five filters), and Elite at $30.25/month (110 credits). Unused credits roll over for up to a year. Output codecs are H.264 and H.265 on every plan.
Settings recipe (old 480p clip to 1080p):
- Upload the clip. Stay under 720p input on the Free plan.
- Stack filters in this order: Deinterlace (for tape), Denoise, Upscale 2x, then Face Enhance for people.
- Use the free preview before you spend a credit. Previews are watermarked; final downloads are not.
- Download as H.265.
Variation tips: four filters is the Free-plan cap, so drop Face Enhance on landscapes and add Stabilize. For animation, skip Denoise; it softens line art.
Where it stops: the 720p input cap on Free blocks any 1080p source until you pay. Storage is small and files expire after 30 days. A long 4K job burns through a Standard plan fast.
5. AVCLabs Video Enhancer AI: the one-time-purchase desktop option
AVCLabs Video Enhancer AI runs on Windows 10 and 11 (64-bit) and macOS 12 through 26. AVCLabs says it upscales “from 480p, 720p, or 1080p videos to 4K or 8K locally on Windows/Mac,” with AI modes named Ultra, Standard, Anime, Denoise, and Colorize, plus face refinement and frame interpolation.
It is the only paid desktop tool here with a lifetime price: $39.95/month, $119.95/year, or $299.99 one-time. AVCLabs’ FAQ states that “videos generated by the free trial version will be watermarked and the length of each exported video is limited to a maximum of 30 seconds.” Hardware matters: AVCLabs recommends an NVIDIA GTX 1050 Ti or better, wants at least 4 GB of GPU memory for face refinement, and quotes about 0.8 seconds per frame for SD to HD and about 5 seconds per frame for HD to 8K on a Core i5-10400F with a GTX 1650 Super.
Settings recipe (interlaced MiniDV to 1080p):
- Deinterlace first (in AVCLabs or HandBrake) so comb lines are not upscaled.
- Model: Standard for general footage, Ultra for clean sources, Denoise for tape noise.
- Output 1080p for a 480-line source. Face Refinement only for close-ups.
- Export high-bitrate H.264. Test a short clip before the full tape.
Variation tips: at 5 seconds per frame, an hour of 8K output on a mid-range GPU takes days. Target 1080p or 4K and let the player scale the rest.
Where it stops: the 30-second trial export means you cannot judge a full clip before you pay. Speed depends entirely on your GPU. Read the upgrade terms on the lifetime license before you count on it forever.
Prompt (Krea 2 Turbo, illustration only):
A still frame in the style of a 1980s VHS recording of a school play on a small stage: children in paper costumes, soft stage lights, muted washed-out color, faint horizontal tracking distortion along the bottom edge, no text

6. Video2X with Real-ESRGAN: the free open-source path
Video2X is “a machine learning-based video super resolution and frame interpolation framework” under the GNU AGPL v3. It wraps Real-ESRGAN, Real-CUGAN, and RIFE through ncnn and Vulkan, plus Anime4K shaders, and ships a GUI and installer for Windows with Linux builds and container images. It needs an AVX2 CPU and a Vulkan-capable GPU: NVIDIA Kepler (GTX 600 series) or newer, AMD GCN 1.0 or newer, or Intel HD Graphics 4000 or newer.
The model doing the work is usually Real-ESRGAN, a BSD-3-Clause project for “general image/video restoration.” Its named variants include realesrgan-x4plus for photos and video, realesr-animevideov3 for animation, and realesr-general-x4v3 as a lighter general model. Real-ESRGAN also ships portable ncnn-vulkan executables for Windows, Linux, and macOS if you would rather skip a GUI.
Settings recipe (720p to 4K, live-action):
- Install Video2X. Confirm your GPU appears in the Vulkan device list.
- Processor: Real-ESRGAN. Model: realesrgan-x4plus. Scale: 4x, then let the encoder downsample to 4K, or run 2x twice.
- Leave RIFE off unless you want frame interpolation; it doubles render time.
- Encoder: libx265, CRF 18 to 20.
Variation tips: for anime, switch to realesr-animevideov3; it is faster and keeps line art clean. For noisy live-action, denoise in your editor first, because Real-ESRGAN sharpens noise as readily as detail.
Where it stops: no deinterlacer, no face model, no support desk. Renders are slow on integrated graphics. Quality trails Topaz on faces and fine texture, and every setting is on you.
Free tiers and trials compared: the fine print
| Tool | What is free | Watermark on free output | Output cap on free | Card required |
|---|---|---|---|---|
| Topaz Video | Full app, trial mode | Yes | Same as paid | No |
| Krea Video Upscale | 4 videos per 24 hours, signed in | No statement on page | Factor depends on source and plan | No |
| CapCut | Editor and enhance tool | Yes, if the project uses Pro materials | 1080p; 4K and 60 fps export are Pro | No |
| TensorPix | Sign-up and weekly credits | Preview only; final download unwatermarked | 720p input | No |
| AVCLabs | Full features, trial mode | Yes | 30-second exports | No |
| Video2X / Real-ESRGAN | Everything | No | Your GPU | No |
Limits change. Check the linked page before you commit a project to a free tier.
Footage types people restore, as Krea 2 Turbo illustrations
Both are single, raw Krea 2 Turbo outputs from the prompts below. They are illustrations, not enhancer results.
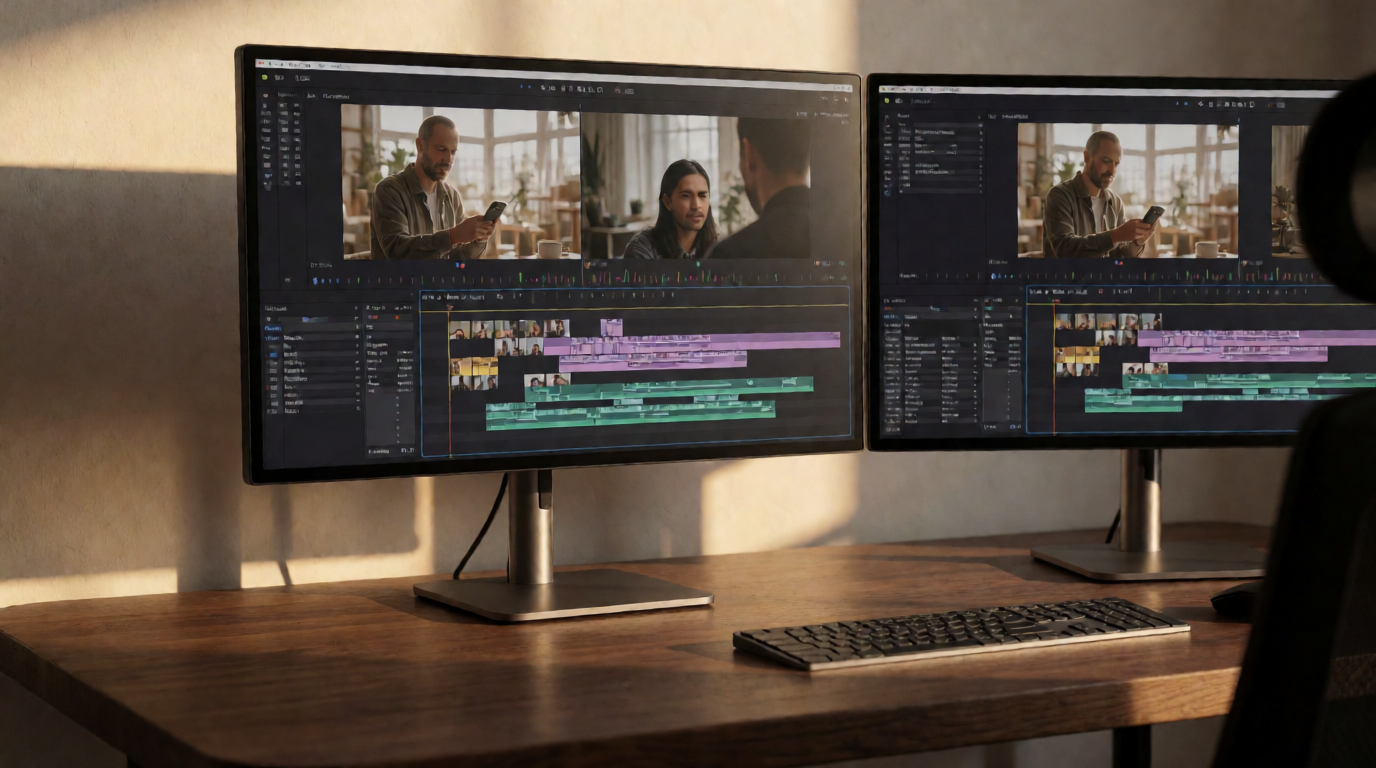
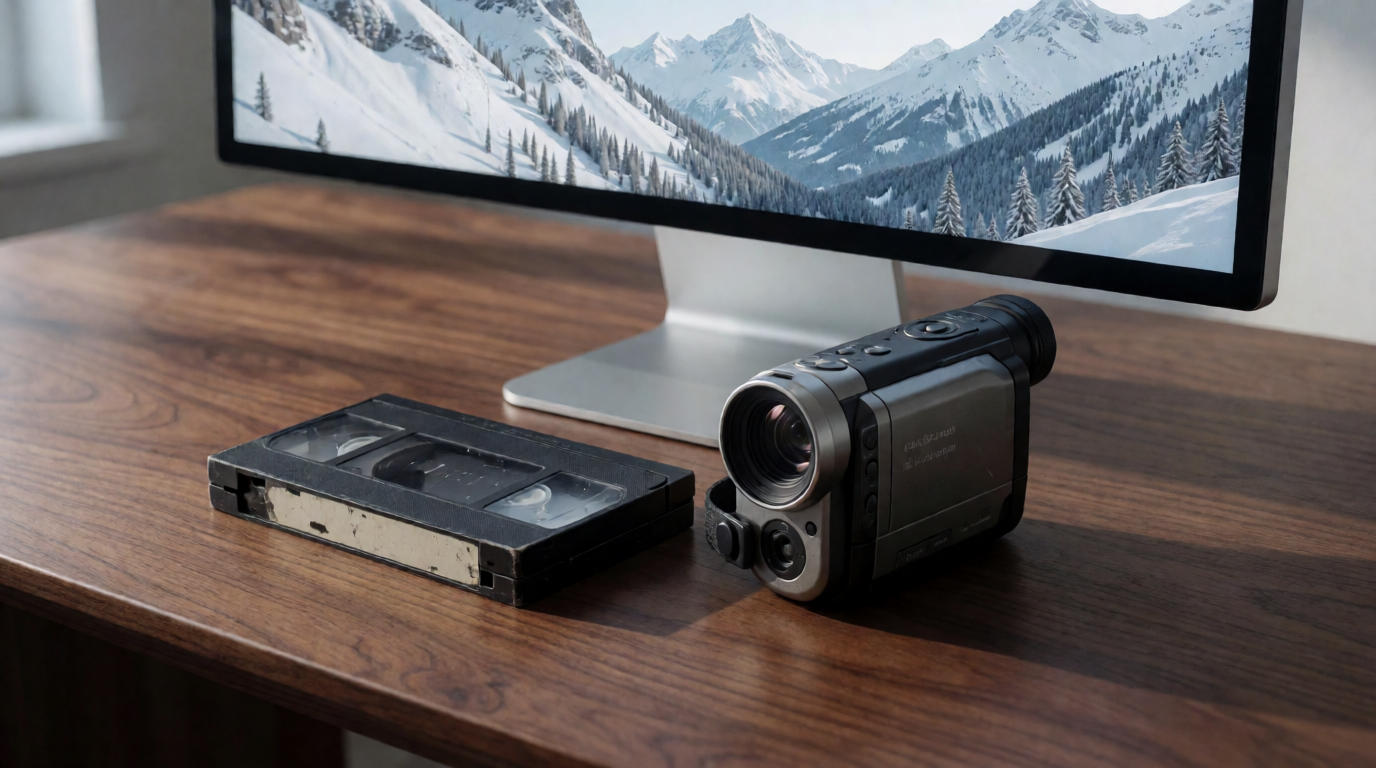
Prompt (editor’s desk):
A video editor’s desk with two monitors, a small stack of labeled MiniDV tapes, an external hard drive, and a coffee mug, late afternoon window light, clean editorial photography, no text
Prompt (tape and camcorder):
A vintage VHS cassette and a 1990s handheld camcorder resting on a walnut desk beside a modern monitor that shows a crisp alpine landscape, soft window light, shallow depth of field, editorial product photography, no text
Variation tips: name the era and the medium (“1990s camcorder”, “1970s 8mm”) when you want a period look from Krea 2. The model reads those as color, grain, and framing cues.
Which AI video enhancer should you pick?
Pick by the footage and the budget, not by the feature list:
- A box of VHS or MiniDV tapes, best possible result → Topaz Video. Deinterlace, then Iris or Proteus to 1080p. Budget $299/year or $59 for one month.
- One phone clip, right now, in the browser → Krea Video Upscale. Four free upscales a day; a paid plan for more.
- The clip is going into a TikTok or Reel anyway → CapCut. Enhance inside the edit; pay for Pro only if you need 4K export.
- A few short clips a month, no installs → TensorPix. Standard at $5.50/month covers about 20 minutes of enhanced video.
- Pay once and own it → AVCLabs at $299.99 lifetime, with a decent NVIDIA GPU.
- A GPU and zero budget → Video2X with Real-ESRGAN. Slower and more manual, and free.
For stills and thumbnails pulled from the same footage, the best AI image upscalers guide and the Topaz on Krea walkthrough cover the image side. If the source is too far gone and you need a fresh clip instead, see the 5 best AI video models on Krea.
Frequently asked questions
How to HD old video?
How to convert blurry video into HD?
How to convert blurry video to HD?
What is a 4K video converter?
Which is the best video enhancer?
Can I enhance old videos to 4K?
Test a clip before you buy a suite
Upload an MP4 to Krea Video Upscale and see what a 2x or 4x pass does to your footage. Signed-in free users get four upscales a day.
Try Krea Video Upscale